|
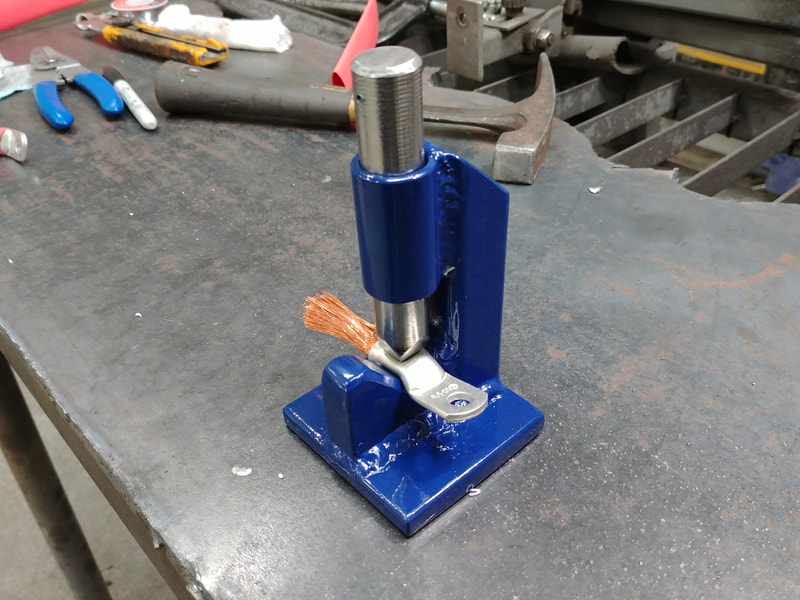
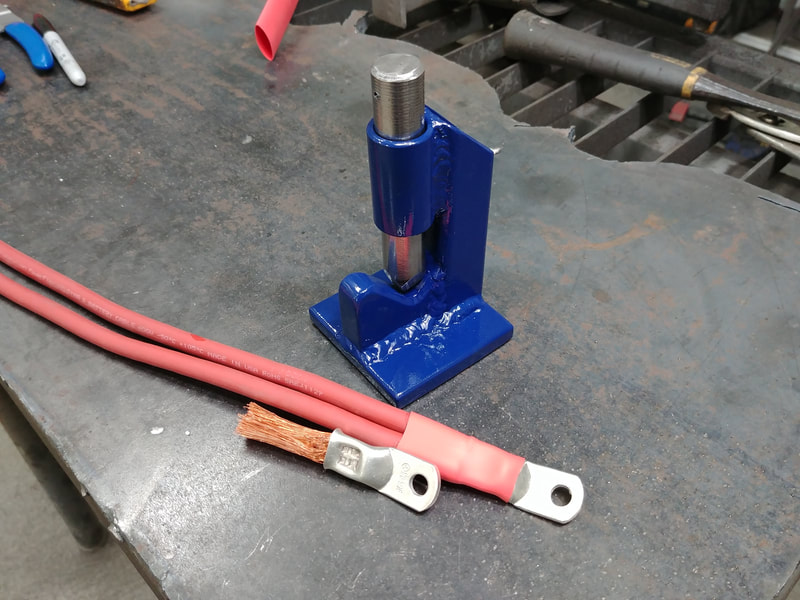
Hey folks. I've just got a quick build video for you today. In this one, I make a hammer crimper for crimping lugs to the cables that I'm using for the electric crosskart battery.
A hammer crimper is a pretty common tool and is reasonably affordable, costing around $30-$50. But, most of you know what I'm about. Why spend the $ and wait 2-3 weeks for delivery when I can make it out of scraps in 20-30 minutes and get straight to work crimping cables? So let's do it.
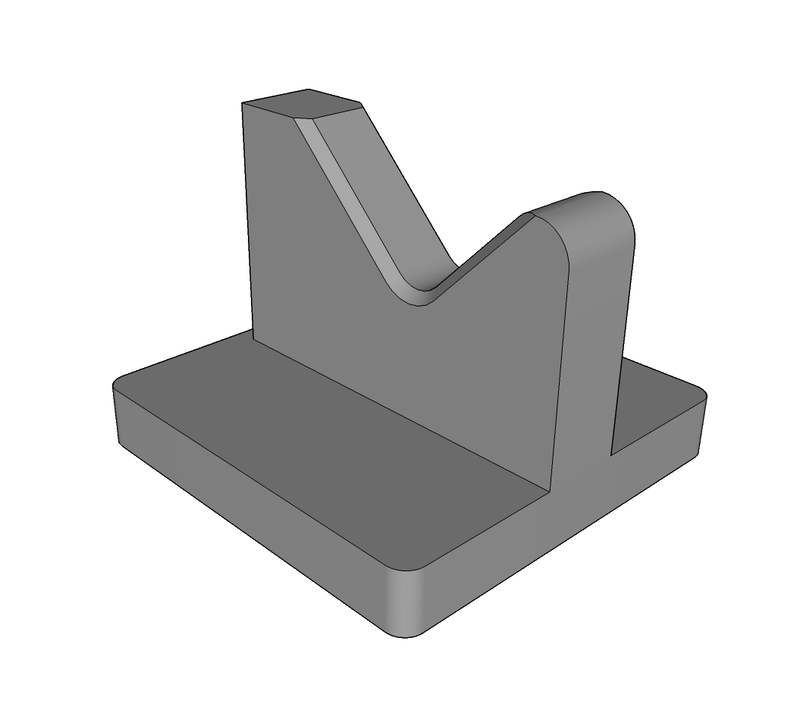
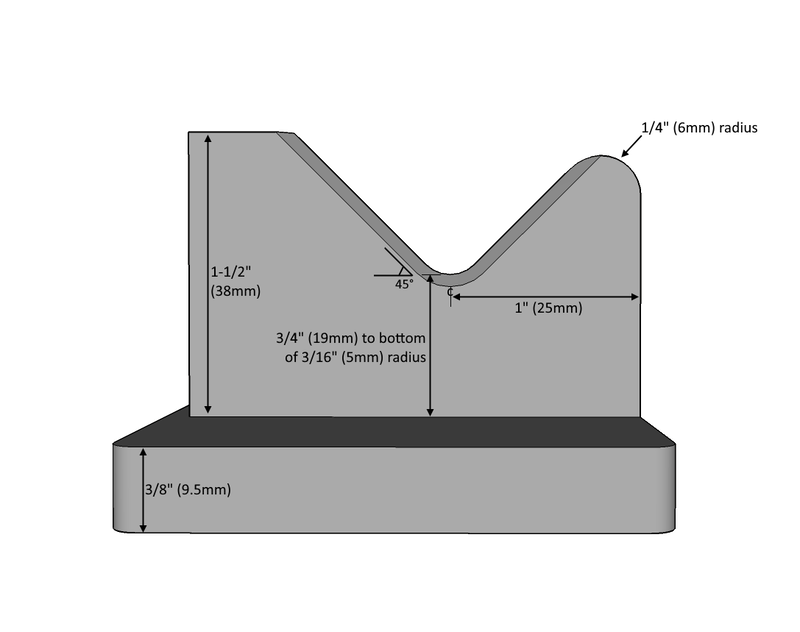
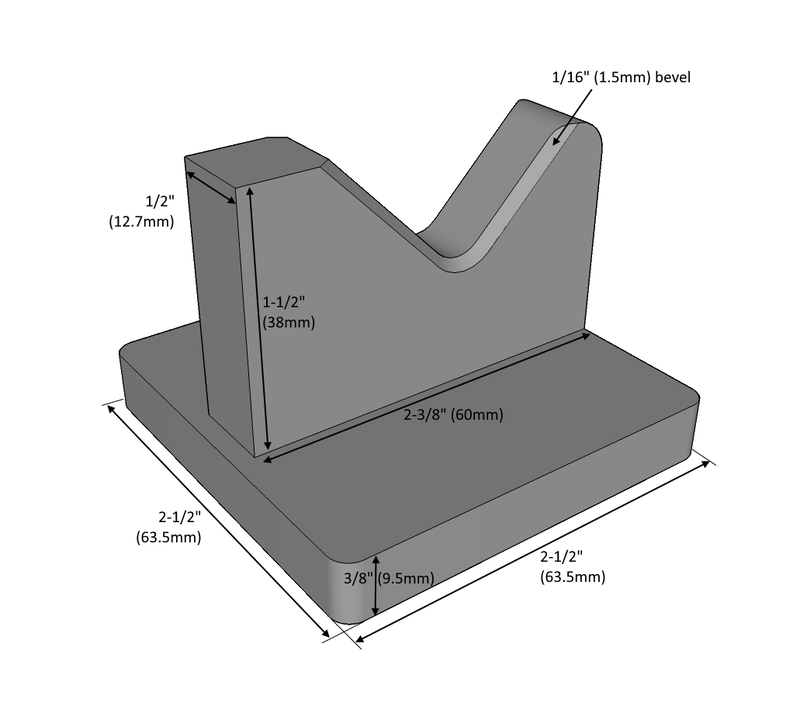
The design is really simple, I almost don't need to explain anything about it, but I will just to say I did. The first thing that I did was mark out the die profile onto a piece of 1/2" mild steel flat bar, then center punched and drilled a 3/8" diameter hole where the lug will rest on the form as it's crimped. I then made two cuts at 45° angles on either side of the 3/8" hole cut to form a 'birds mouth' and beveled the edges slightly with an angle grinder. I chose 1/2" steel because it's a good thickness for the length of the 1/0 lugs that I'll be crimping - it provides a good surface area to support the bottom tube portion of the lug while it's being hammered on without affecting the bolt flange. A person could crimp 4 awg cable or greater with this tool, though a punch with a narrower end will be necessary for smaller gauges.
After the form was cut and drilled, I made a simple 2.5" square base to weld it to using 3/8" mild steel plate.
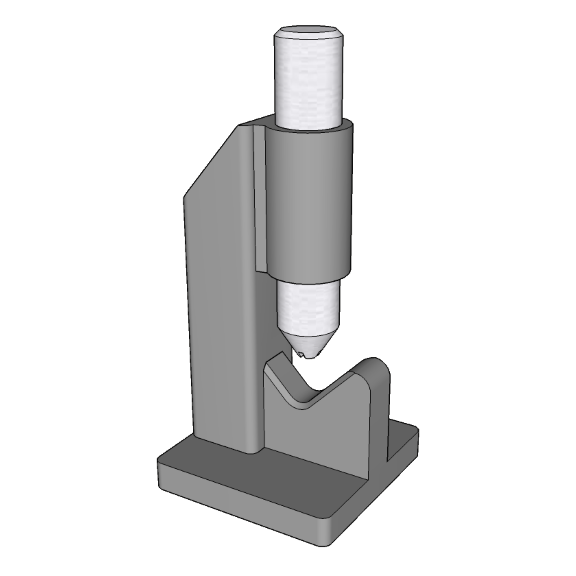
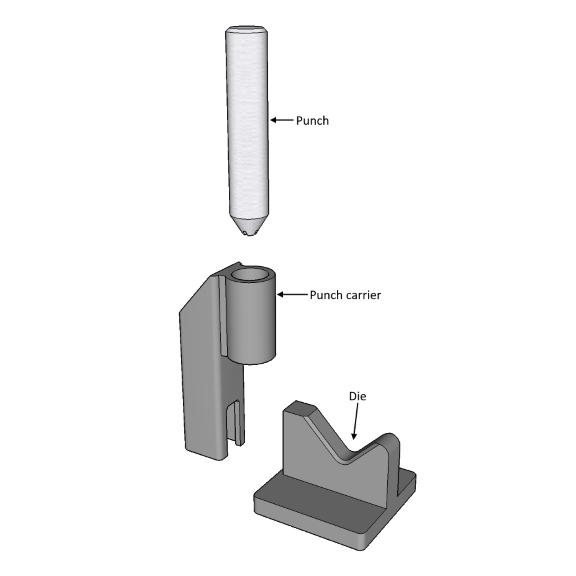
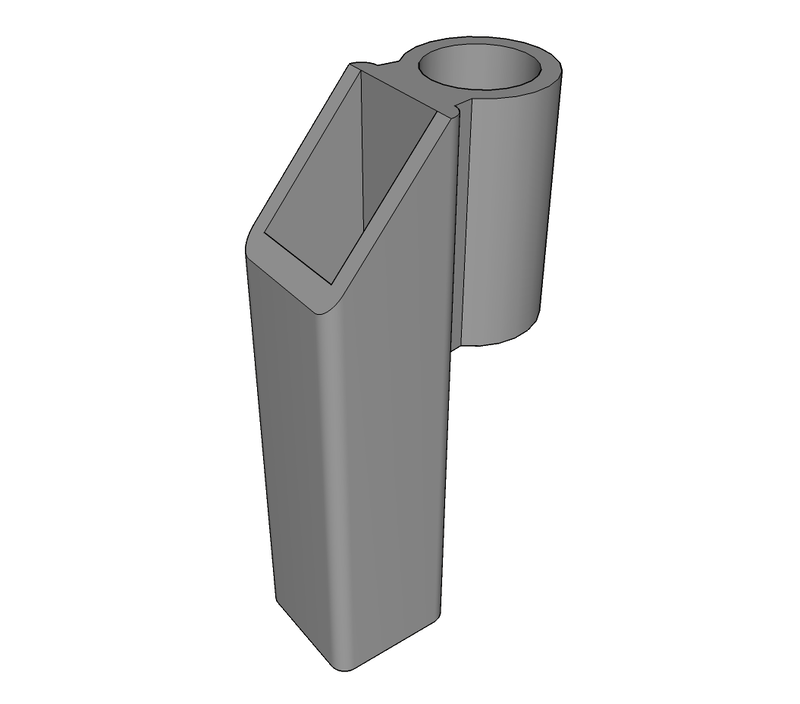
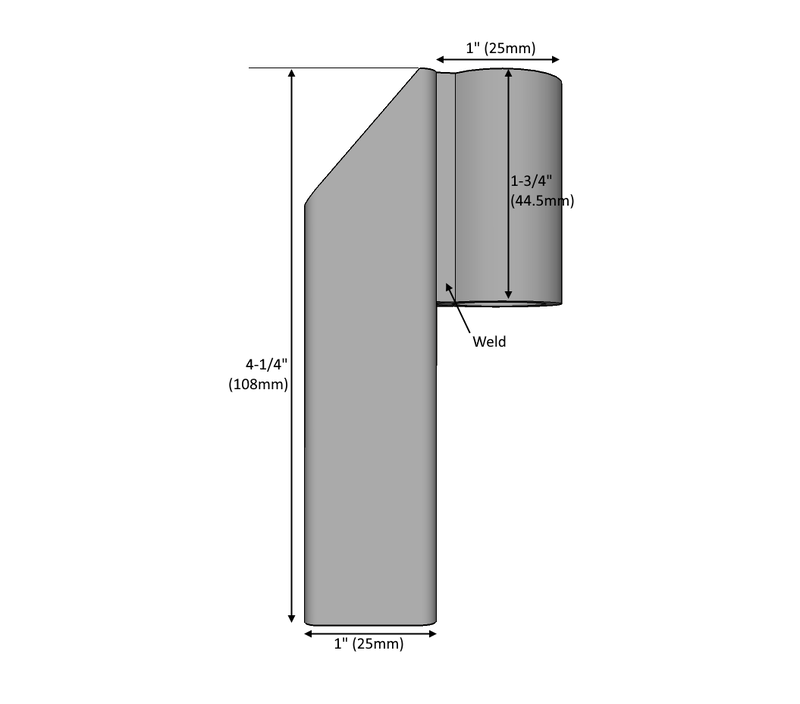
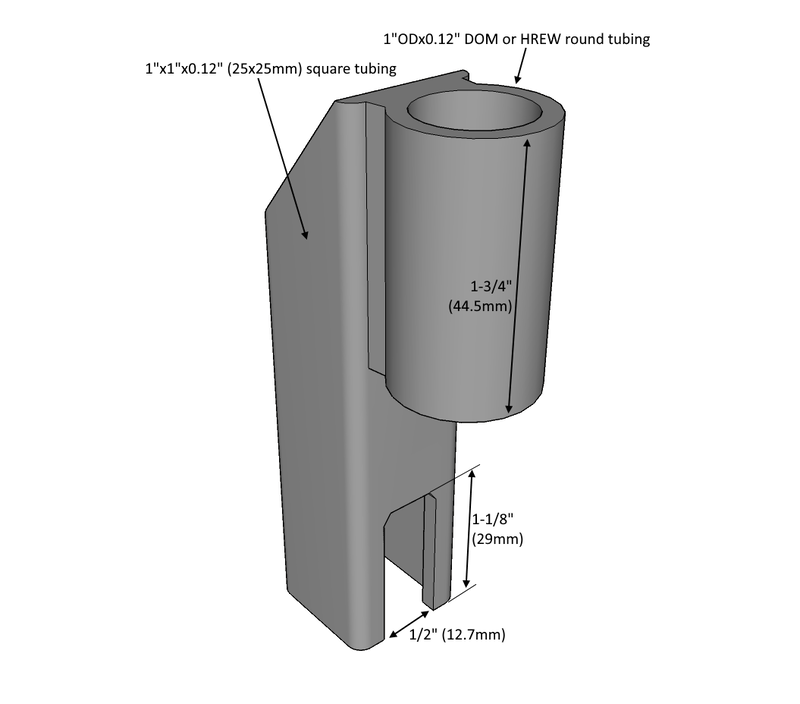
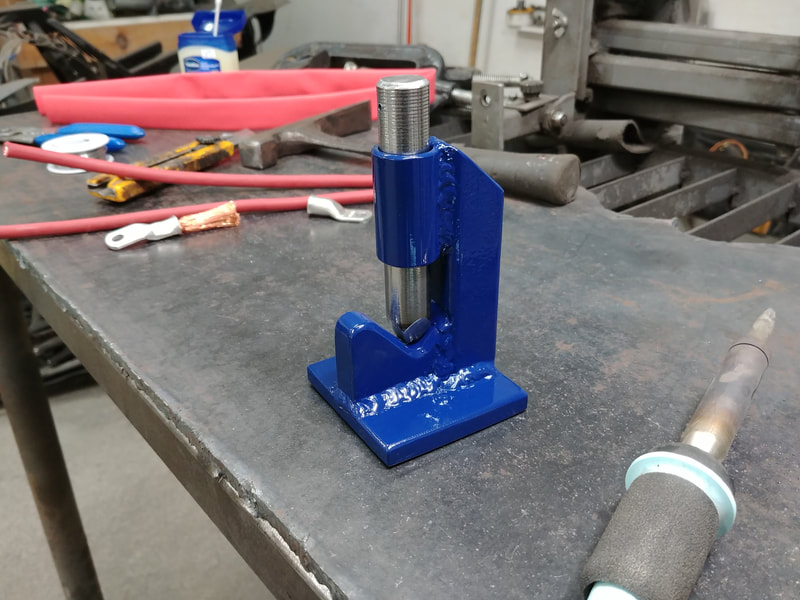
Next, I cut up an old rusty piece of 1x1" square tubing and 1"x0.12" HREW round steel tubing as shown below. These will be the carrier, so to speak, for the punch (plunger, whatever you want to call it). The square tubing was notched in the bottom to receive the form base, but not before it was welded to the round tubing. The only thing that's important to ensure is that the center of the round tubing ends up centered with the form below it, otherwise the crimping will be buggered up and off-centered, and may not provide sufficient holding power on the cable to prevent them from pulling apart later.
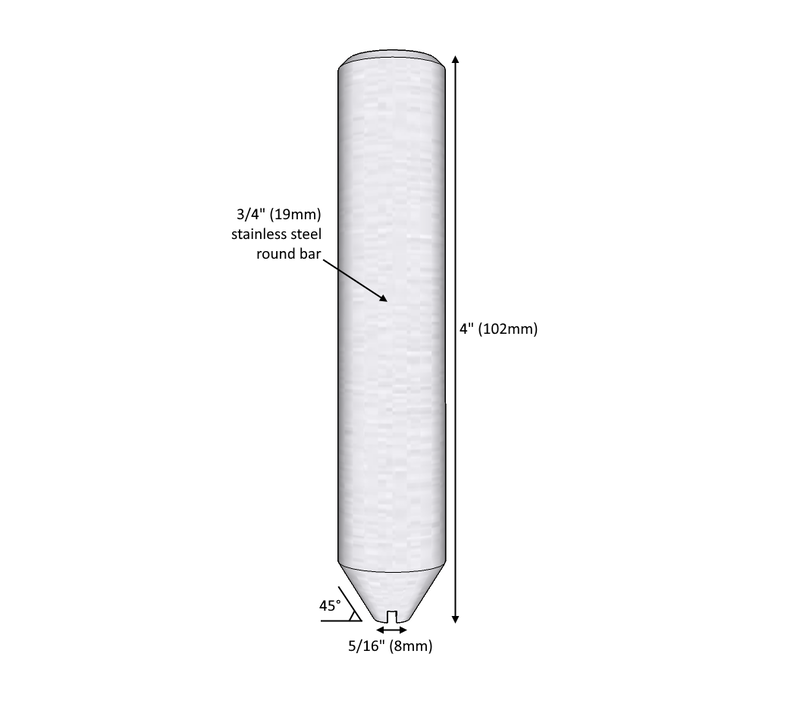
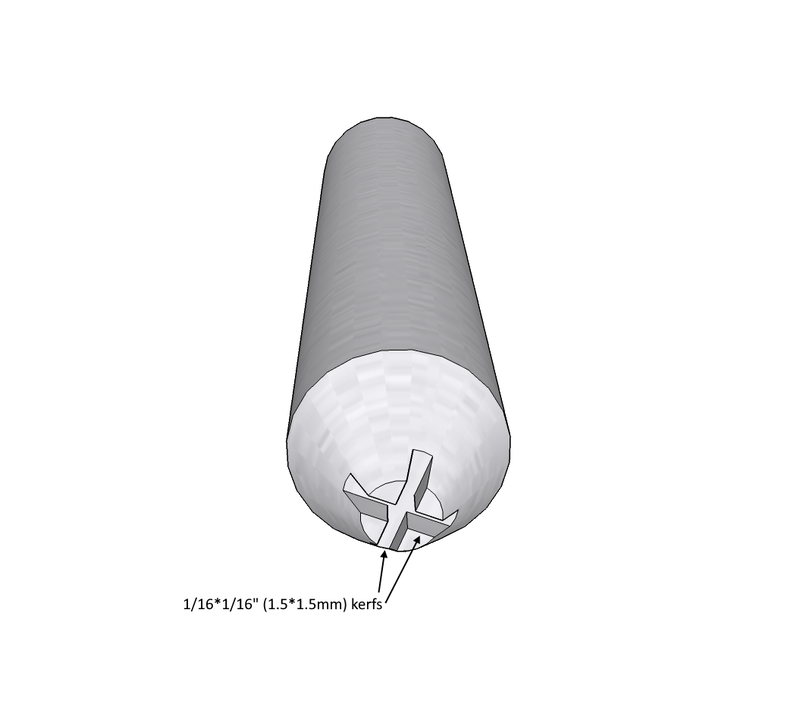
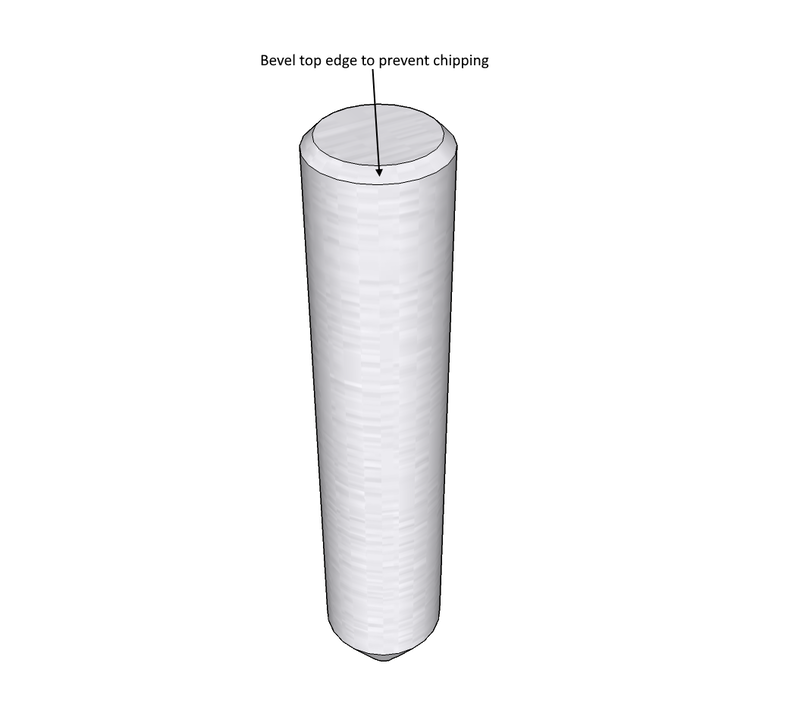
The super easy bit was making the punch. It's just a 4" long piece of 3/4" stainless steel round bar with 45° bevels on the bottom narrowing to a 5/16"x5/16" square end that has two crisscrossing kerfs cut into the face, approximately 1/16" deep. Resembling the end of a fat, inverted Phillips head screwdriver. These kerfs will transfer into the lug when it's crimped to provide better gripping power on the cable. The top end of the punch was beveled slightly to help prevent chipping the edges when it's being hammered.
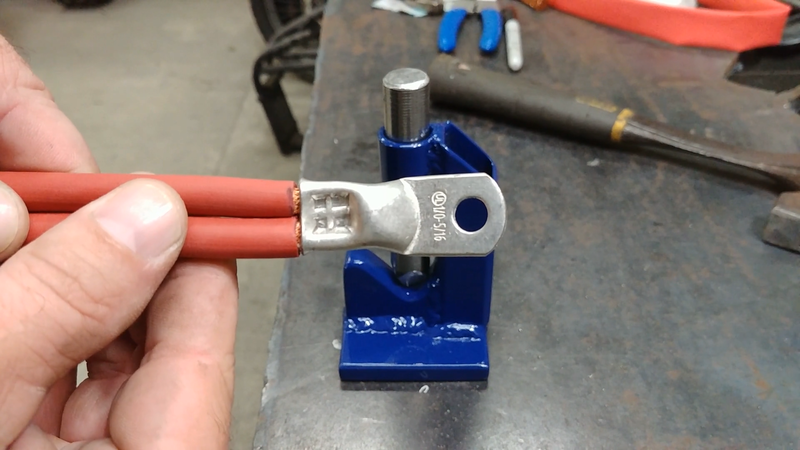
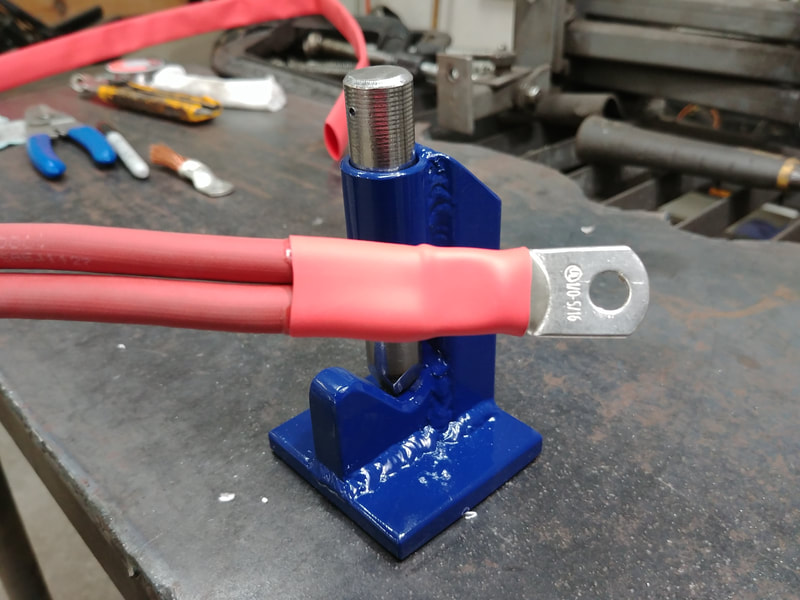
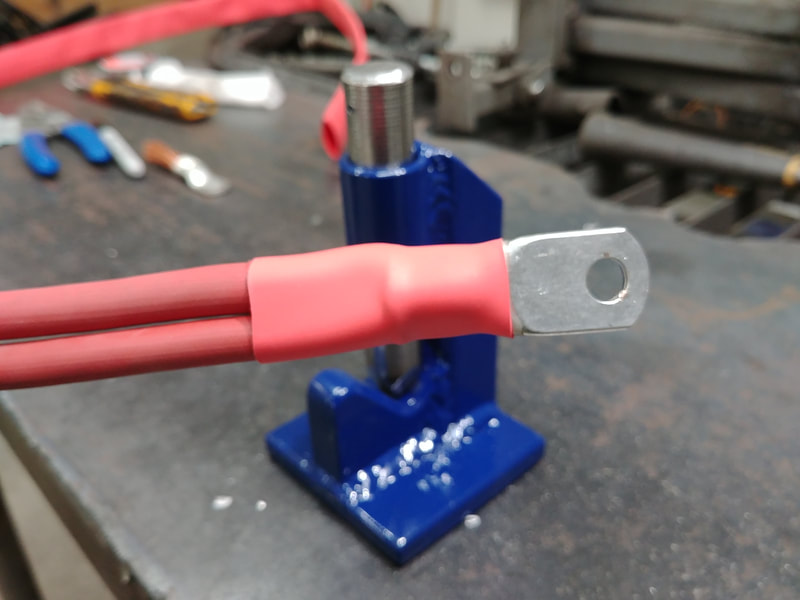
A coat of spray paint later and the crimper was done. It works great for crimping two 4 awg cables into a 1/0 lug (the reason why I'm using two cables instead of one is explained in the crosskart blog). A few good whacks with a 20oz hammer is all it takes. The end result looks and functions as I would expect. I haven't load tested them, of course, but if the strands are crushed to the point of resembling a solid piece of copper and I can't pull them apart with a pair of pliers, then there's a pretty good chance the connection is fine and they won't work themselves loose in the battery case.
A few side notes about crimping copper lugs to battery cables. There seems to be some debate about whether to solder the connection or not. Some people believe solder is the only way, while others believe crimping is superior. There's nothing wrong with soldering your lugs, if you have the means to provide enough heat to do so without damaging the cable insulation. That's the problem with soldering. It makes a solid, sealed connection that won't corrode (as long as you use rosin flux and not acid flux), but the thicker the cable is the more heat it takes to solder until you get to a point where a standard soldering iron isn't up to the task. I'm pushing it with the 4 awg cable and 200W iron. If I had to use 1/0 cable, I would probably need to use a blow torch on the lug and cable end - I don't think that would work out too well if I expect to keep the insulation as close to the joint as possible.
Crimping will provide a bond that's as strong if not stronger than solder in some cases, but if tinned copper cable isn't used (which is expensive), then some precaution needs to be taken to prevent the cable from corroding later, which all copper does when it's exposed to air. You can sand it clean and shiny, but within a year it will turn green and likely affect the connection if the mating surfaces aren't married perfectly. The first thing to do to prevent this is to use tinned copper lugs, not bare copper lugs. Tinned copper lugs have, of course, a coating of tin on them to seal the copper from the air. The next thing you should use to protect the connection is heat shrink tubing. But not just any kind - you need the stuff that has a layer of glue on the inside surface. It's like hot glue, when heated this will make the final seal between the shrink tubing and the cable/lug connection. That's all you need to do. Most electricians just crimp their battery cable lugs. When done properly you can count on the connections to last longer than the battery itself. I'll have the next video for the crosskart build series uploaded in roughly a week, give or take a couple of days. I'll be assembling the P groups for the 11.5 kWh LiFePo4 battery and test fitting them in the crosskart cabin with aluminum cases and the new bucket racing seat from Scat.
0 Comments
Leave a Reply. |
AuthorJames Biggar Archives
March 2023
Categories |


 RSS Feed