|
In this video I build a vacuum former. Vacuum forming is a version of thermoforming, where a plastic sheet is heated to just above its glass transition temperature (forming temperature) without melting, stretched over a single surface mold, and then pulled into the mold by a vacuum where it cools and maintains the desired shape. It's a simple, affordable method that both hobbyists and OEM's use to produce anything from plastic project cases and molds to automotive body panels, trims and construction equipment.
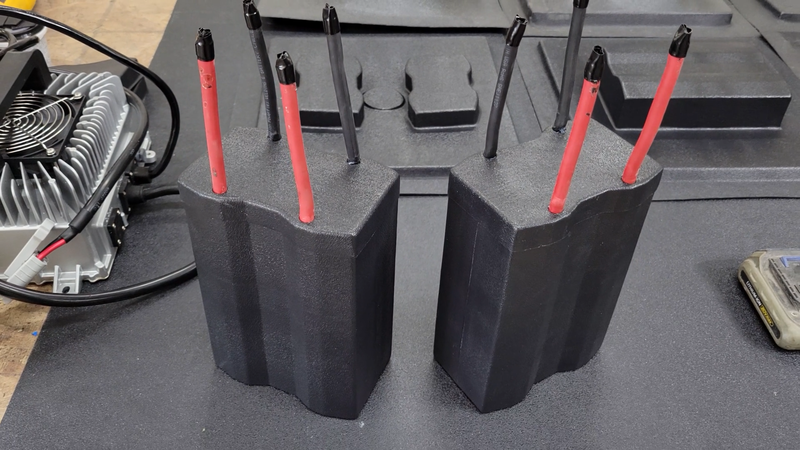
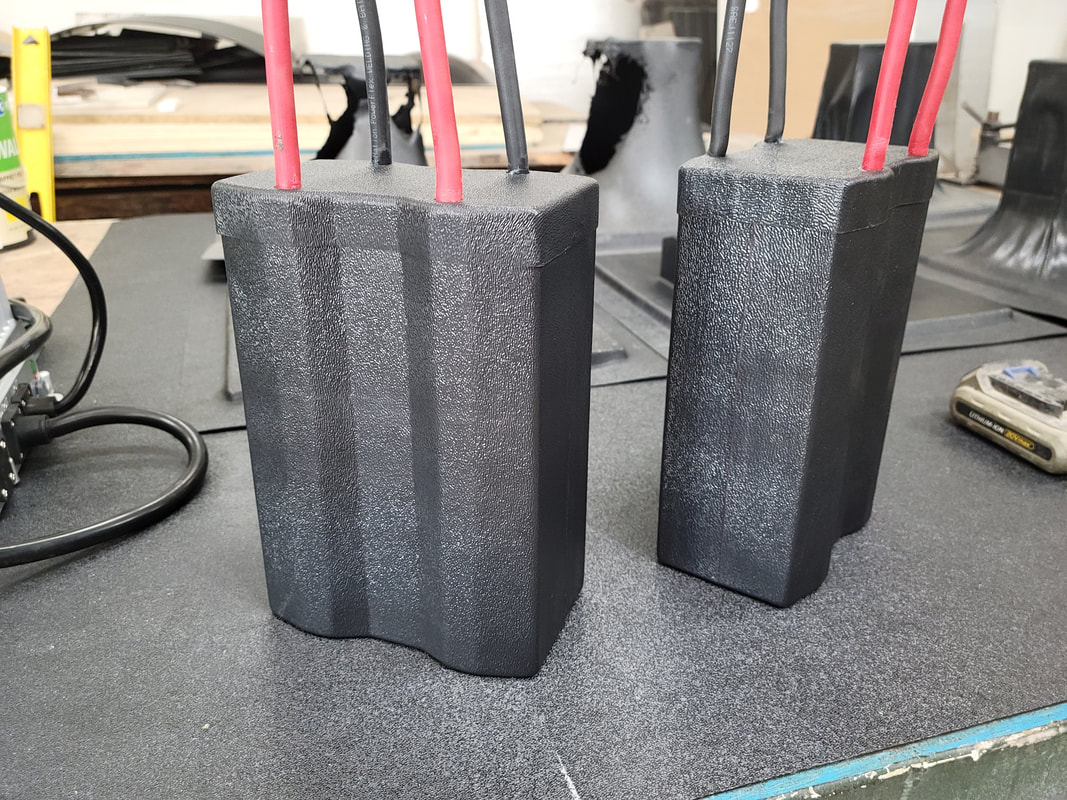
There was a time when I would have built something quick using a simple wooden box, heat gun and a shop vac, but the older I get the less I want to be constantly making quick throw-together jigs that only work for specific projects and then get tossed in a corner to collect dust for a decade. I want something more versatile and reliable, especially since the trigger for this build was needing to put the battery modules for the crosskart project in sealed cases to protect them from dust and water when I'm driving in the trails. It's next to impossible to find premade project cases that are the right size, given the space constraints in the crosskart cabin. This former allowed me to make the cases easily myself, and they look like something that I would have paid a manufacturer to produce for me. Read below for the details on how I did it and what I learned in the process.
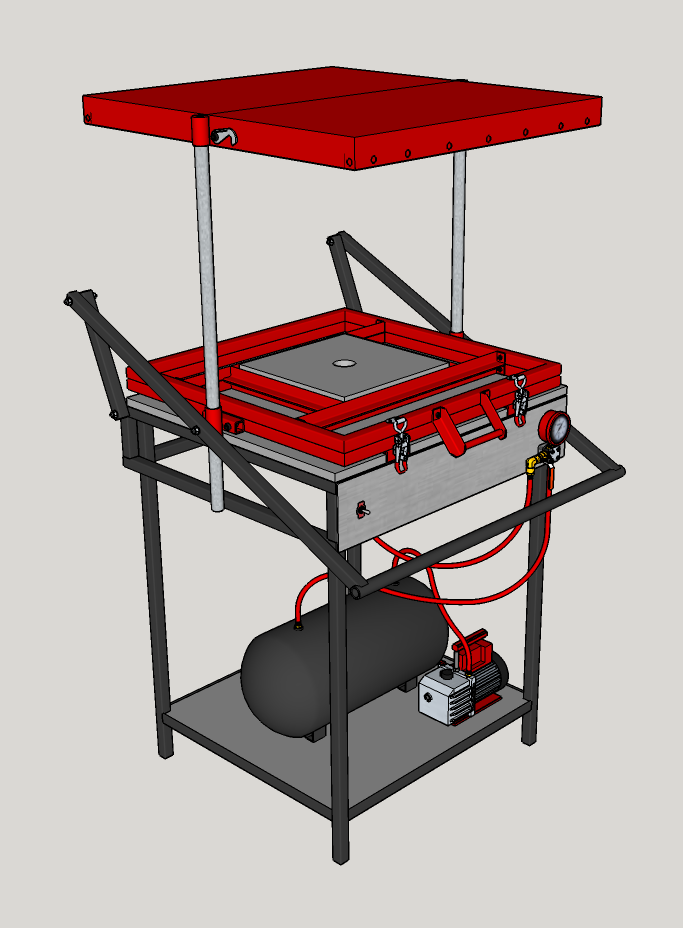
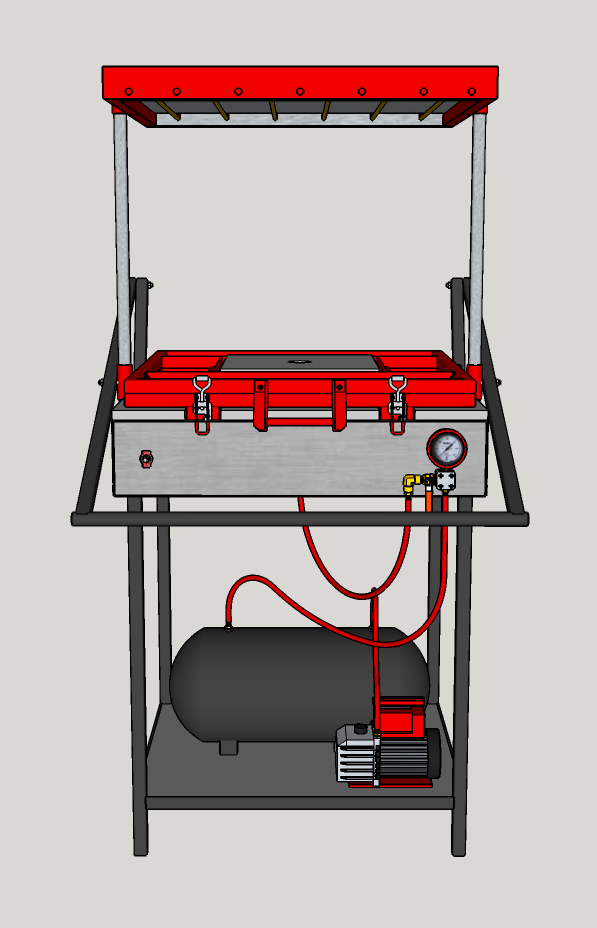
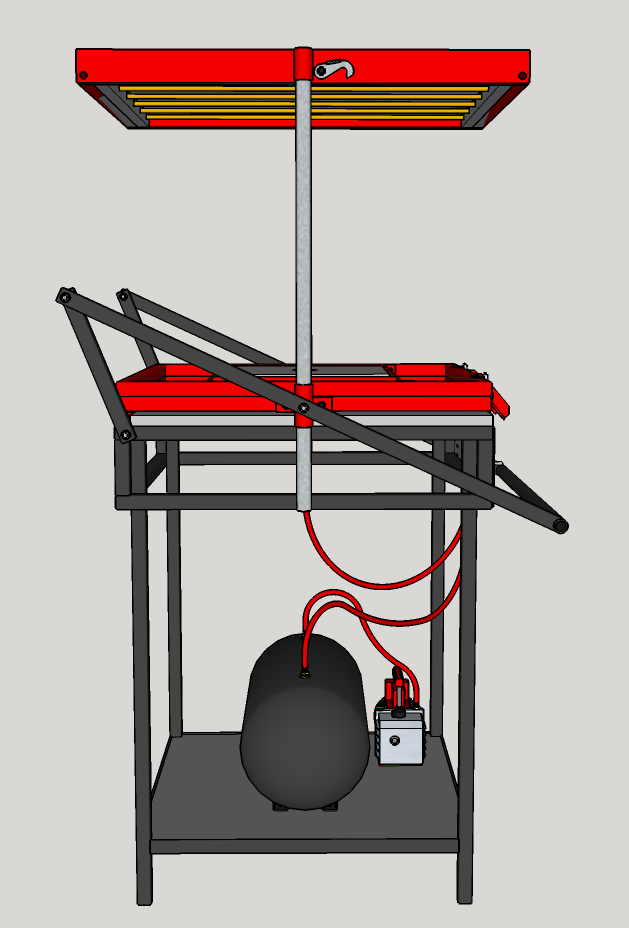
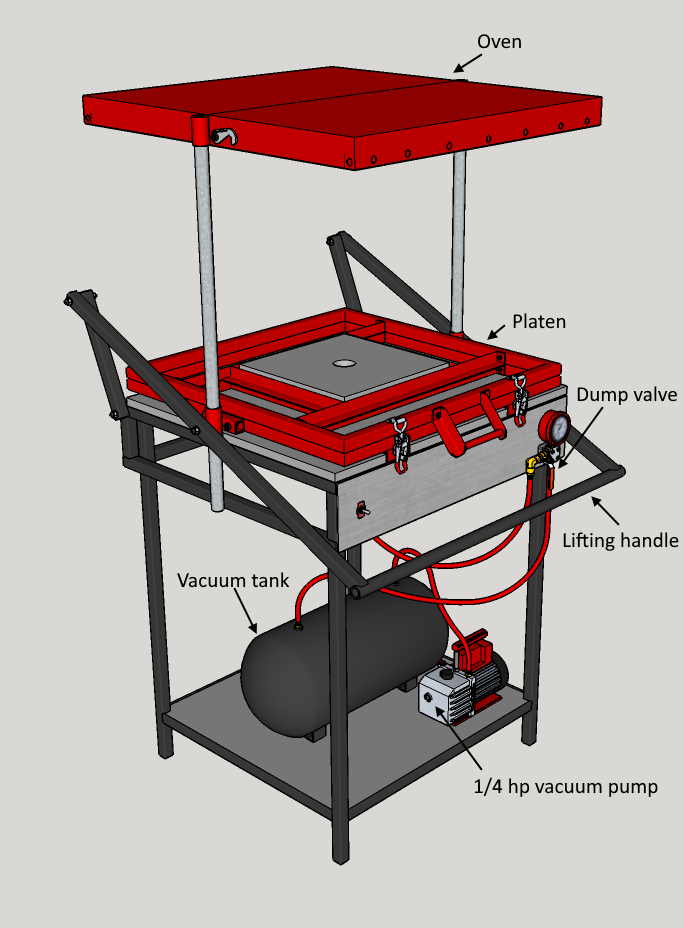
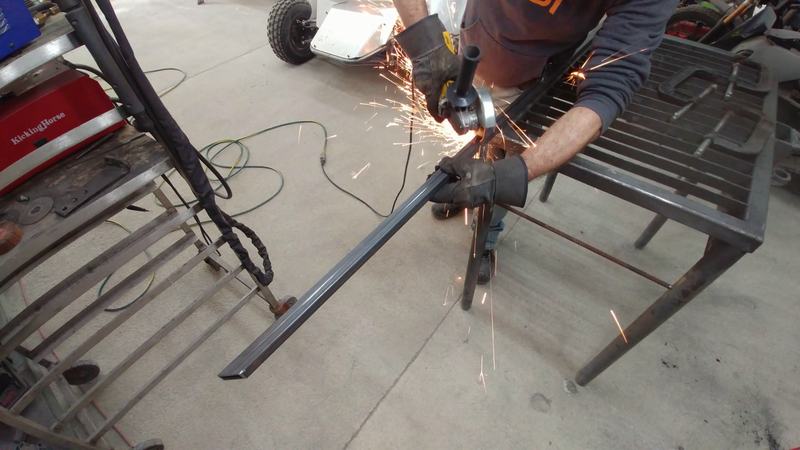
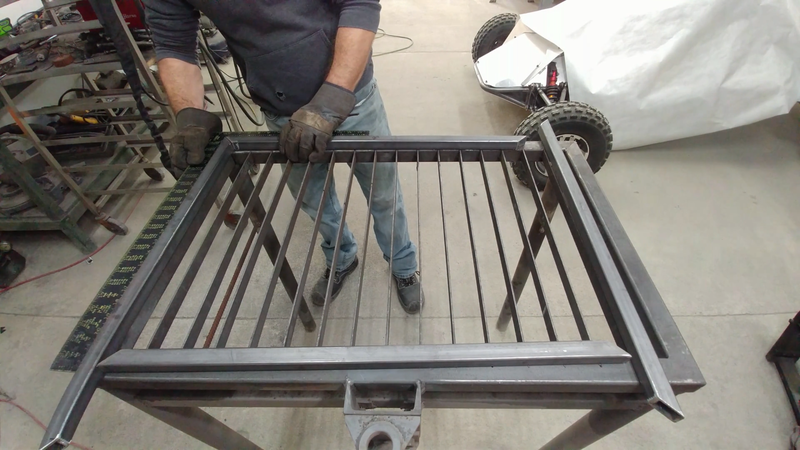
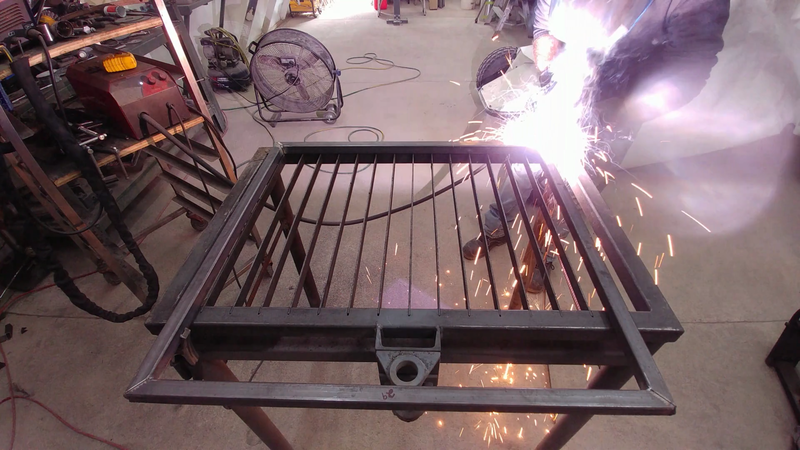
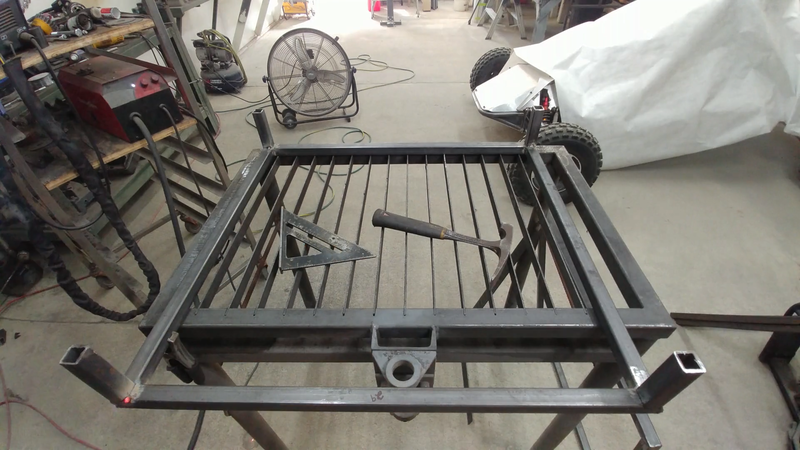
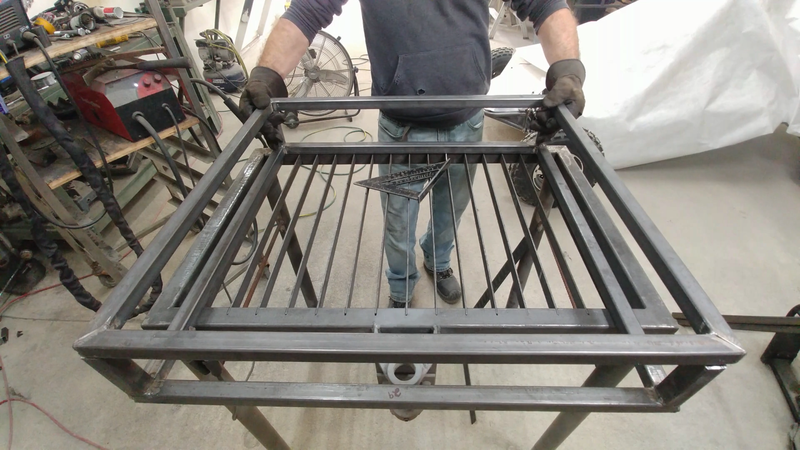
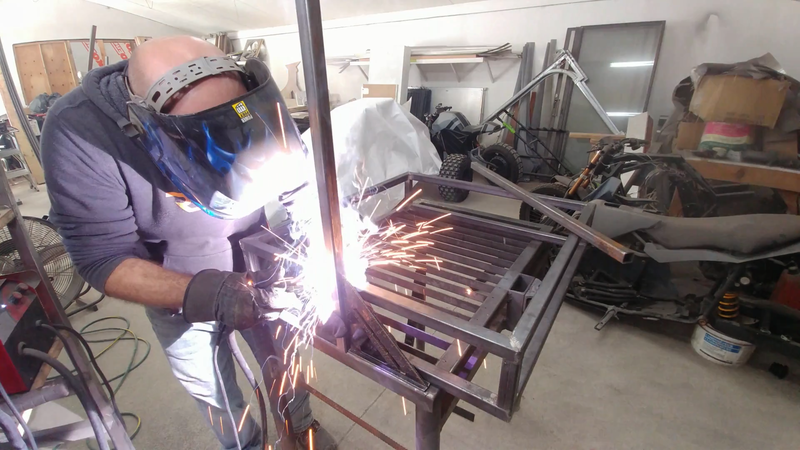
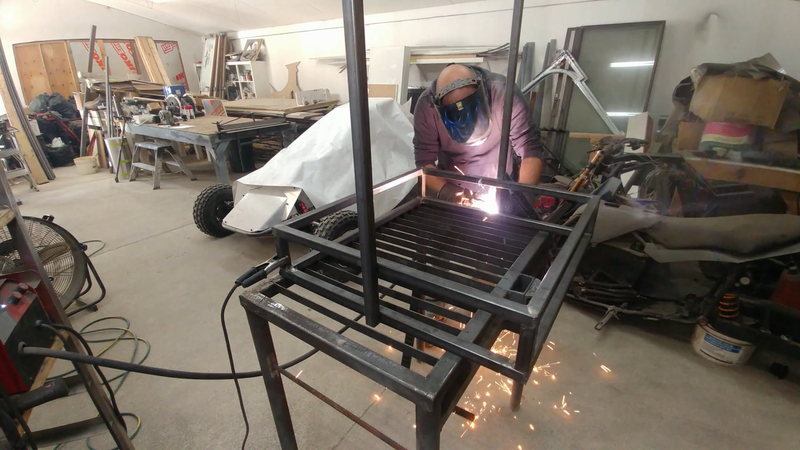
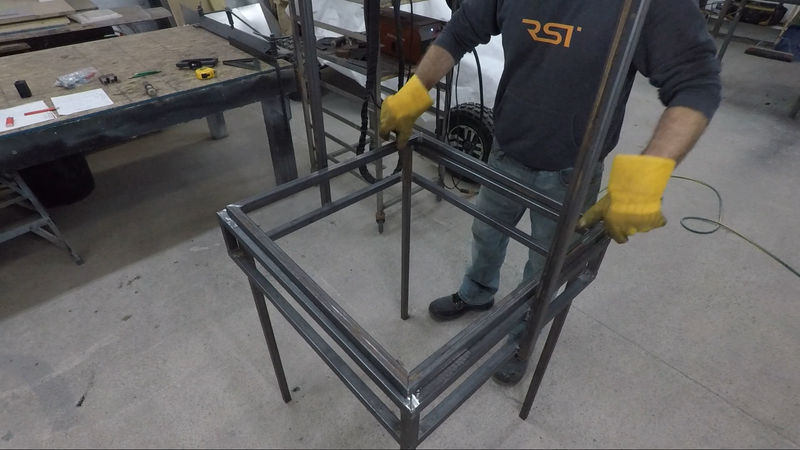
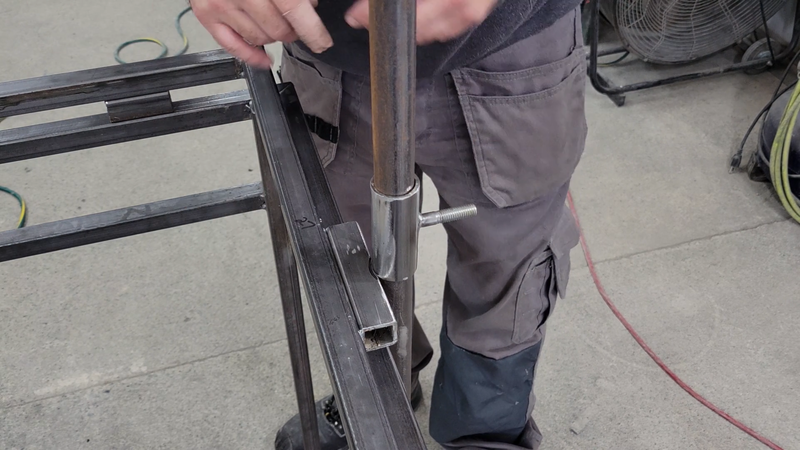
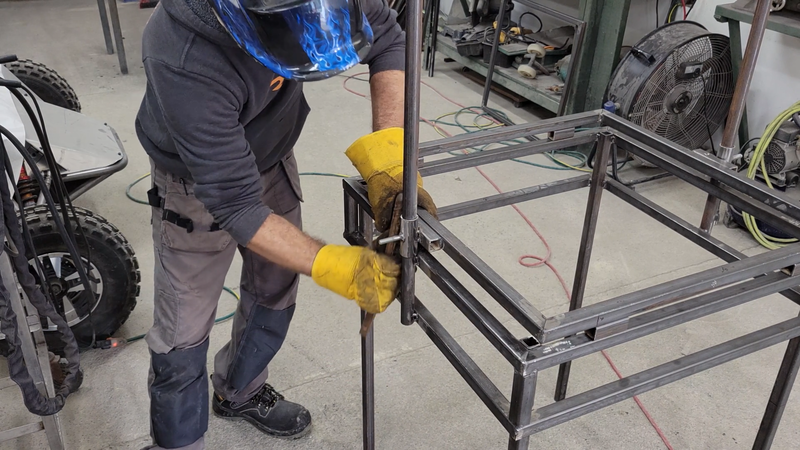
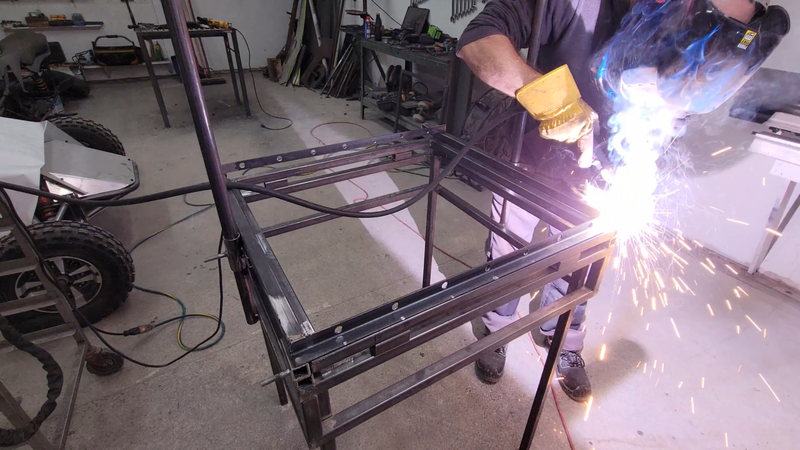
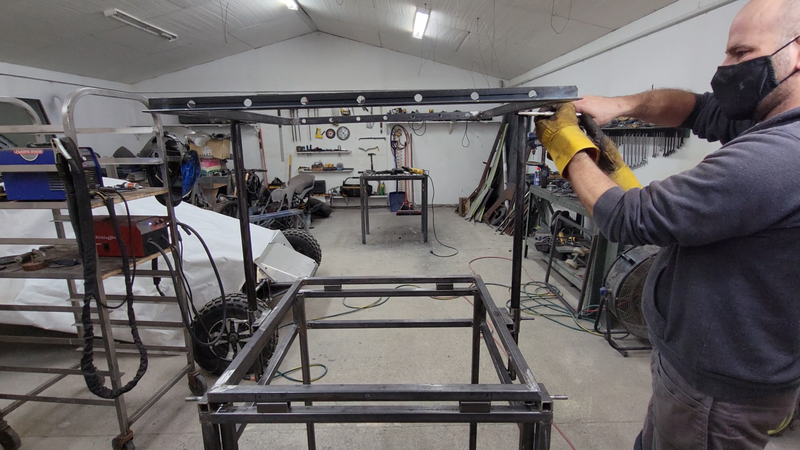
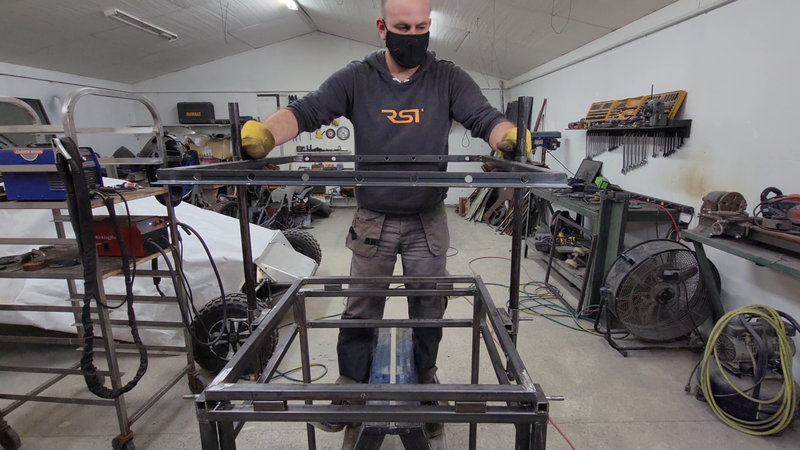
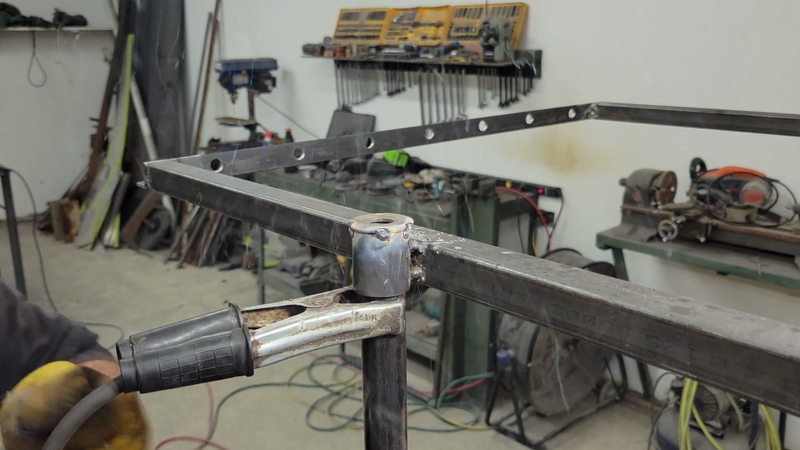
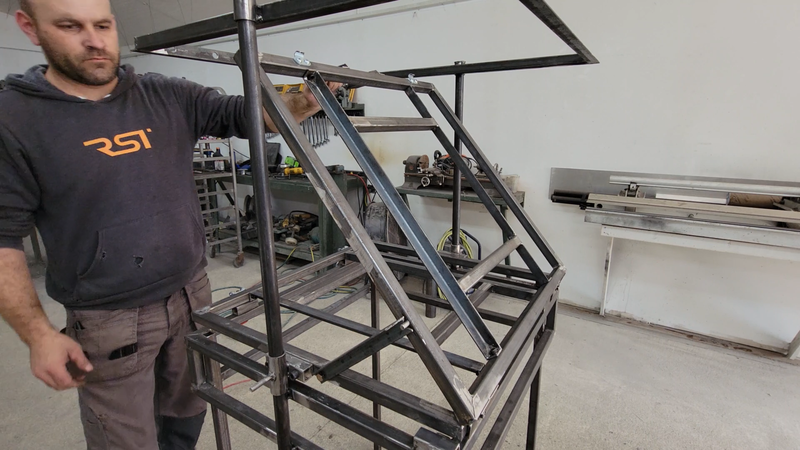
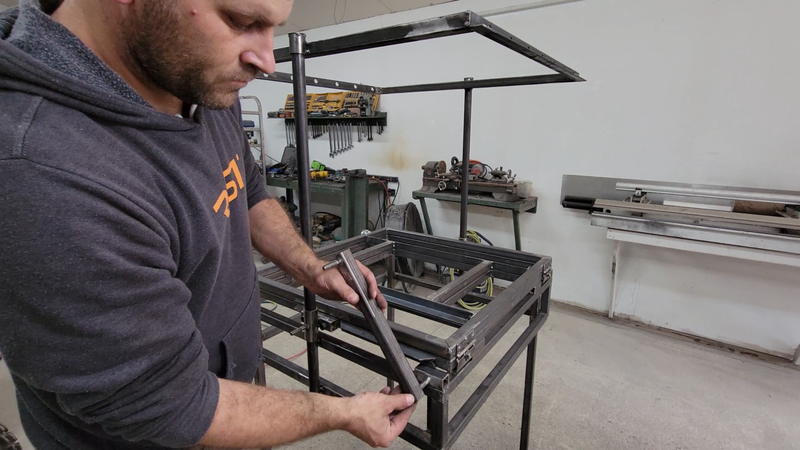
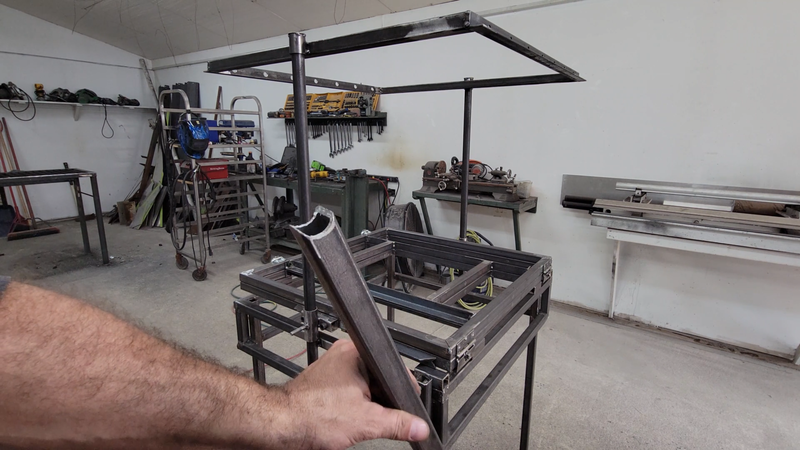
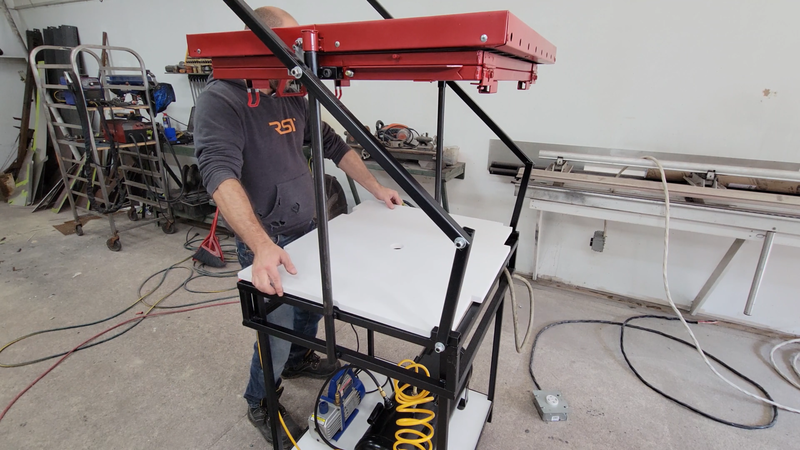
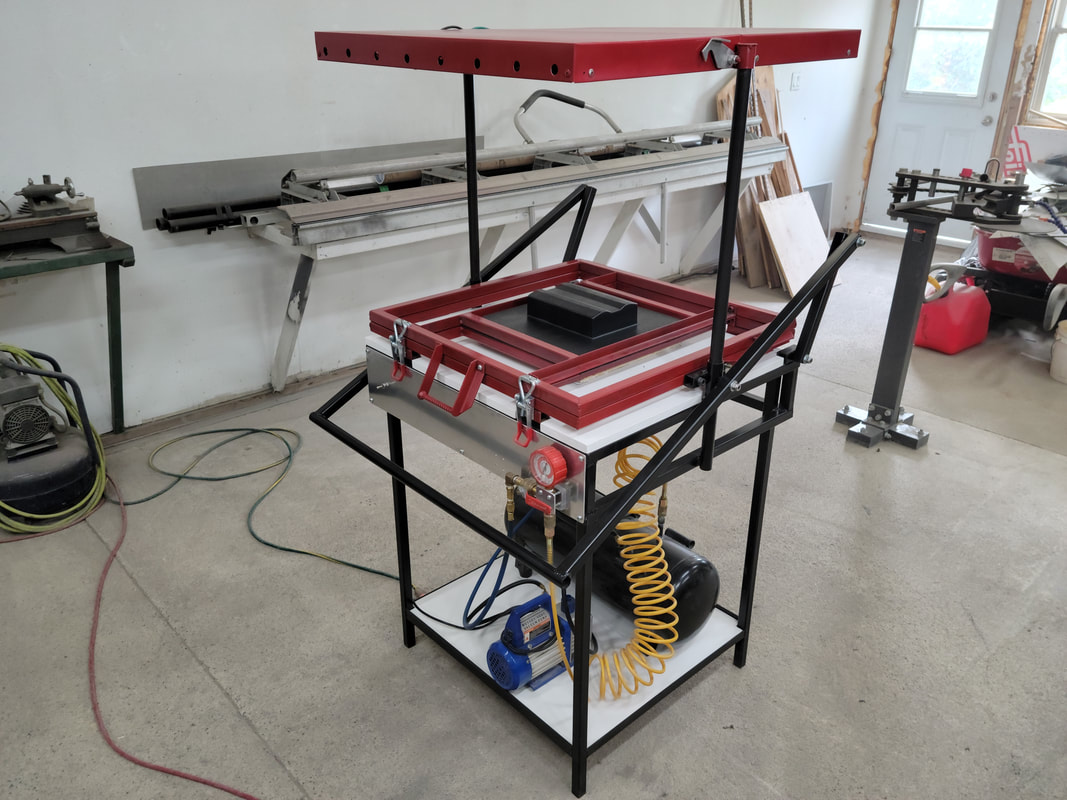
I started the project by making the table frame out of 1x1" steel square tubing. I wanted the former to be large enough to make motorcycle fairings at a later date, so I made the frame to accommodate a 24"x24" forming area inside the platen. Once the table frame was welded together, I installed the legs and guide posts for raising and lowering the platen. In the video you'll notice that I originally used square tubing for the guide posts, but I later switched to round tubing to eliminate the corners and help the platen glide smoother.
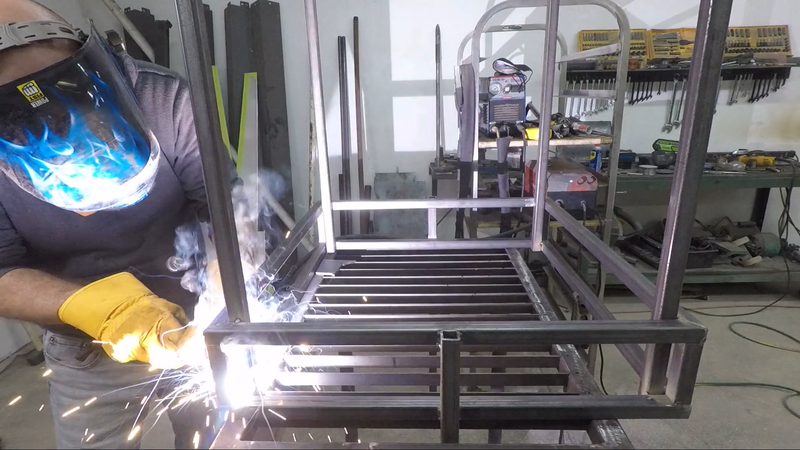
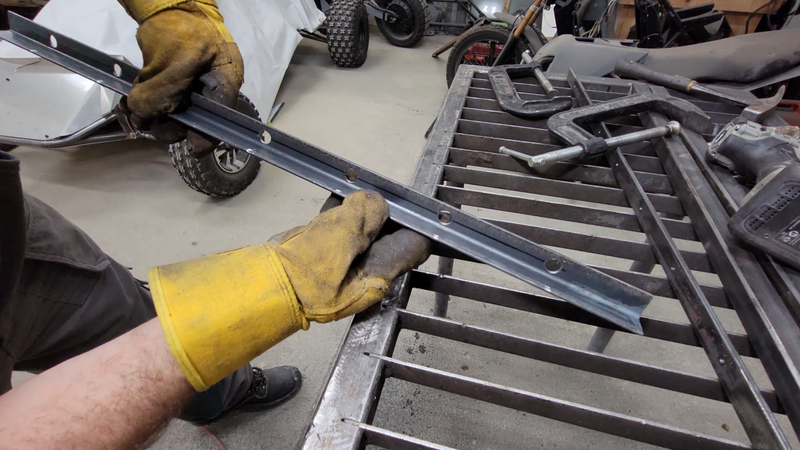
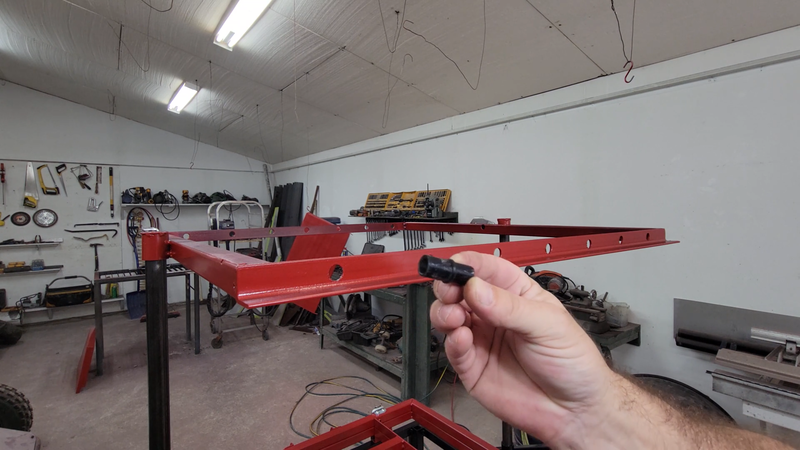
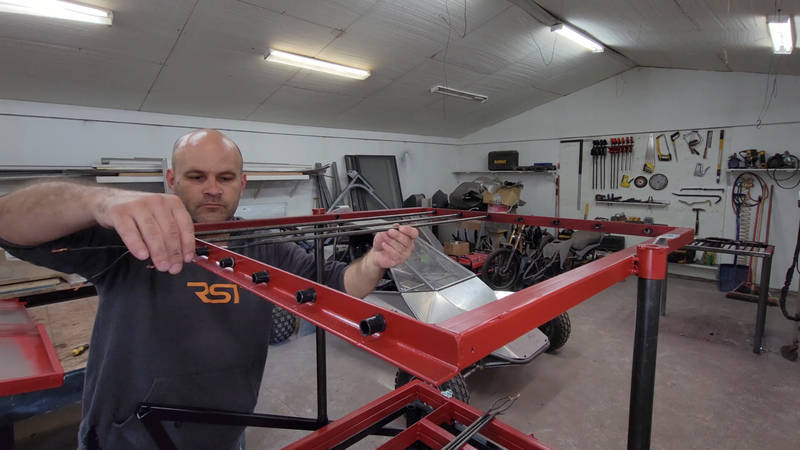
I then made the frame for the oven that mounts at the top of the guide posts. I used steel angle on the front and back to make it easier to drill and mount the heating elements later. The sides were made from square tubing for more strength, as the oven frame will be carrying the weight of the platen when the elements are heating the plastic sheet that's to be formed.
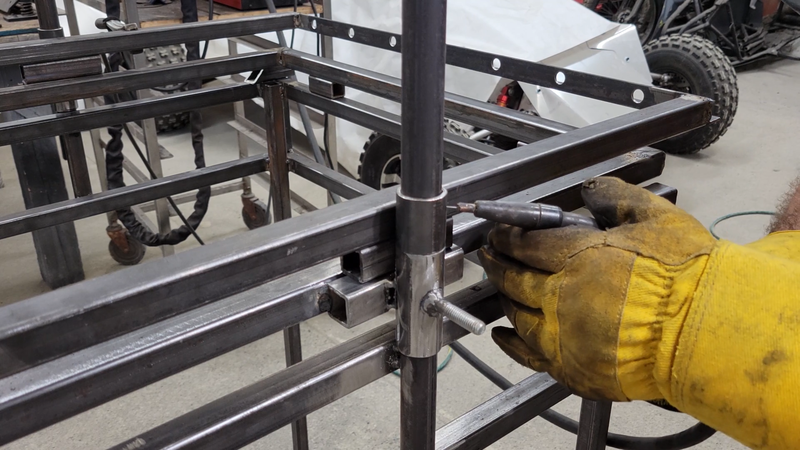
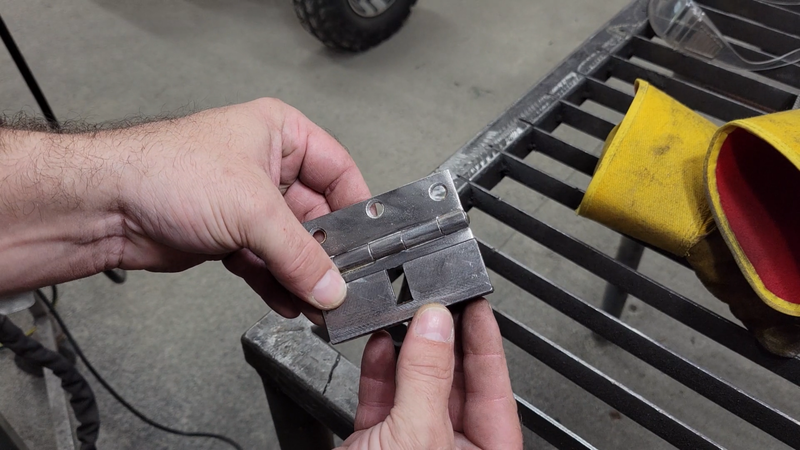
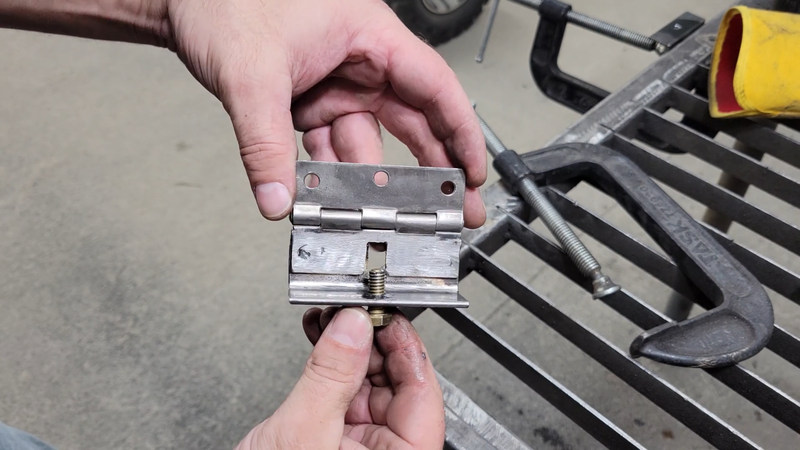
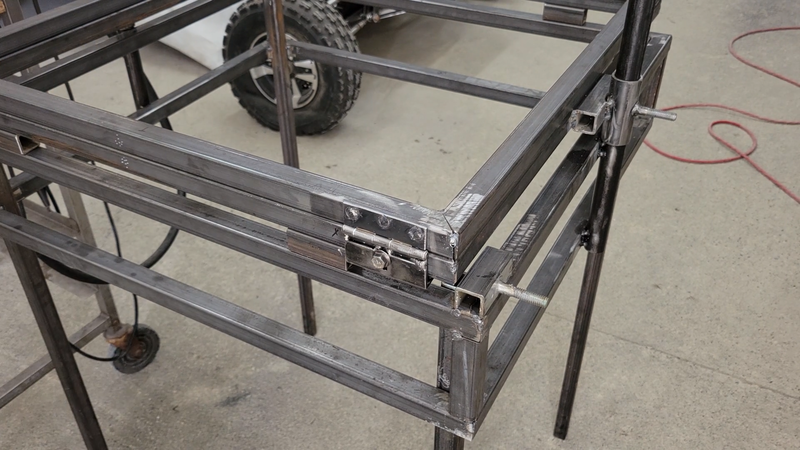
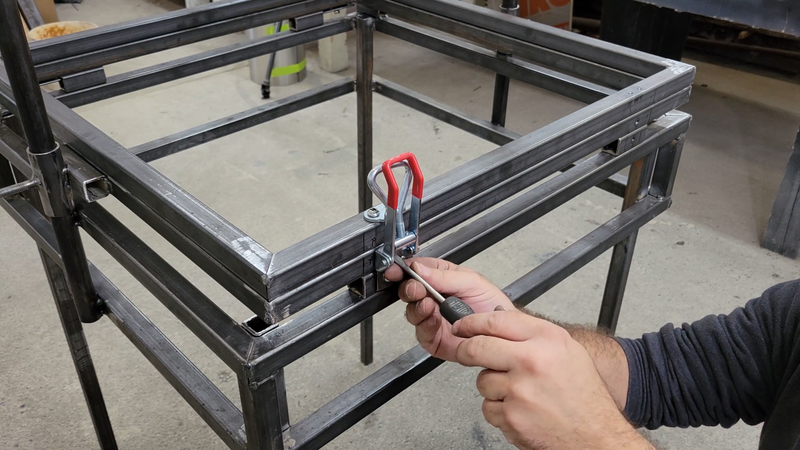
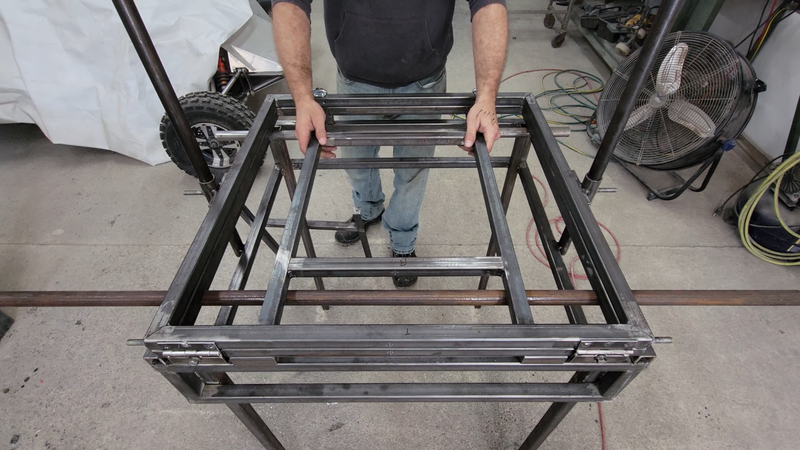
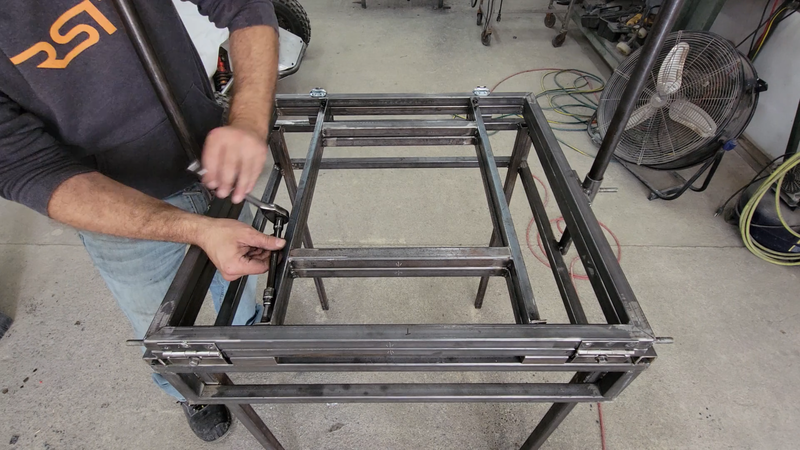
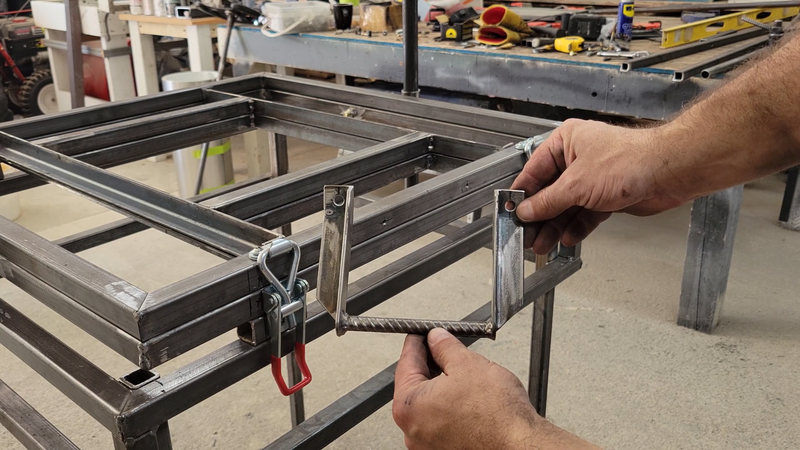
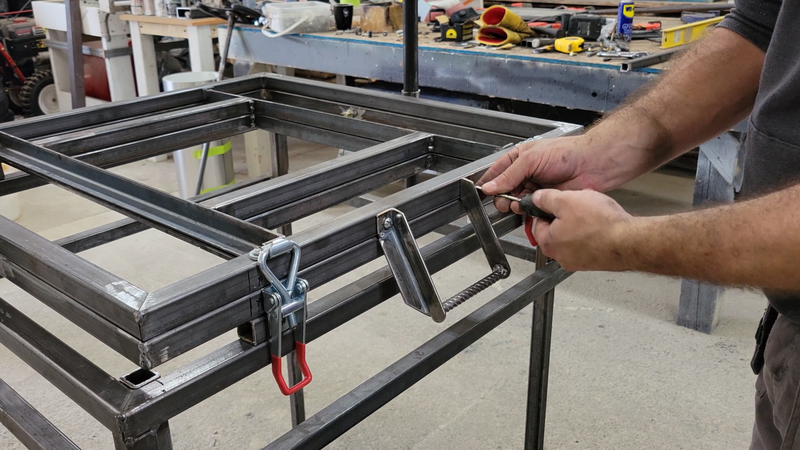
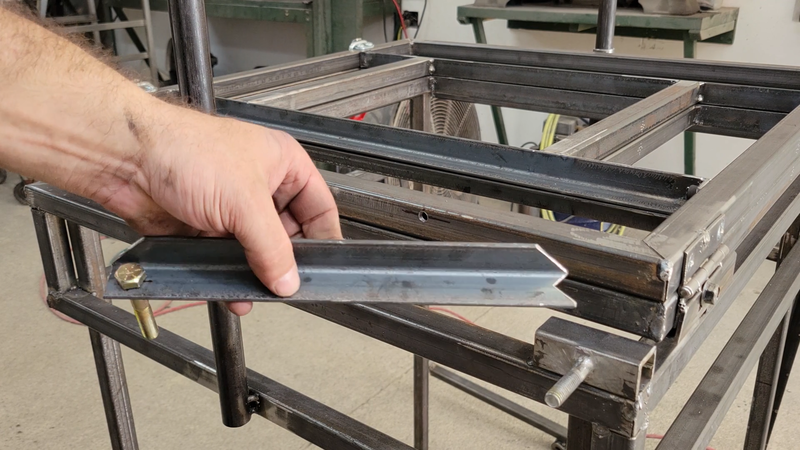
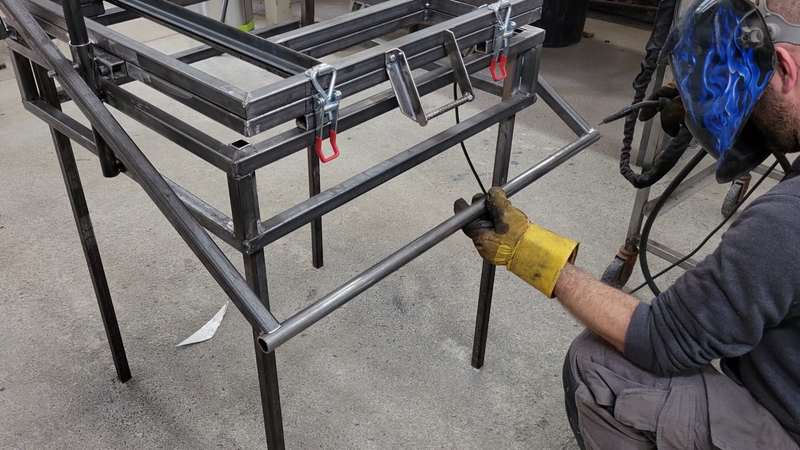
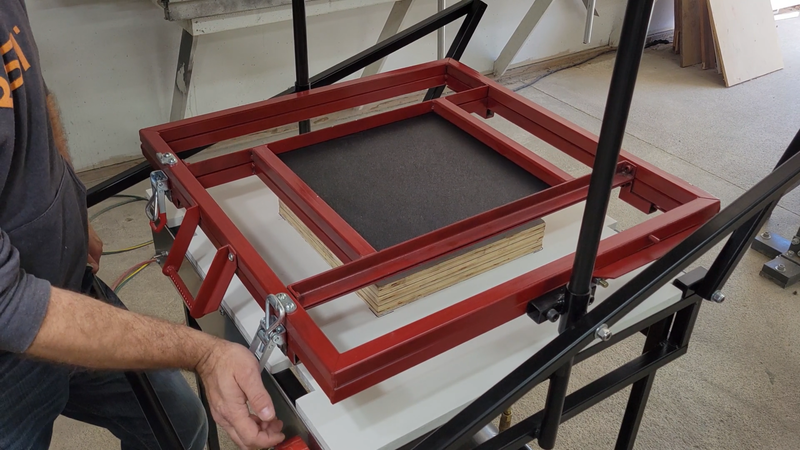
After the top was set, I moved on to making the platen, or clamp, whatever you want to call it. It's the mechanism that will clamp the plastic sheet and hold it in position as it's heated and formed. It's just two simple square frames connected with adjustable hinges on the back to allow for different sheet thicknesses to be clamped without jamming up. I made the hinges using two pre-existing butt hinges for a door and a short piece of angle; the angle was notched in the center on one flange to allow the hinge to move up and down without moving the mounting bolt when it's fastened to the platen, and it's drilled and tapped for a set bolt in the other flange. Together, the two bolts secure the platen to accommodate plastic sheets up to 1/4" thick. Like the oven frame, the platen is connected to the guide posts with DOM tube guides that have a bolt welded on the side for attaching a lifting handle to later. The front of the platen is clamped tight using adjustable toggle latches.
I made a small handle for opening and closing the platen using a couple of short pieces of angle and a thin round bar, as well as a prop to hold it open when needed. I also made a couple of 'reducers' that bolt inside the platen to reduce the forming area and thus plastic waste if I just want to form small objects.
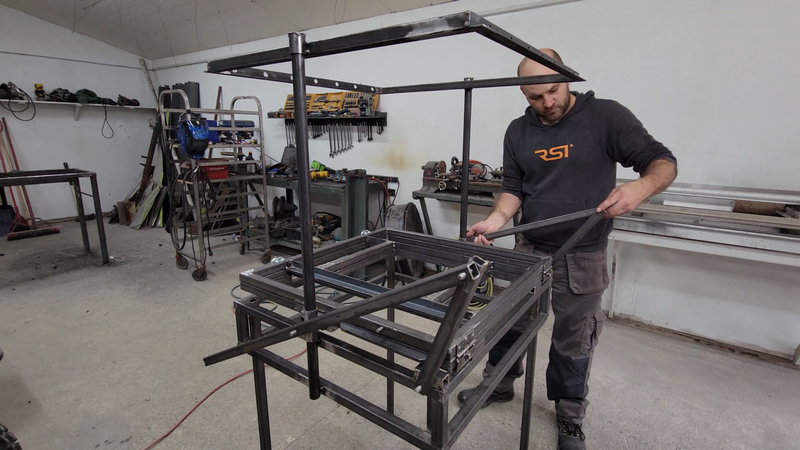
Next, I installed the articulated lifting handle linkages, made from square and round tubing and fastened with 5/16" bolts and lock nuts. Up to this point, I had serious doubts about the platen gliding smoothly because every time I tried to lift it without a handle, it would jam up within the first 6" or so and I'd have to use a hammer to straighten it out. I could see that a lot of the problem was that it was hard to hold the platen level and raise it at the same time - if one hand raised higher than the other, then it jammed. But once the handle was installed, lifting the platen to the oven above and back down became super easy.
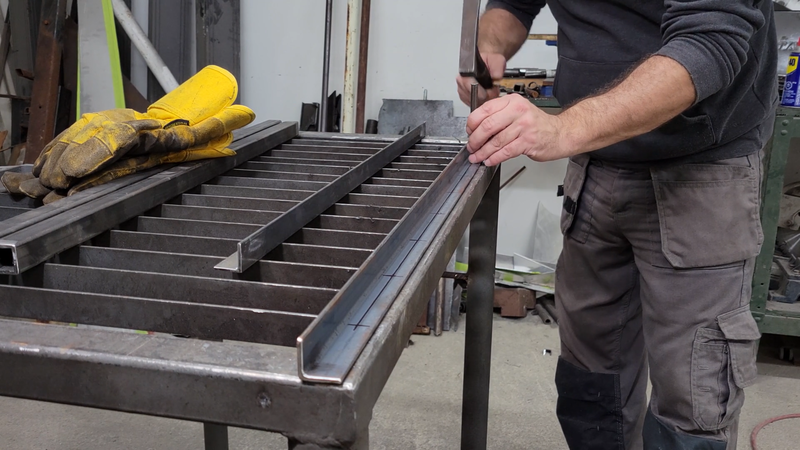
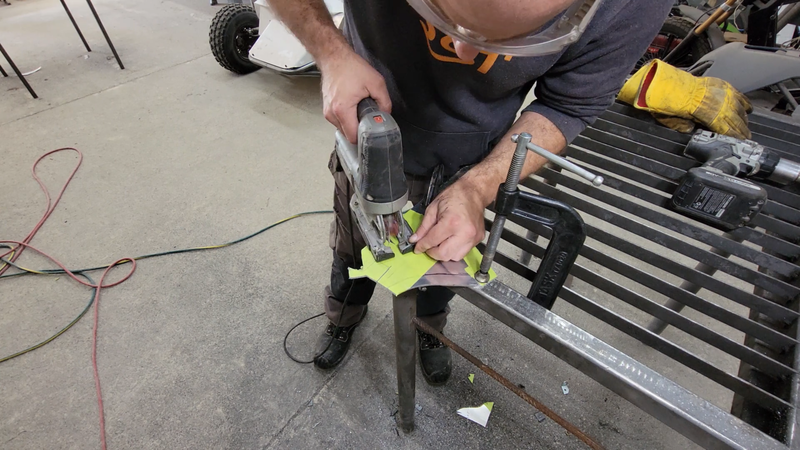
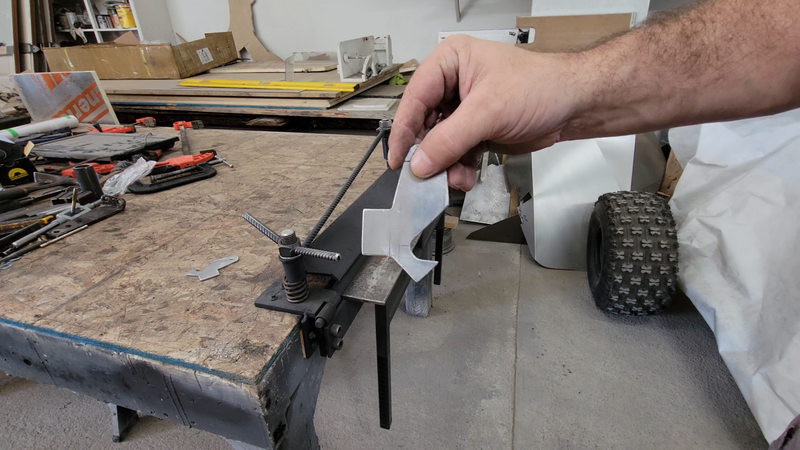
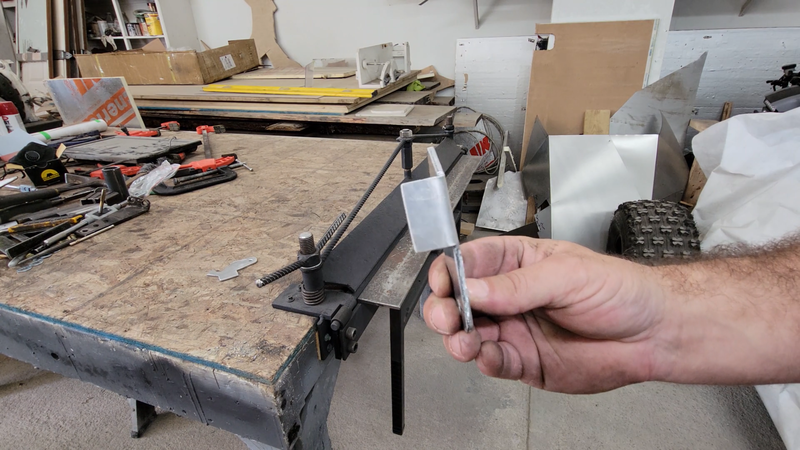
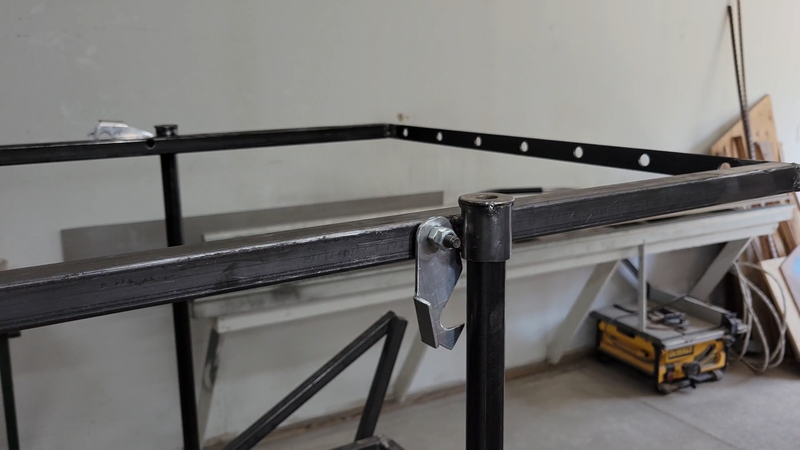
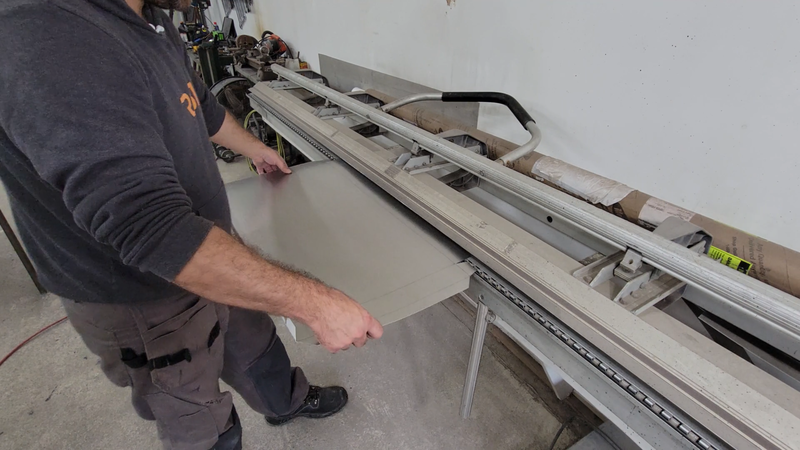
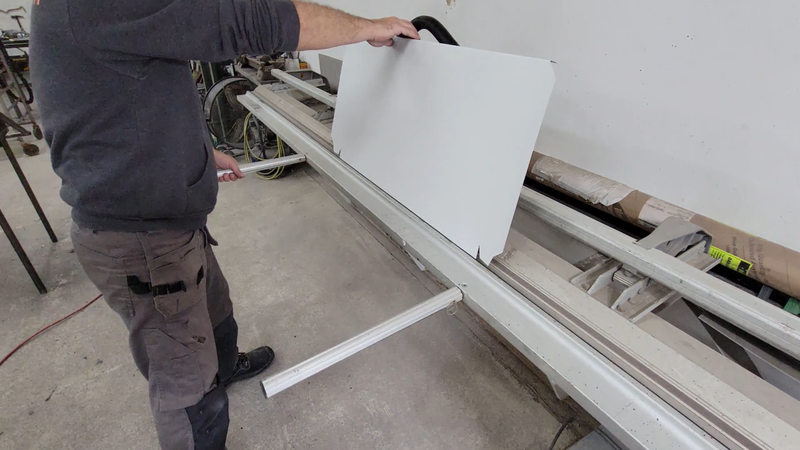
I then made a couple of hooks out of aluminum to fasten to the oven frame that will be used to hold the platen up while the oven heats the plastic for forming. I find that covering the aluminum with masking tape first, then drawing my pattern on top of the tape makes it much easier to cut with a jigsaw. Being a soft metal, aluminum will gum up on the jigsaw blade within minutes of using it, and it'll jam up in the workpiece and be a general pita unless some sort of lubrication is used. WD40, old motor oil, even water will work. But they all create a mess with the shavings. But the adhesive on masking tape seems to do the trick. It warms up when cutting and provides plenty of lubrication for the blade to keep the aluminum from gumming up (surprisingly) and there isn't a big mess to clean up when it's done. I used my recently scratch built sheet metal brake to bend tabs on the hooks that'll make them easier to grab.
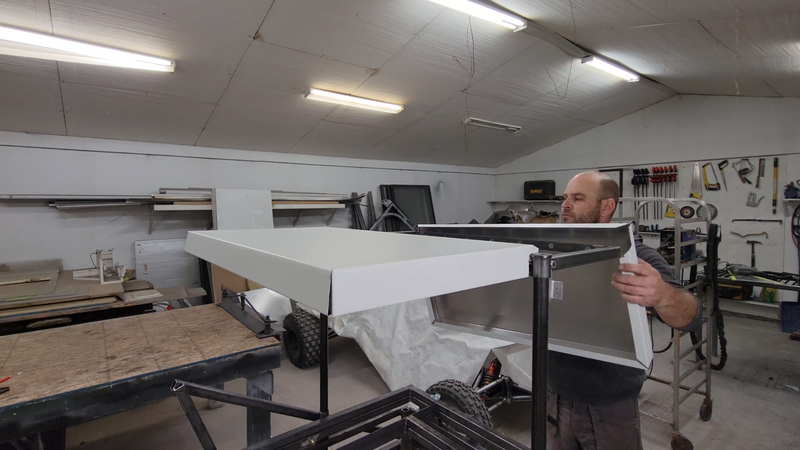
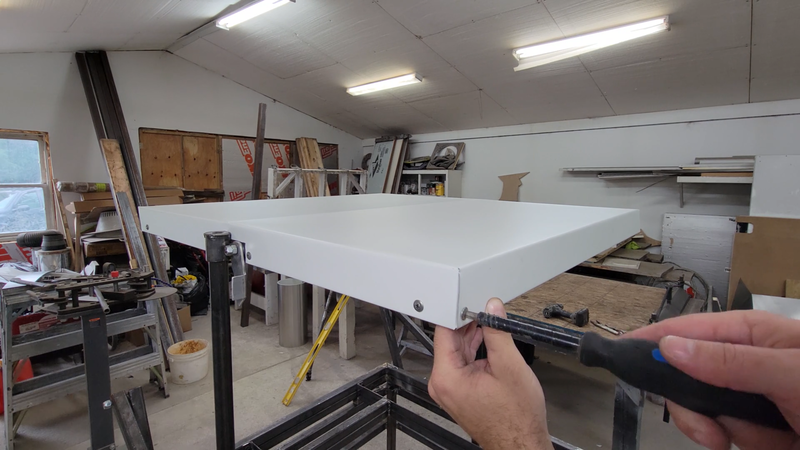
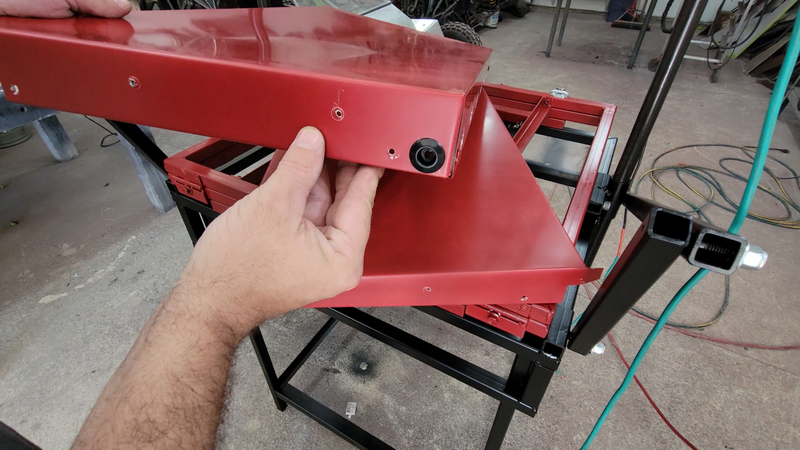
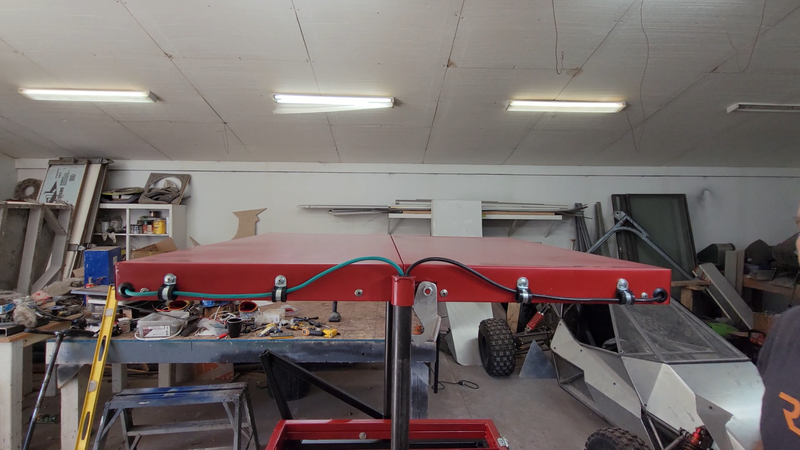
The last bit of fabrication left to do was the shield for the oven. The outside is just a simple box that I bent out of 0.026" thick aluminum sheet using my aluminum sheet metal brake, and fastens to the oven frame with self tapping sheet metal screws. I also incorporated inner heat shields to help focus the heat on the plastic and protect the wiring to the elements, and keep the outside shield (or cover I guess) from getting too hot to touch. I later drilled a series of holes in the front and back of the cover to help the wiring chase dissipate heat better.
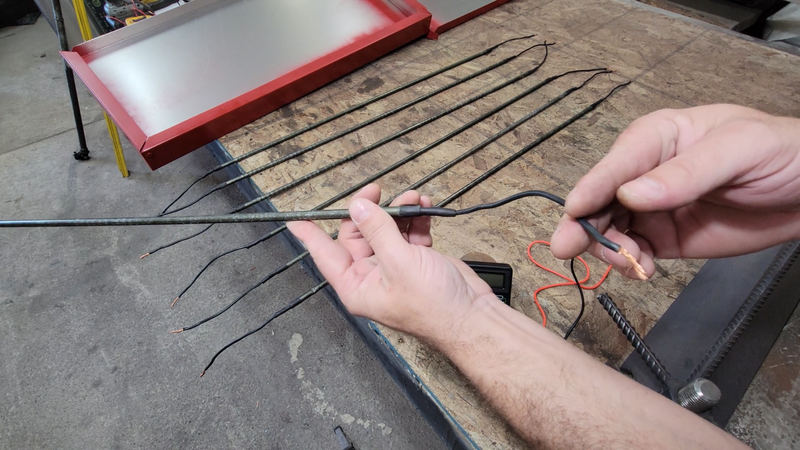
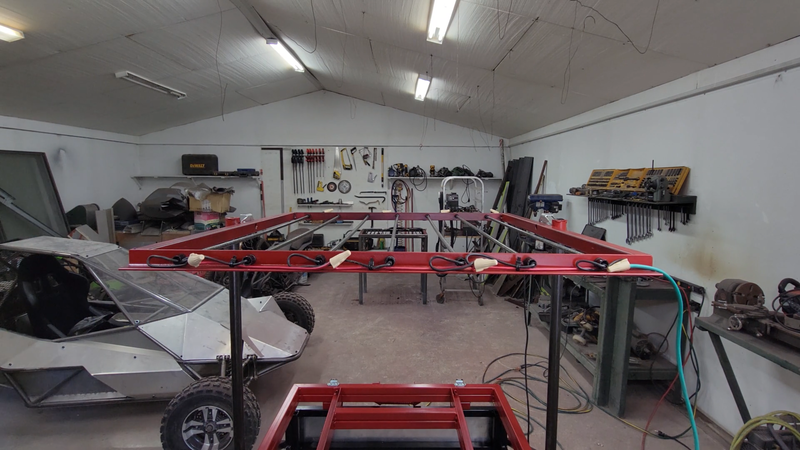
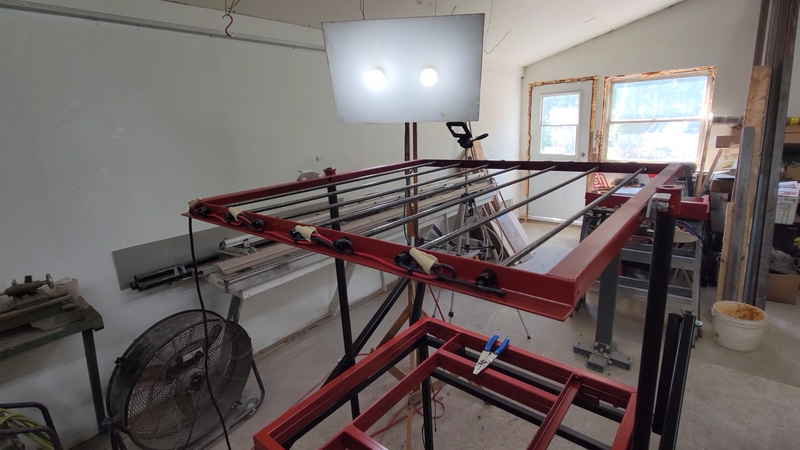
I then took the former apart completely, then sanded, cleaned and painted all of the parts. The next day I began the final assembly and wiring. The elements that I used were salvaged from 220V, 500W electric baseboard heaters. They're tubular elements, like what's used in ovens, some cooking ranges, water heaters, baseboard heaters, etc. I've used them before in my scratch built solar panel laminator and they work great. They're just the right length and power rating for this application.
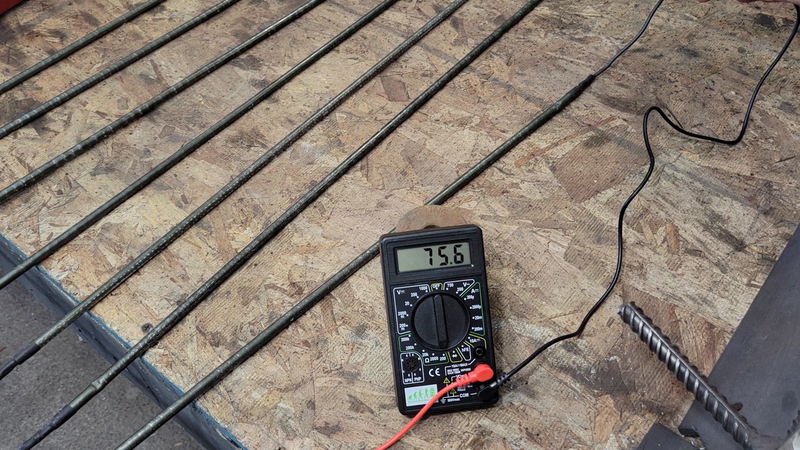
I checked the resistance of the elements with a multimeter set to 'ohms' before I wired them up, just to make sure that I wire the circuit to handle the current that it will be pulling from the 220V split phase main. The resistance for each measured a consistent 75.5 ohms. Current = Volts / resistance, so 220V / 75.5 ohms = 2.9 amps per element. I had 7 elements wired up in the video, so that's a total of 20.3 amps at 220V, or 220 * 20.3 = 4466 watts. I later found this to be too much power for the amount of forming area, and downsized to using just 5 elements. All wiring, switches and plugs in the circuit needed to be sized to handle the current, with an appropriately sized breaker to protect it. After verifying the resistance, I installed and wired the elements in parallel, and connected them to a double pole, single throw toggle switch. I used rubber grommets where the wires exited the oven cover and entered the guide post to protect them from chaffing.
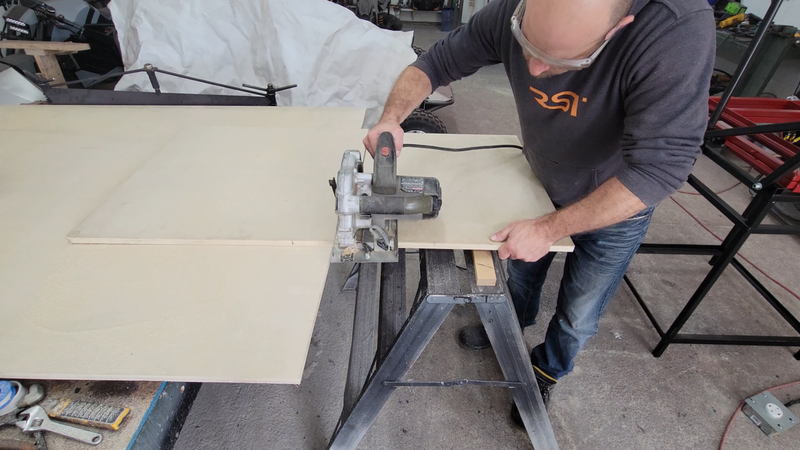
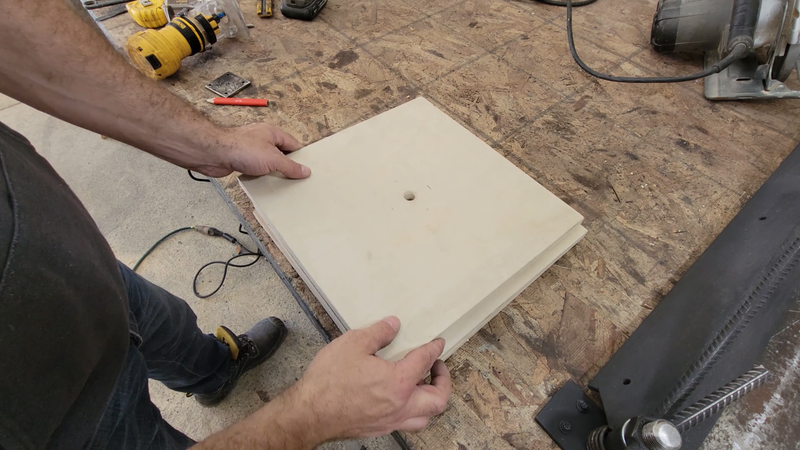
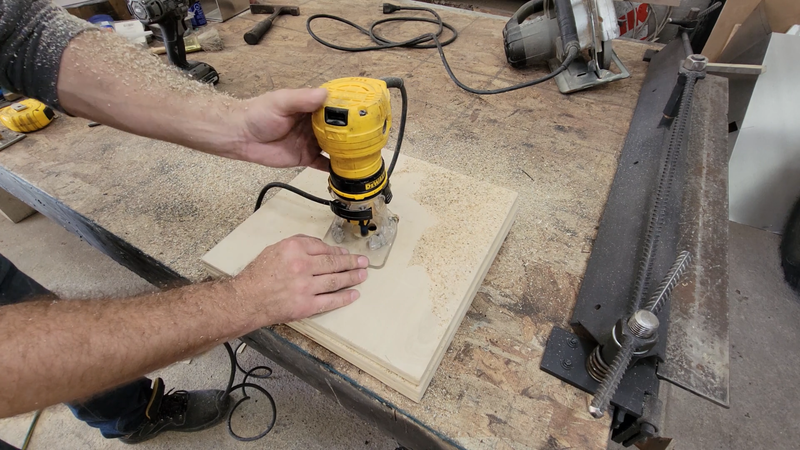
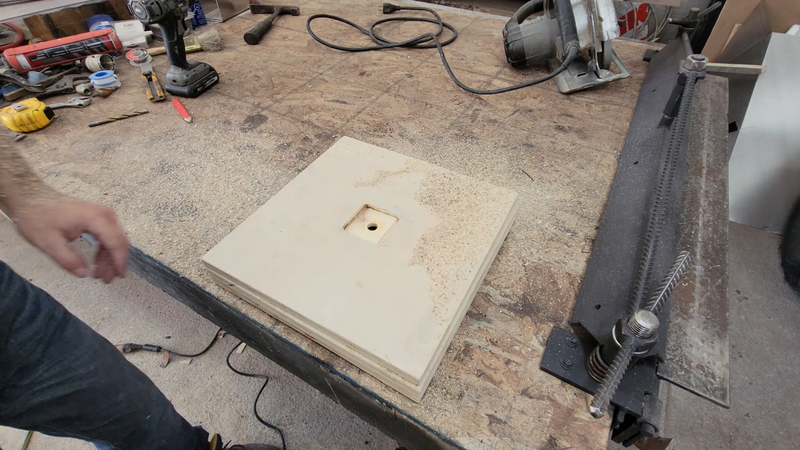
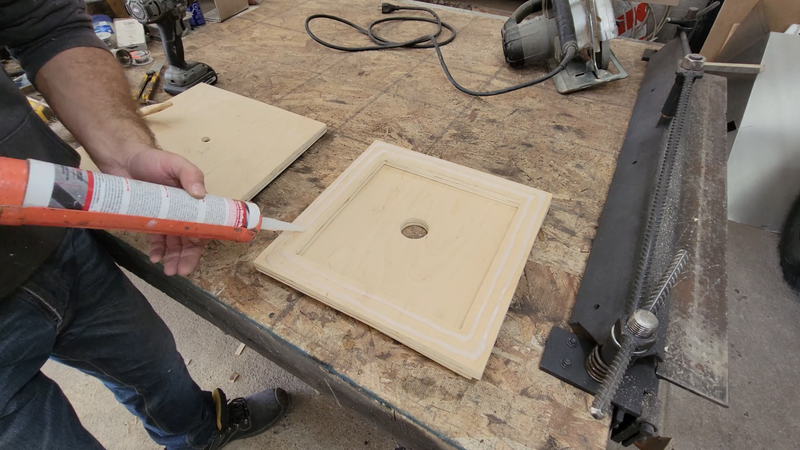
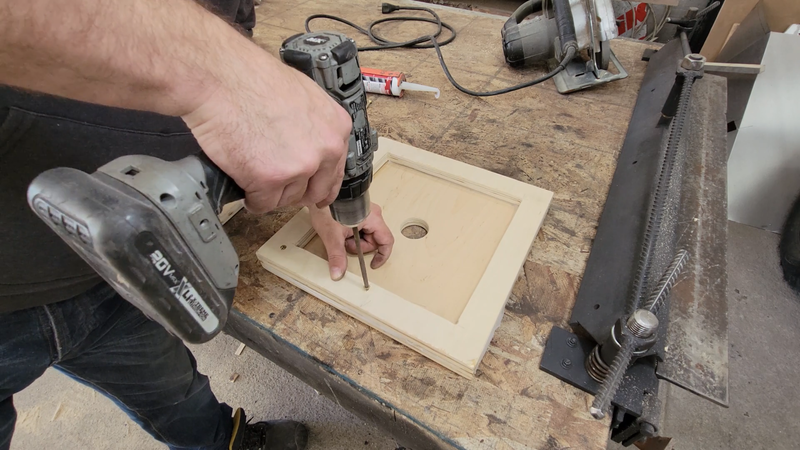
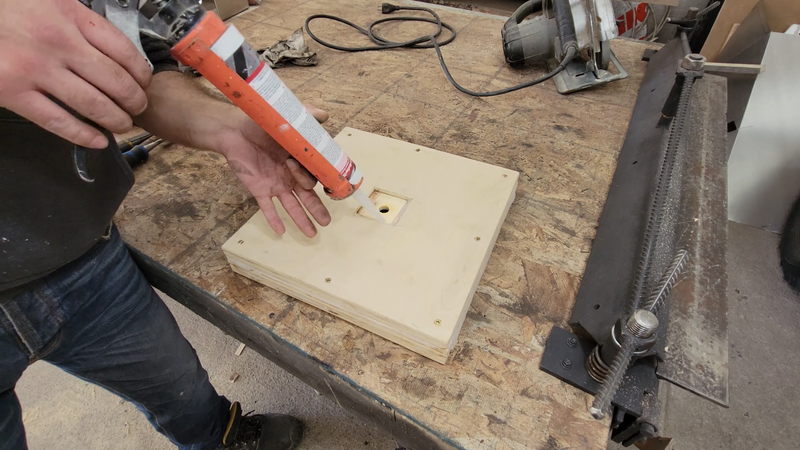
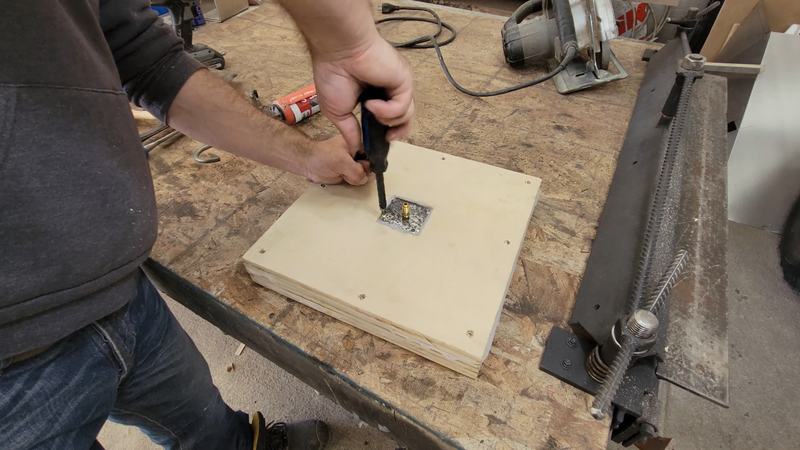
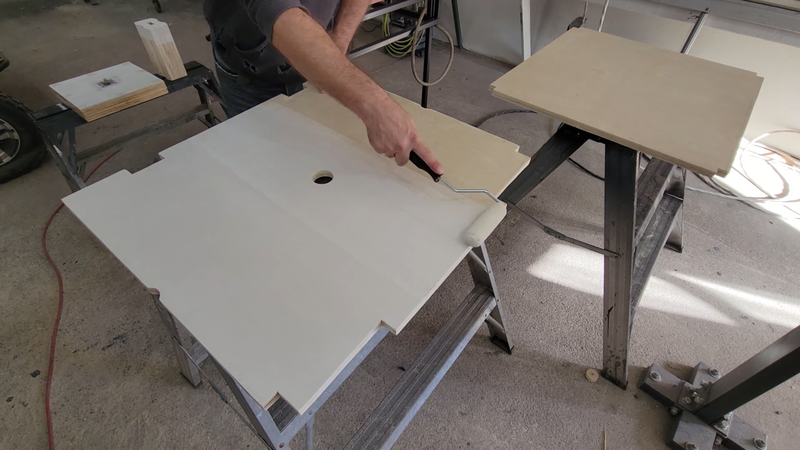
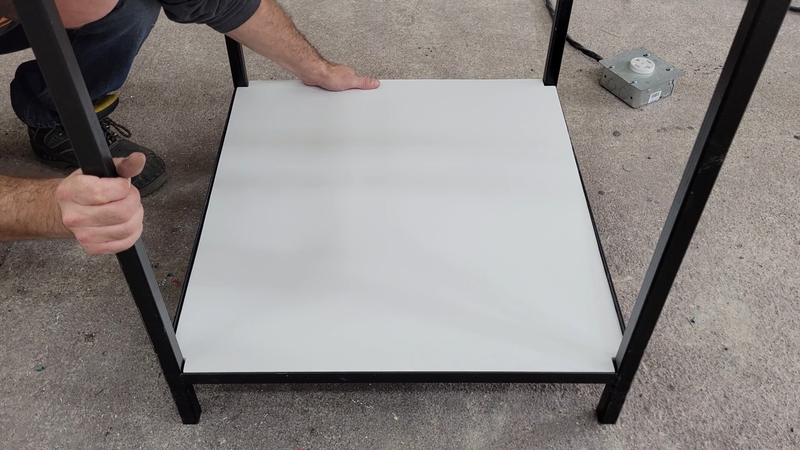
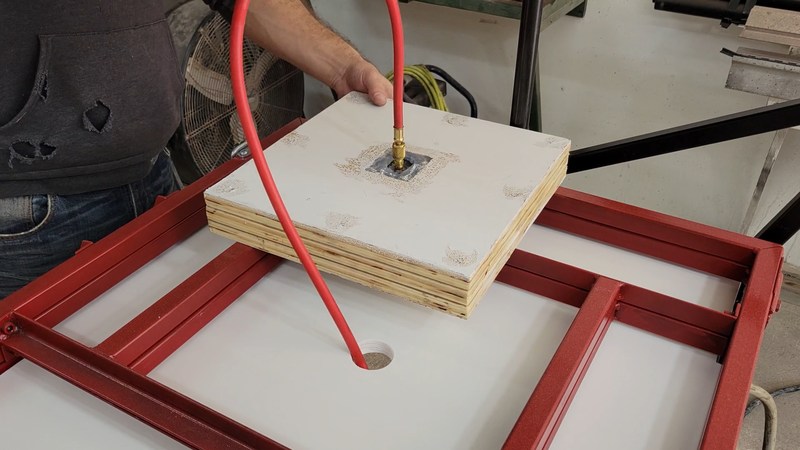
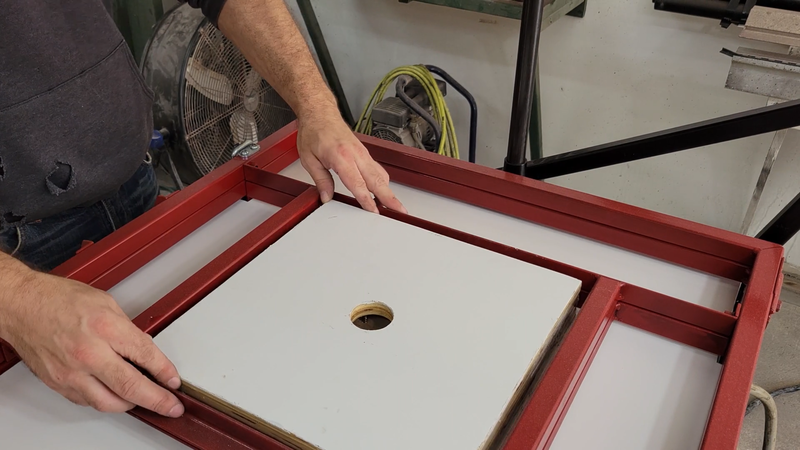
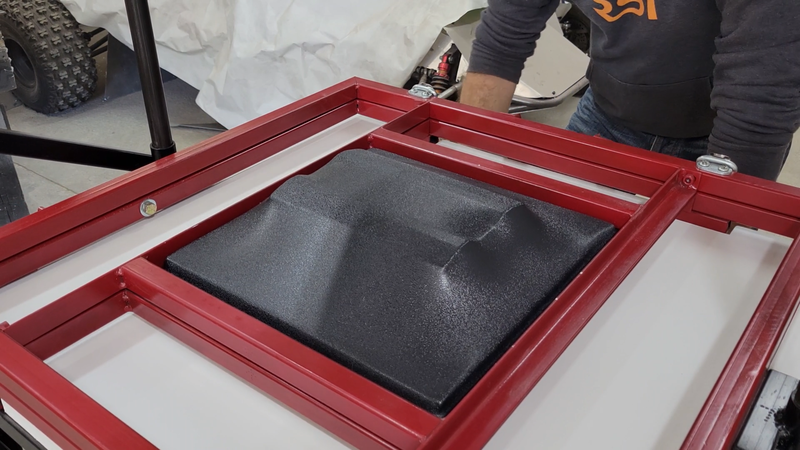
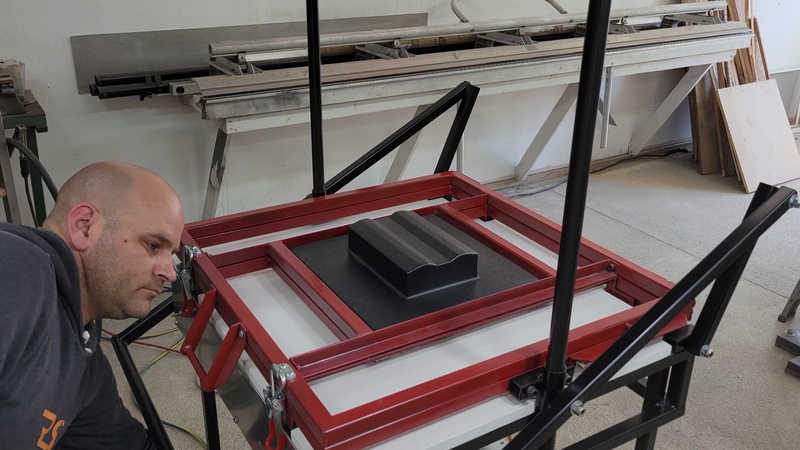
When the wiring was finished, I moved on to making the shelves, table top and plenum from 3/4" thick birch plywood. The plenum is just 3 layers of plywood siliconed and screwed together to form a hollow, sealed box that serves as a platform for the buck (mold) that I'll be forming to and make the connection to the vacuum line. It's approximately 1" smaller (l*w) than the space in the platen, and the top surface is 1" above the plane of the clamped plastic in the platen; this allows me to form a seal between the heated plastic and the edge of the plenum when I lower the platen down to the table to pull a vacuum and form. Without this seal, there is no vacuum. On the bottom side of the plenum I rabbited out a recess for a small 1/4" steel plate with a threaded hole to receive a 1/4" NPT male union which will connect to the vacuum lines. A person can also use barbed fittings and rubber hoses, instead. I used fittings to suit the HVAC charging hoses that I purchased for previous projects.
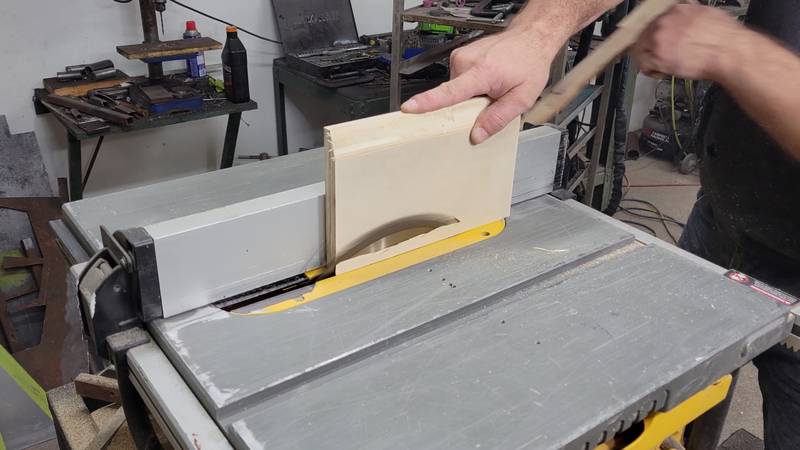
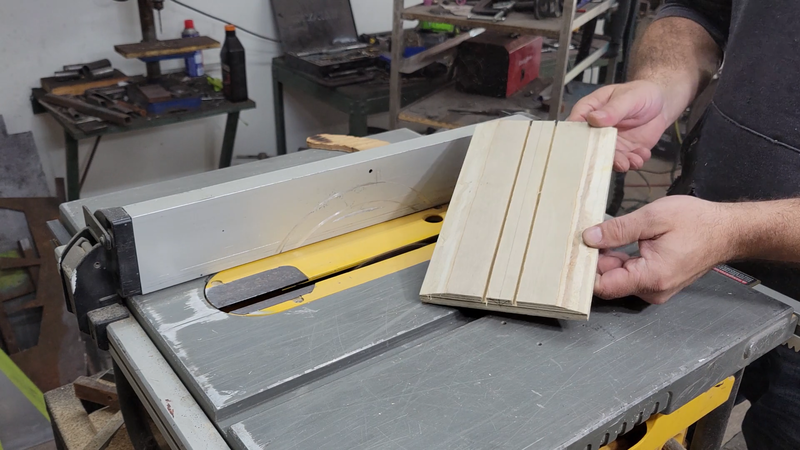
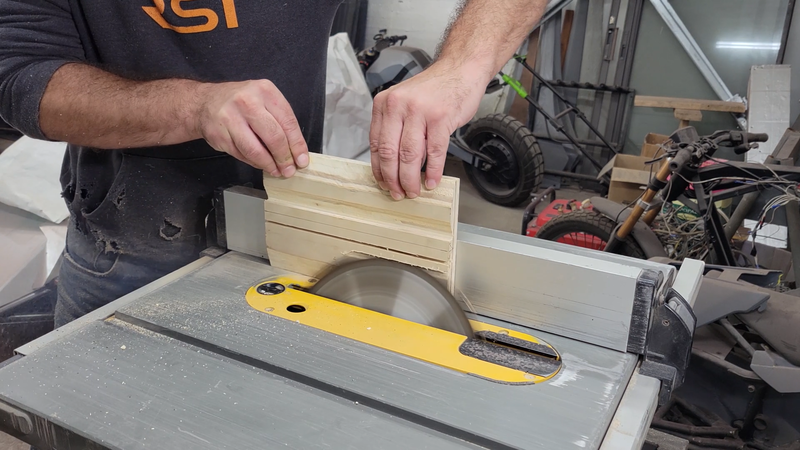
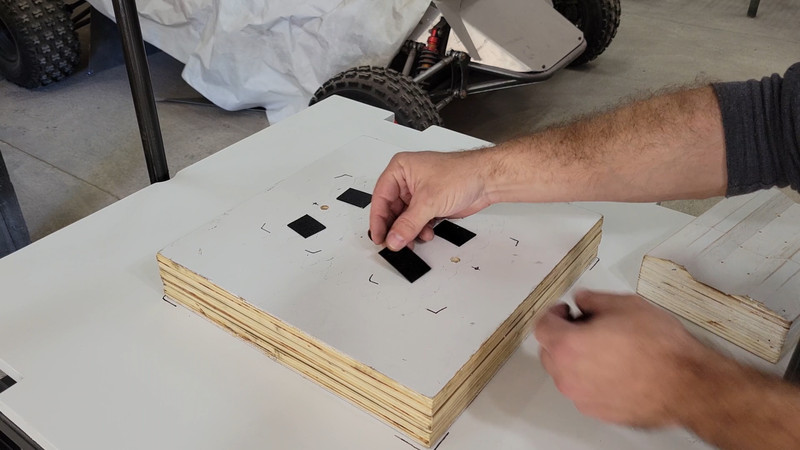
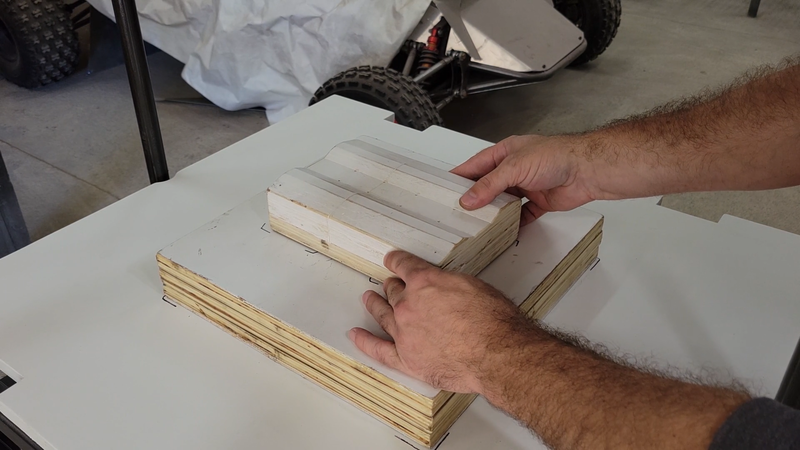
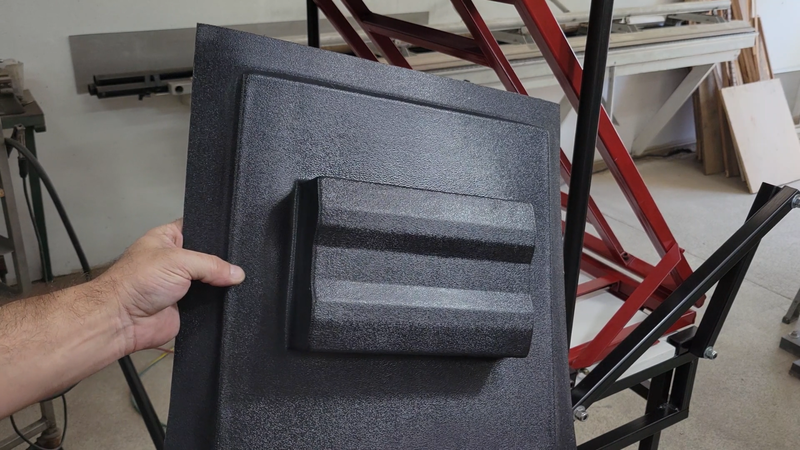
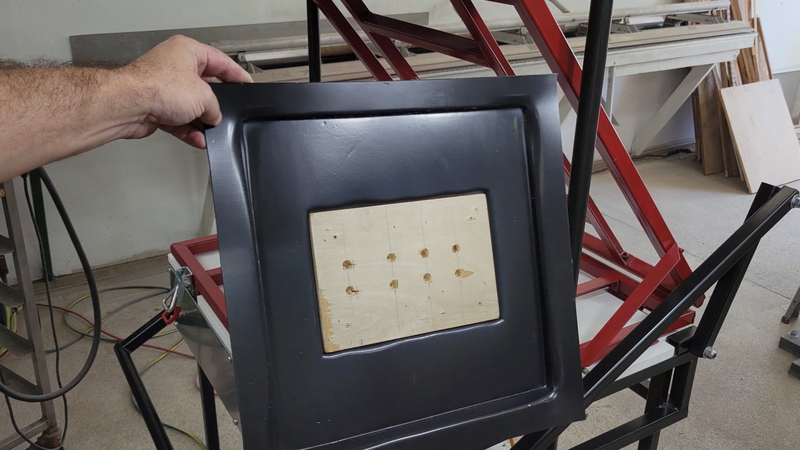
As I mentioned earlier, I built this machine to make cases for the crosskart battery modules. In order to do that, I needed to make a buck that's slightly larger than the size and shape that I want the cases to be. I took measurements of the modules and added 1/8" in all directions. This will help compensate for the plastic naturally shrinking as it cools after it's formed, and provide a little wiggle room for getting the modules into the cases. I then used a table saw and trim router to cut and shape a plywood buck accordingly. I primed and painted the wooden components and then installed them with the vacuum system.
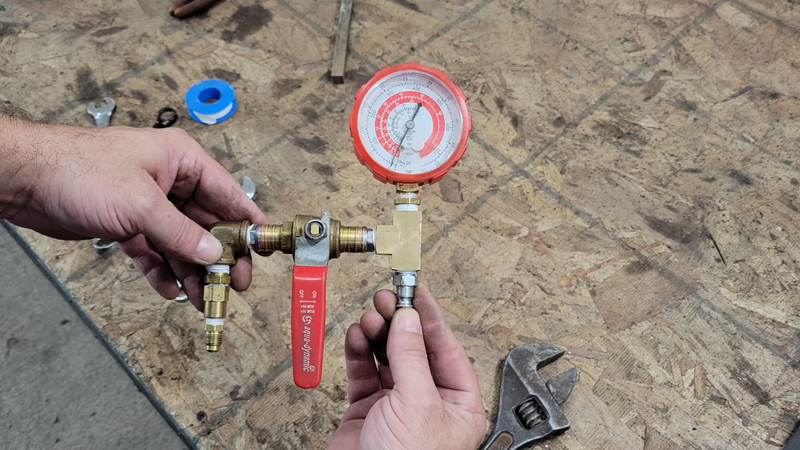
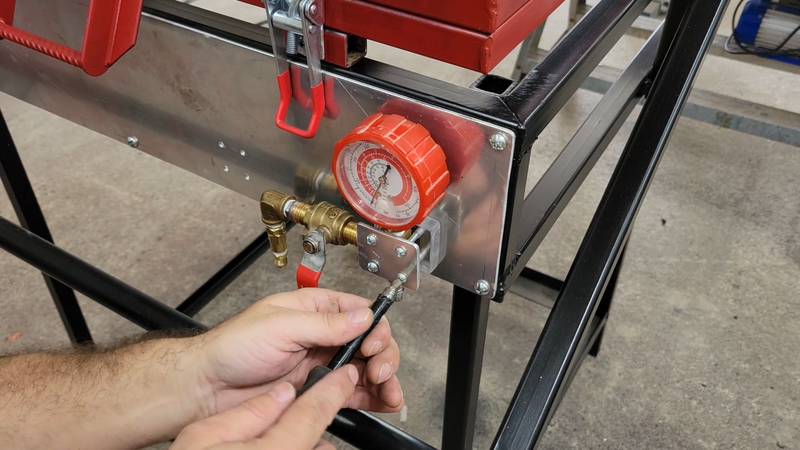
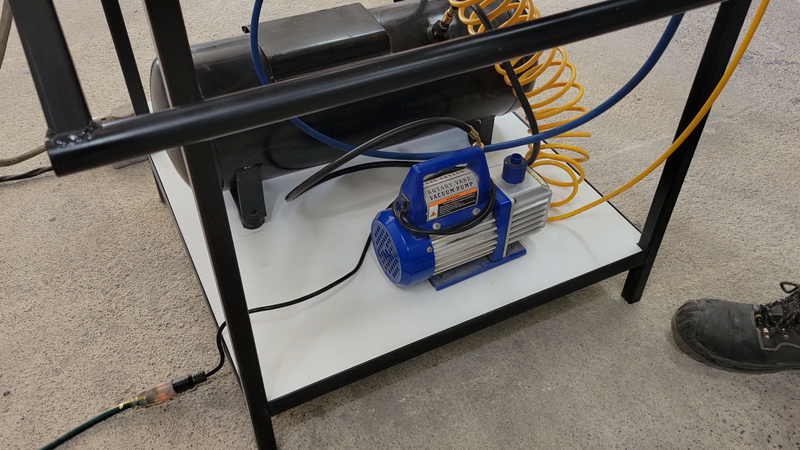
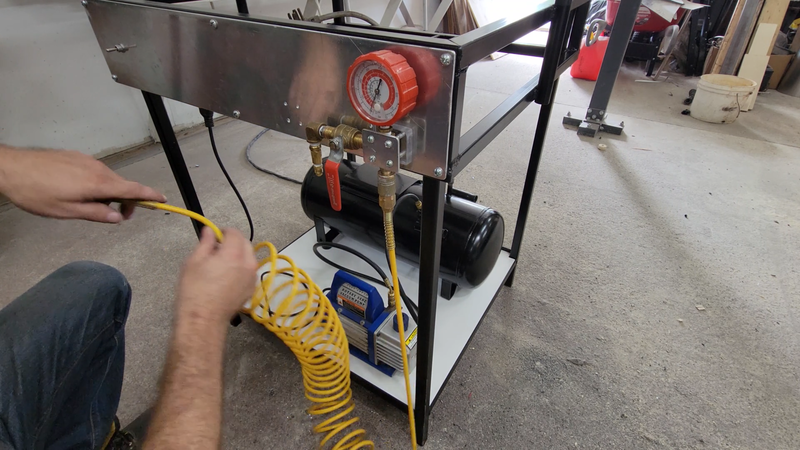
I used a 1/4 hp single stage rotary vacuum pump, which seems to work just fine. I connected it to an 8 gallon air tank, and the air tank was connected to ball valve and negative pressure gauge. The ball valve is connected to the plenum under the buck. The ball valve, or 'dump' valve, is used to dump the air trapped under the heated plastic sheet after it's stretched over the buck, into the tank below to create a vacuum and pull the plastic to its final shape.
Once the vacuum system was hooked up, it was ready to form. I turned on the vac pump to pull a vacuum in the tank, then clamped a sheet of 1/16" thick ABS plastic in the platen, raised it and turned on the oven. Then I set the buck on the plenum with a small piece of 1/16" thick plastic under each corner to keep it elevated enough for the vacuum to pull around all the edges of the buck and into the hole below it.
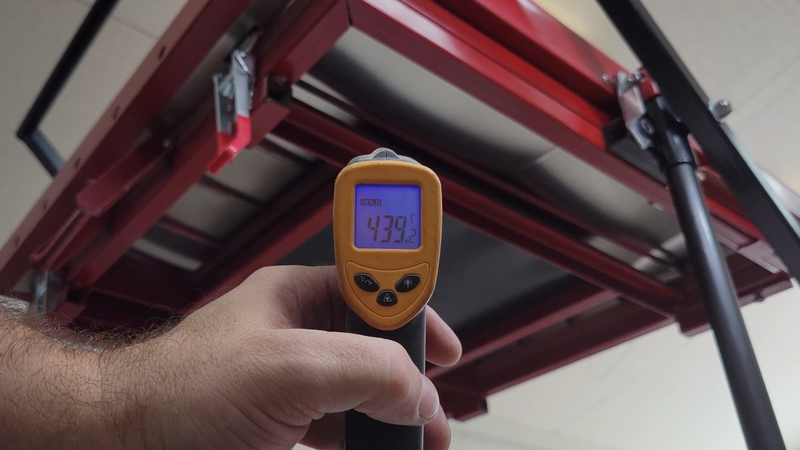
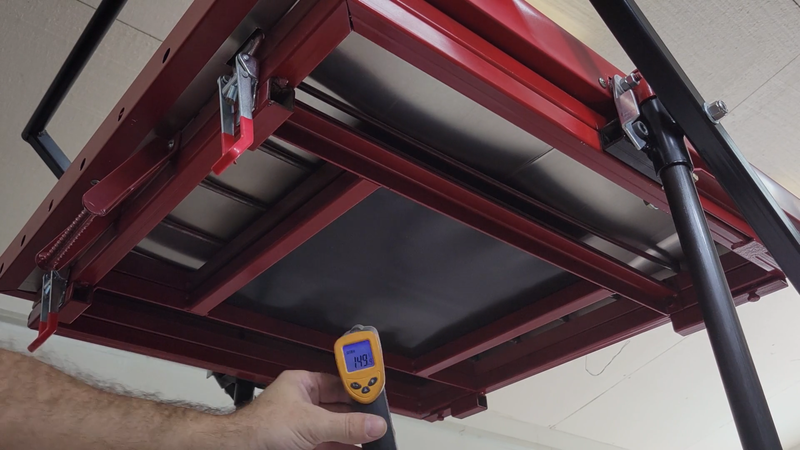
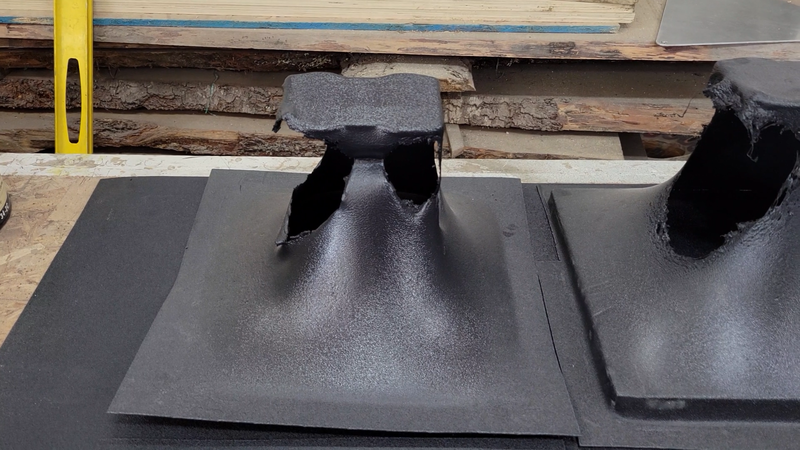
I periodically checked the temperature of the oven every 30-60 seconds, making sure that it doesn't overheat and burn the ABS. It's important to not let the elements and plastic get too hot, not just because of a fire hazard but also because the plastic won't form properly if it's not the right temperature. For ABS I found that ~150°C was the sweet spot. The glass transition point is ~110°C, which is when it starts to become soft and rubbery. The melting point is ~200°C. This is too hot, as you'll see from my fails in the video. The ABS becomes too runny and can't hold its form. It also begins to smoke and boil, creating air bubbles that weaken it. It gets hottest in the center of the plastic first, and the edges lag behind. The hotter the elements operate, the bigger the difference between the center and edges of the plastic and the greater the risk of overheating the plastic. I found that turning the elements off when they begin to glow red at around 300-350°C was optimal for heating the plastic to forming temperature quickly but relatively evenly. I'll be incorporating a PID controller and thermocouple later to keep the temperature under control.
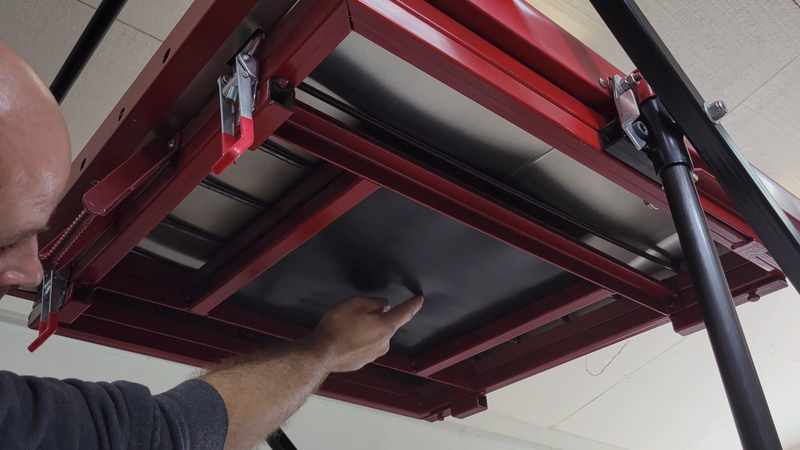
The heating process takes just 4 to 4 1/2 minutes to complete. You can tell it's ready when the center of the plastic begins to droop and becomes rubbery to touch, kind of like a tire tube. This is the perfect time to drop it and pull the vacuum. When the platen is lowered, I make sure to force it all the way to the table to get a good seal around the edges of the plenum before opening the ball valve. I let the pump pull a vacuum for around 1-2 minutes afterward, until the plastic has cooled enough to unclamp it. But a person needs to move fast once the plastic is removed from the heat because it begins to cool quick, and a 5-10 second delay could mean the difference between a good vacuum pull and a half formed piece that solidified before it was finished. The thinner the plastic is, the faster it cools.
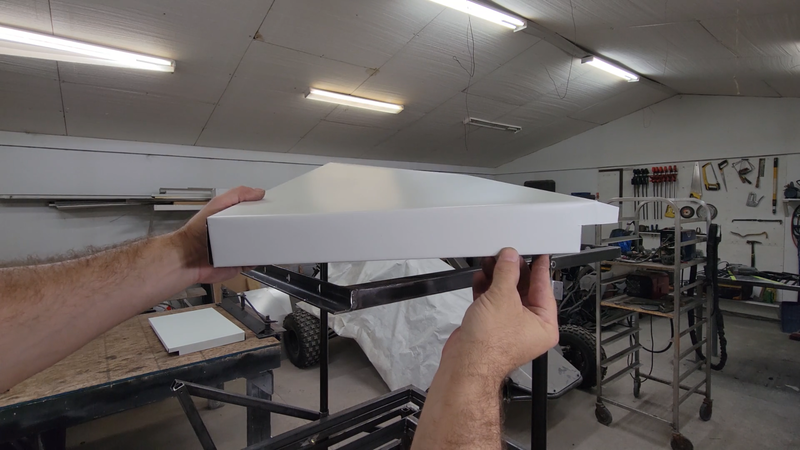
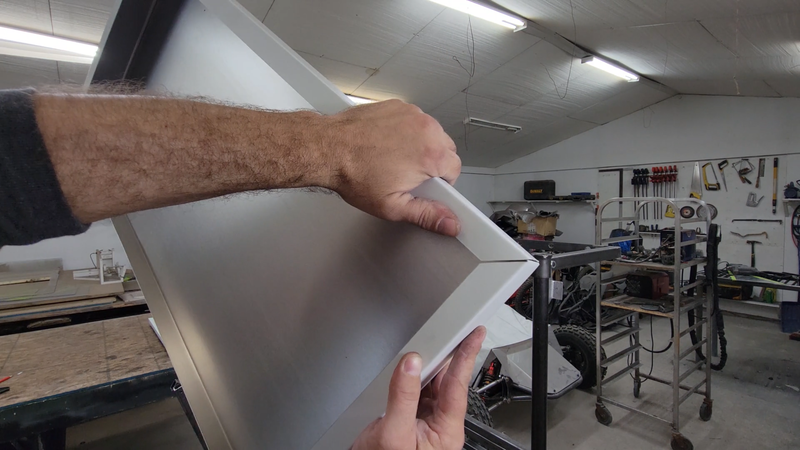
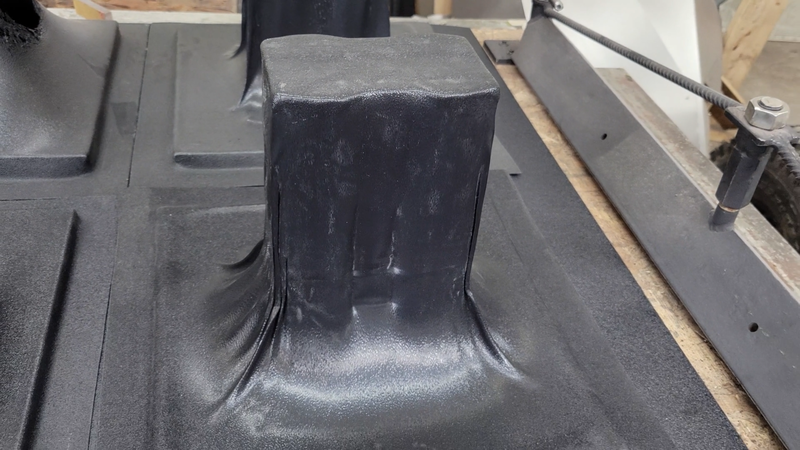
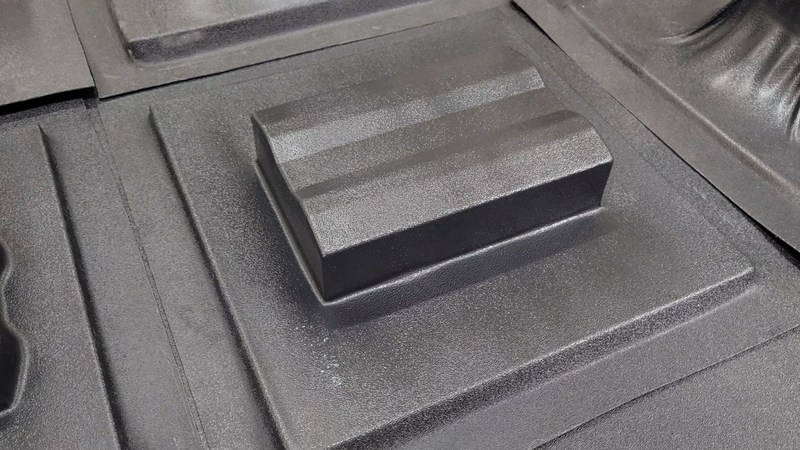
As mentioned earlier, the plastic is also going to shrink a bit as it cools. That means the longer it stays on the buck after forming, the tighter it clamps to it and the harder it'll be to remove the buck after without damaging the workpiece. The buck should be removed as soon as the plastic is cool enough to handle. Another thing to keep in mind is that when the plastic is stretched over the buck when the platen is dropped, it becomes thinner. It's a good idea to use slightly thicker material than what you plan the formed piece to be to compensate. The deeper the draw, the more the plastic will stretch and thin. I learned this the hard way when I first started forming. My original buck for the battery cases was tall so that I could form all the sides and bottom at once. However, this didn't work out well for the 1/16" thick ABS because it thinned too much and kept tearing open. So I switched to forming two halves for the sides and bottom, and a separate cap for the top. After forming, the parts were trimmed and assembled using ABS solvent cement. It was an extra couple of steps that I wasn't counting on, but they turned out great regardless. I'm super happy with this project. I'll show you how I made the battery modules and assembled the cases in the next video.
6 Comments
|
AuthorJames Biggar Archives
March 2023
Categories |


 RSS Feed