- Empty Cart
|
In this video I begin building the 55 kw off road electric crosskart buggy. Crosskarts are basically large, powerful off road go-karts built for racing on dirt and snow/ice tracks. I won't be racing this machine, so it's being built with more aggressive tires and a higher than normal ground clearance for ripping around in the trails.
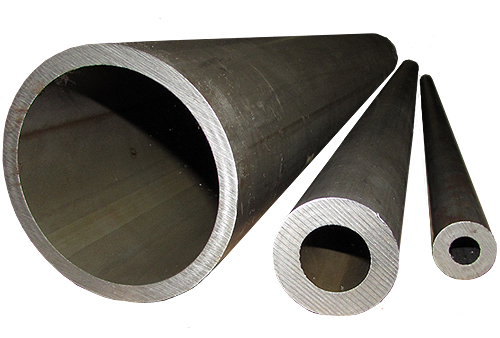
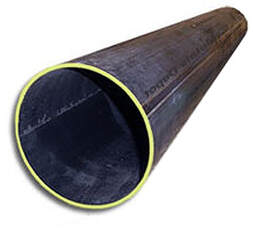
The chassis is made with 1.25" and 1" diameter x 0.12" thick wall DOM steel tubing. It can also be made with the same size HREW tubing, which is similar to DOM in dimension but has a welded seam and is more affordable. DOM is basically welded tubing like HREW that's been worked over a mandrel and ground and polished to precision inside and out so there's no welded seam to deal with when it's finished. DOM is slightly stronger than HREW, but not necessarily required for chassis building unless race regulations call for it.
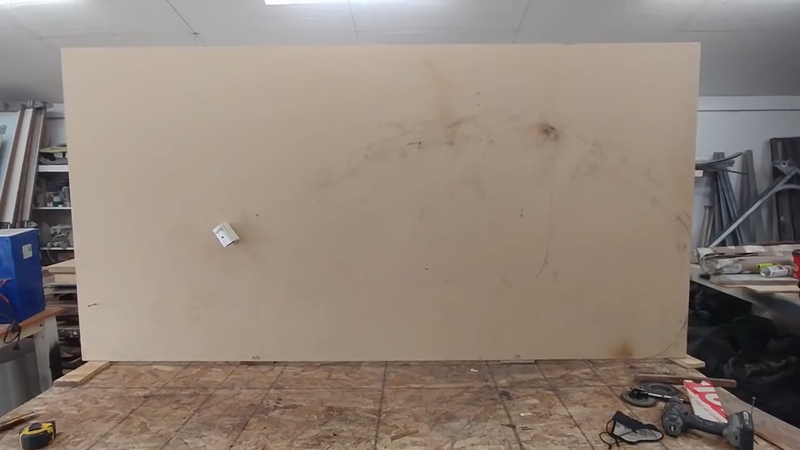
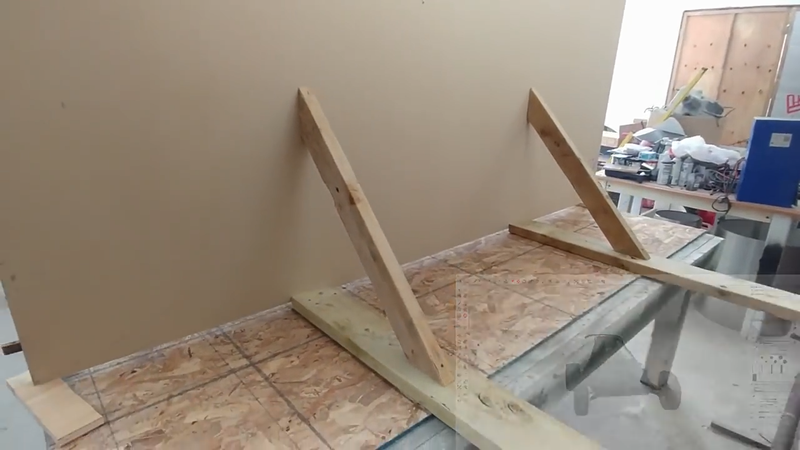
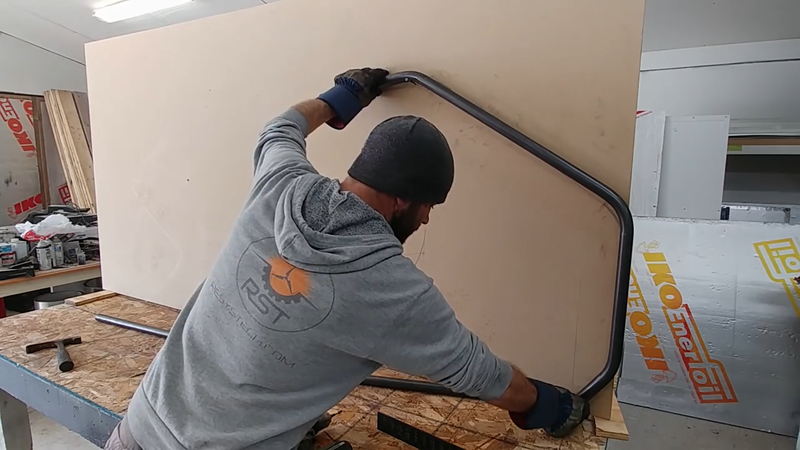
I first begin the build by laying out the bottom and side profiles of the chassis on a level workbench and a sheet of MDF that was attached at a right angle to the bench with 2x4 wood braces and screws. The reference lines drawn represent the center of the tubing, and make it easier to measure, mark, and fit each piece. The chassis was built in two halves that were later joined with crossmembers.
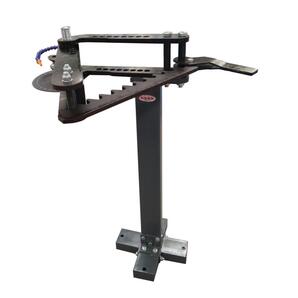
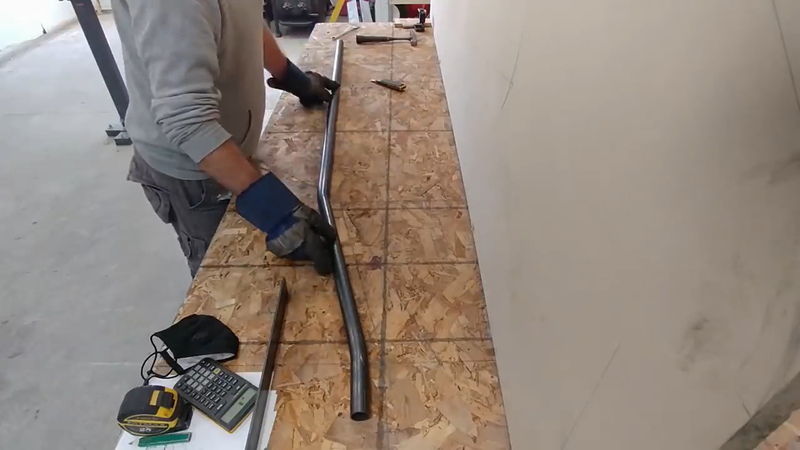
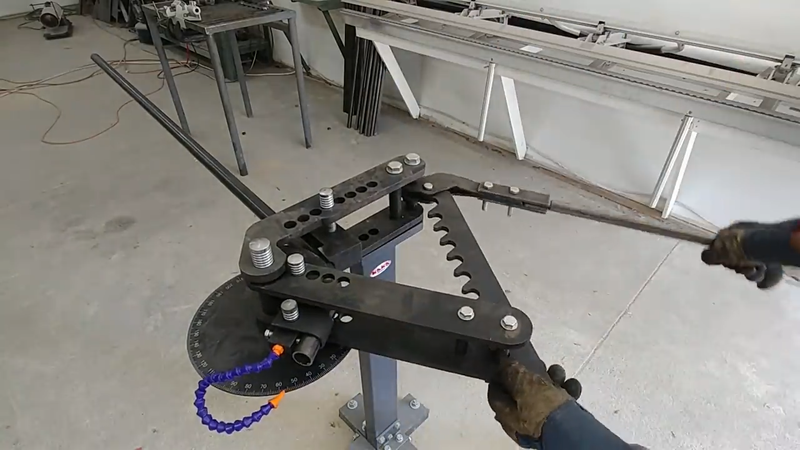
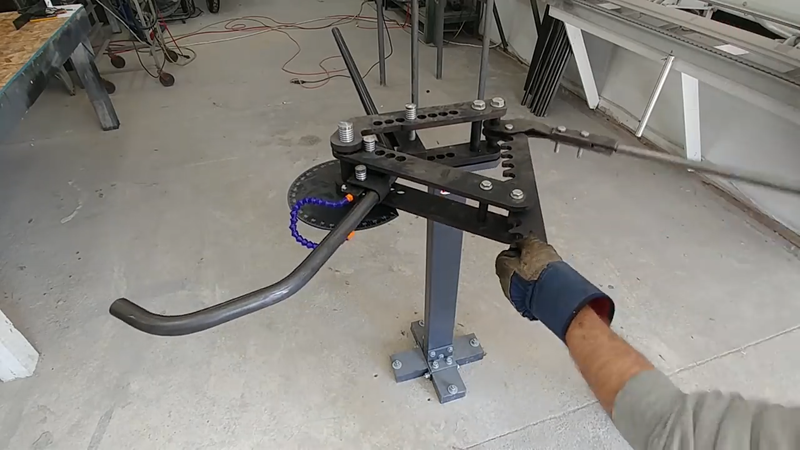
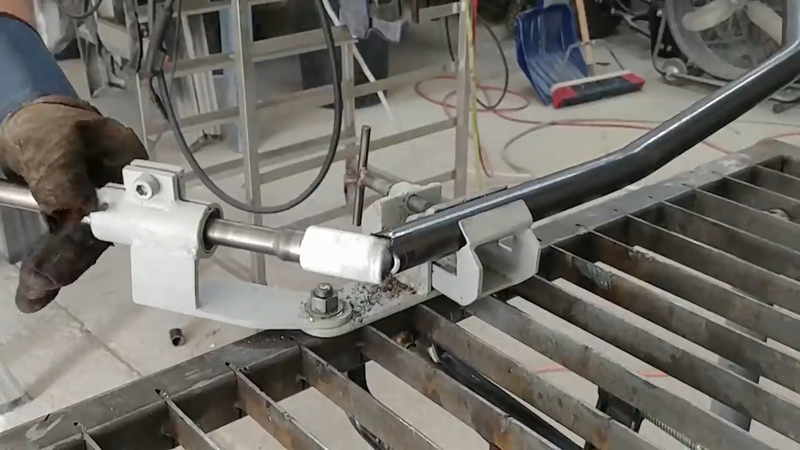
I used my TB-3 rotary draw bender from Kaka Industrial to bend the tubing. It's a bit pricy for a manual tool and might be a bit too much for the avg DIY'er to invest in, but if you're into this kind of stuff and plan on building more than one tube chassis in the future, then forget about miters - this is the tool for you. It works great, and I'm really happy to have it in the shop. This bender saved me a lot of work.
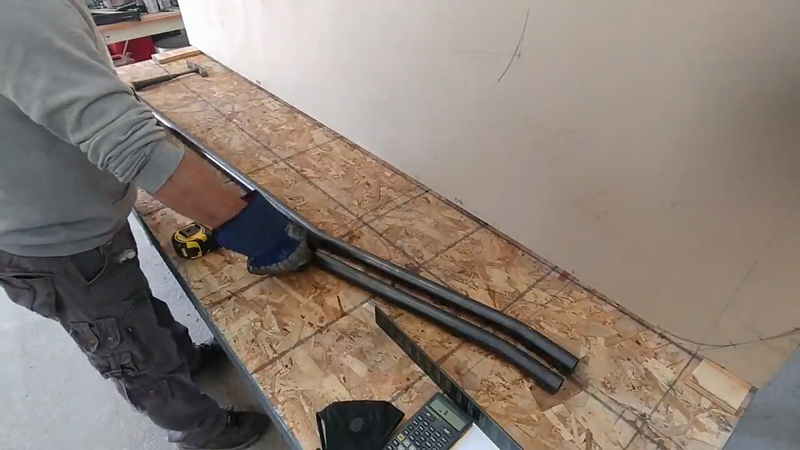
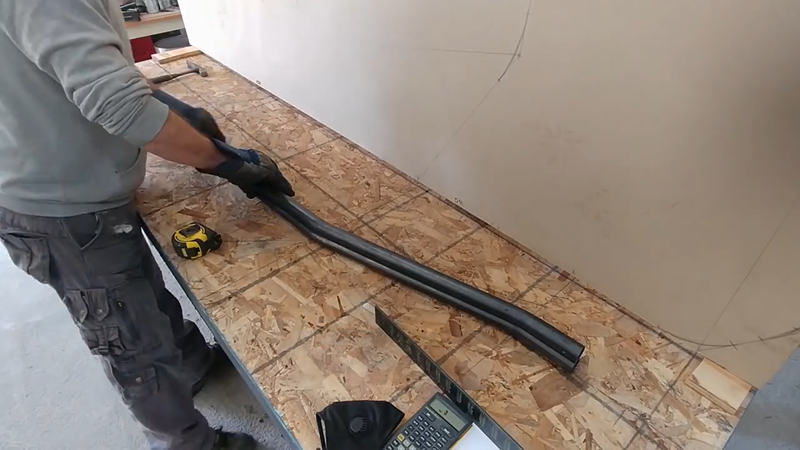
To avoid making mistakes, I bent each piece for both sides of the chassis and placed them next to each other on the layout lines to ensure they match in length, bend angle, etc.
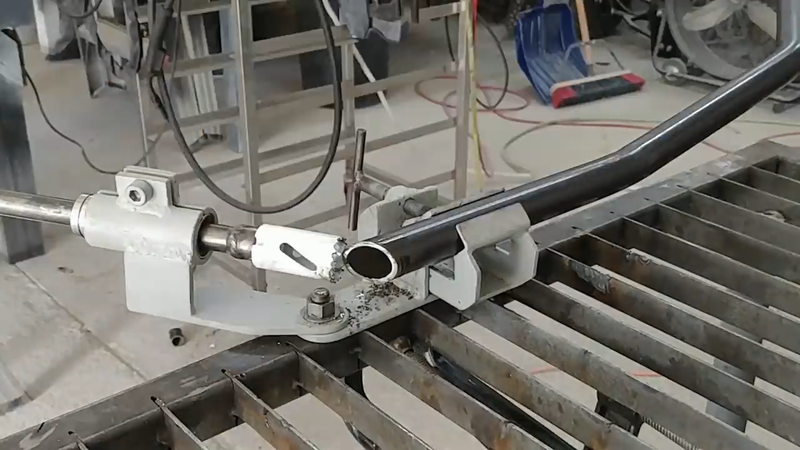
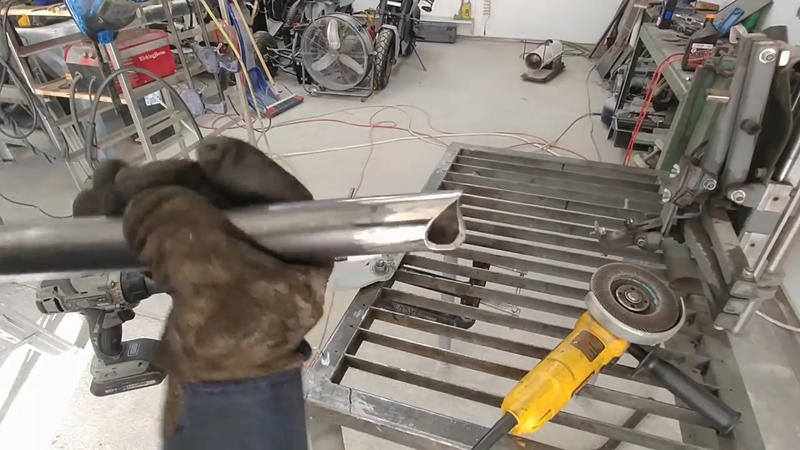
When necessary, I used my DIY tube notcher to notch the ends of the tubing where it needs to marry with another piece. The tube notcher saves a lot of work compared to using an angle grinder and it makes clean cuts that fit tightly with no gaps to save more time and $ when welding later. When I was satisfied with the fitment of each piece, they were tack welded in place.
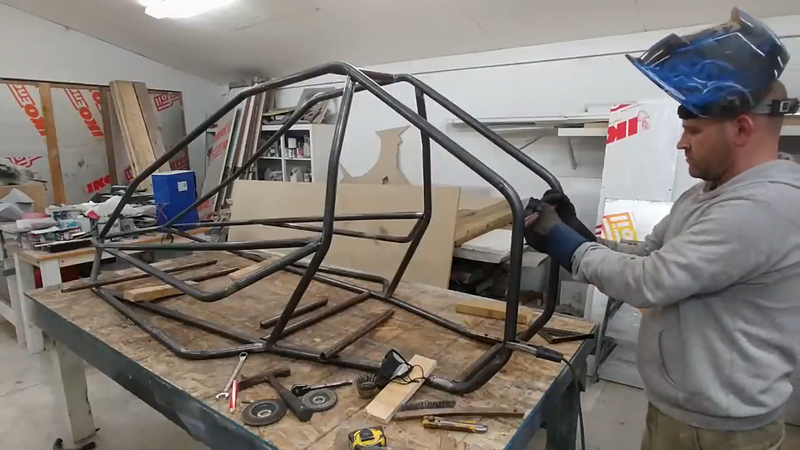
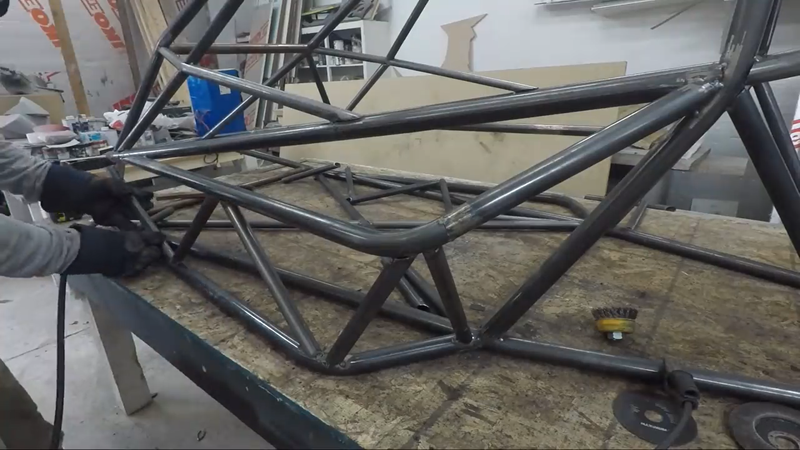
When the two halves of the chassis were finished, I removed the upright plywood from the bench and set up the halves so they were lined up with each other and spaced the right distance apart, then cut and welded the crossmembers between them. When the crossmembers were in place, I moved on to the diagonal bracing. The bracing went in the bottom, sides and back of the chassis. Its purpose is to form a truss assembly in these areas so they can support a load at any point and transfer it to the suspension, similar to how the roof trusses in a home are designed to carry and transfer a snow load from the middle of the roof toward the exterior load bearing walls.
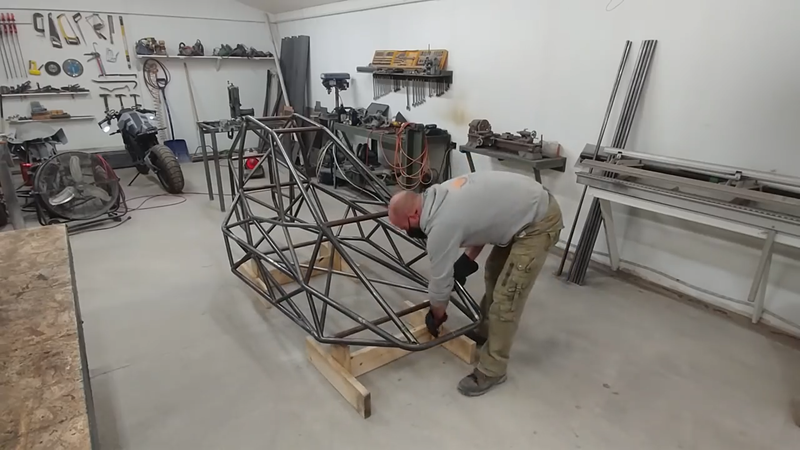
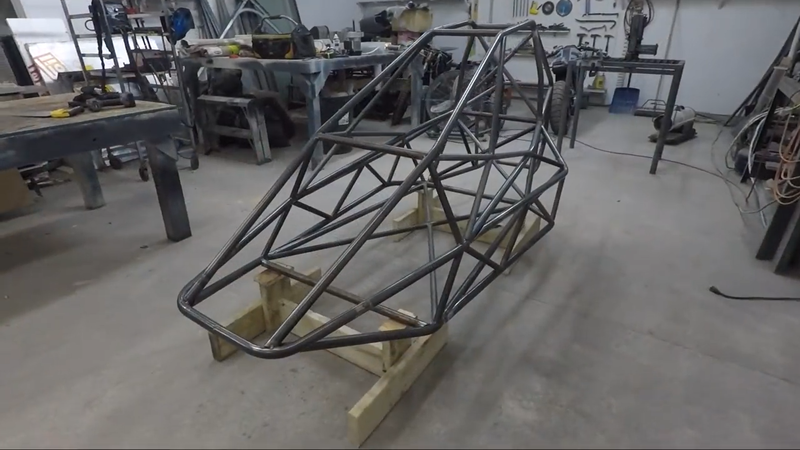
Once the halves were joined and the bracing was installed, I built a couple of wooden stands to set the chassis on at the desired (unloaded) ride height to prep for the suspension build. You can read more about that in the next post.
25 Comments
Joshua Cunningham
8/18/2021 07:17:00 pm
I wanna build my own diy cross kart is it possible to use plans that you have if you have one on pdf or if you can direct me to where I can get one
Reply
Diyor
9/4/2023 01:06:58 pm
You get it?
Reply
Mahir
10/22/2023 05:04:42 pm
same
Reply
Ke-Chi Chang
2/15/2022 04:56:17 pm
Hello, I'm searching for the plans on the crosscart under the project plans however can't seem to find them. Also unable to log in to the members area, cannot enter user credentials only password.
Reply
Moey
7/12/2022 11:59:40 am
Hello id like to build one will you share the blue prints? Im happy to buy them.
Reply
Joseph Greenfield
8/17/2022 02:25:02 am
could i get get the plans for this please
Reply
Simeon
9/11/2022 04:41:53 am
Можели да ми дадеш чертежите и аз да си направя бъги ако можеш прати ми ги на pdf ето и номер 0899758300
Reply
Julio
10/11/2022 01:08:57 pm
any plans on .PDF for the Crosskart?
Reply
sasan from hustle_n_rust
10/26/2022 06:00:13 am
do you have any cad files of the Frame? also what are your dimensions? I'm 6'3" and weight 265 pounds.
Reply
Guillermo
11/12/2022 10:02:56 am
Hi, i would like to get the plans, where can i get it?
Reply
Benjamin Szabo
1/31/2023 09:21:47 am
can i get the plans?
Reply
David
9/5/2023 09:46:51 pm
Hi, I would love to do this as a project with my brother and father. Are the blueprints available for purchase? You can contact me at +507 6677-6186
Reply
Mahir
10/22/2023 05:03:55 pm
i hope make one in future
Reply
sergio
10/29/2023 02:34:20 pm
What is the motor inside
Reply
Lumi
1/27/2024 03:21:57 pm
Hello I would like to build this but can’t find the plans, I would be happy to buy them please dm me for any further information
Reply
Mahmoud Shoja
3/4/2024 09:24:41 am
Hello James. I like to build a buggy like yours. Is this possible to use your plan?
Reply
Ronald
3/26/2024 02:39:41 pm
How can get the plan for this build?
Reply
GAM
5/17/2024 07:33:31 pm
Hello James. I like to build a buggy like yours. Is this possible to use or buy your plan ?
Reply
EPHRAIM MICHEL
6/1/2024 10:55:30 pm
i hope make one in future. i would like to buy the plans, where can i get it?
Reply
Thorsten
8/25/2024 02:19:40 pm
It’s kind to buy the blueprints or 3D files of the chassis, kindly email me at manufaktur@me.com thanks!
Reply
Paul Ifrim
11/17/2024 03:36:20 am
Hello!
Reply
Aleksandar Ivanovic
12/12/2024 02:59:37 pm
Great project,could i get get the plans for this also, please.
Reply
Hans
12/17/2024 05:28:27 am
Hiya!
Reply
James Moser
1/15/2025 11:11:26 am
Do you have the plans for this?
Reply
Leave a Reply. |
AuthorJames Biggar Archives
March 2023
Categories |


 RSS Feed