|
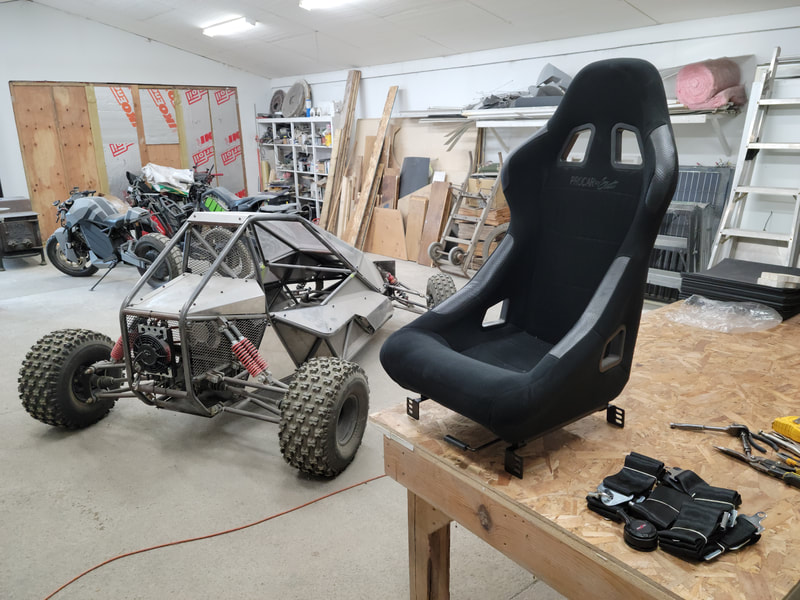
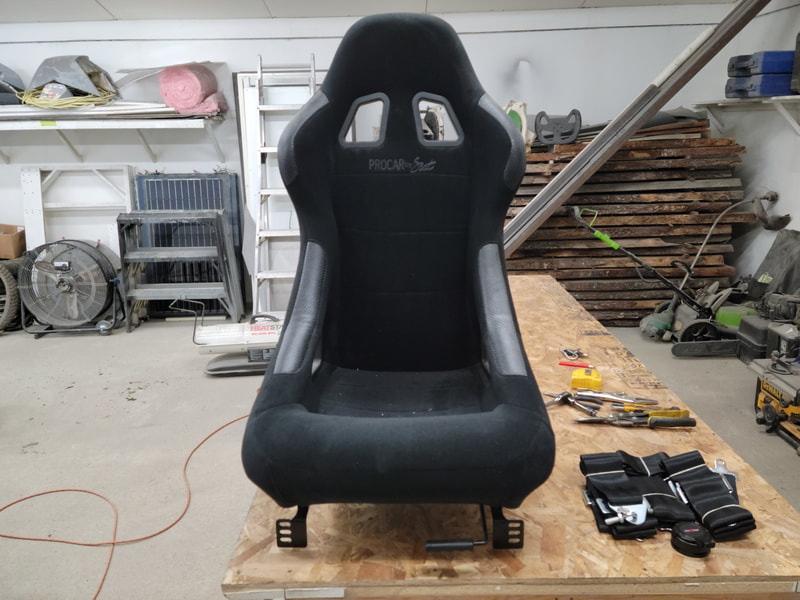
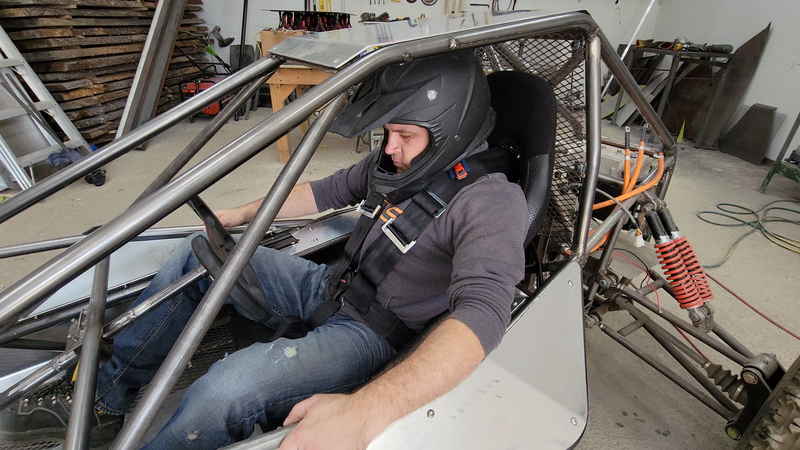
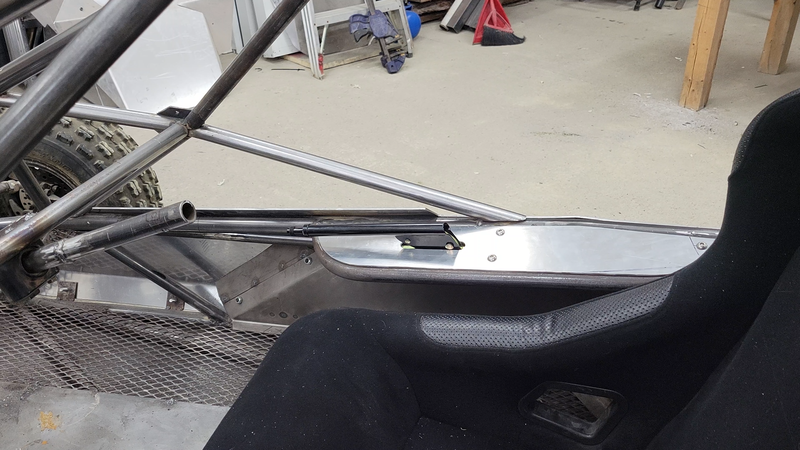
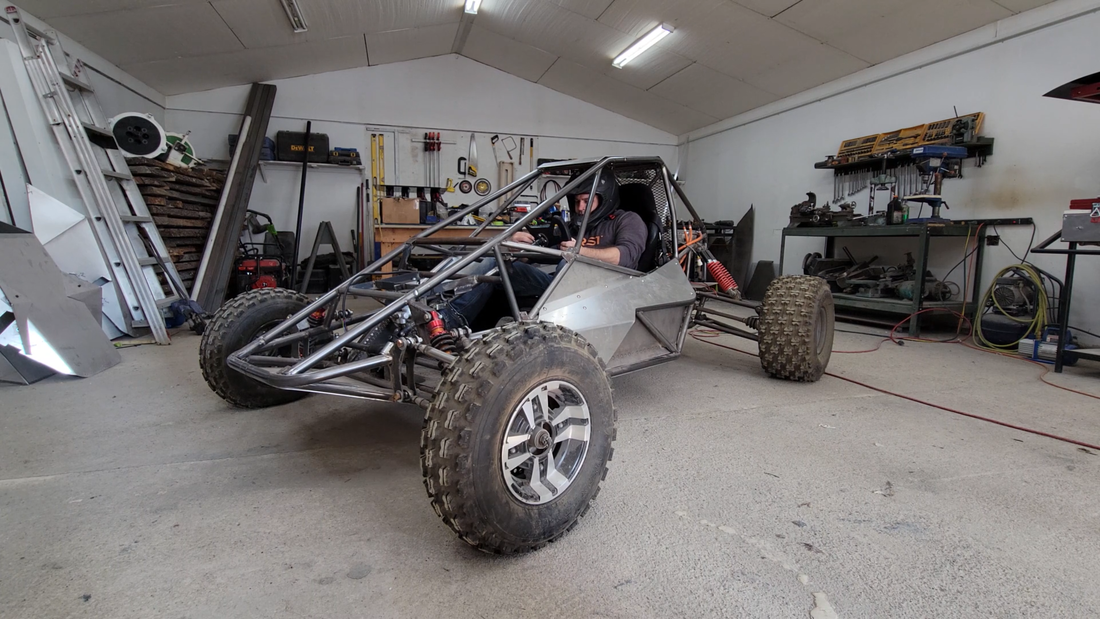
After building the battery modules, I moved on to fitting the bucket seat and parking handbrake. The seat was made by Scat Enterprises. It's designed for use with a 5 point safety harness and is as comfortable as I would expect for a racing seat. It's covered in a velour fabric which I'm not a fan of, but it's a proper seat and the most affordable I could find in the size that I needed without resorting to a plastic go-kart seat. I weigh ~180lb and it hugs my ribs pretty tight. If I were any bigger then it wouldn't be very comfortable at all, so if you're a light-heavyweight+, you're going to want to find something larger for your project (I believe these only come in one size).
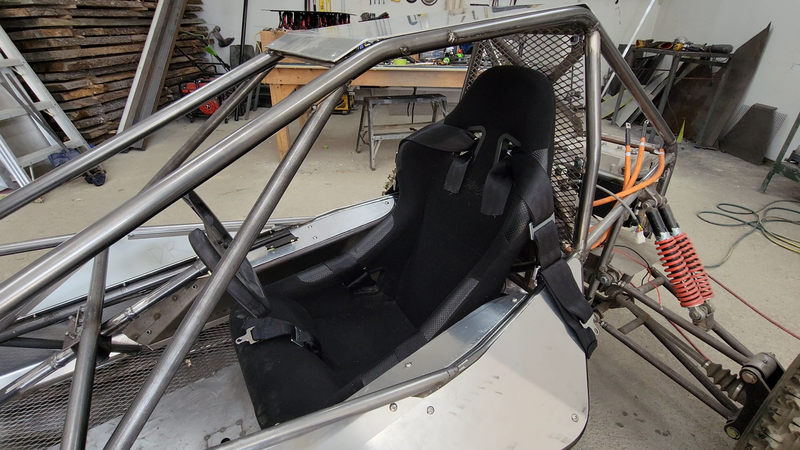
It also came with a slide track for forward/back adjustment, but it added almost 3" to the seat height and I had no room to spare, so I put the seat in the kart, jumped in and checked the leg room to determine the right location for it, then made my own fixed mounts and bolted everything to the steel plate below the floor pan. I'm making adjustments to the kart plans to add more headroom to allow for the slider and taller drivers, though.
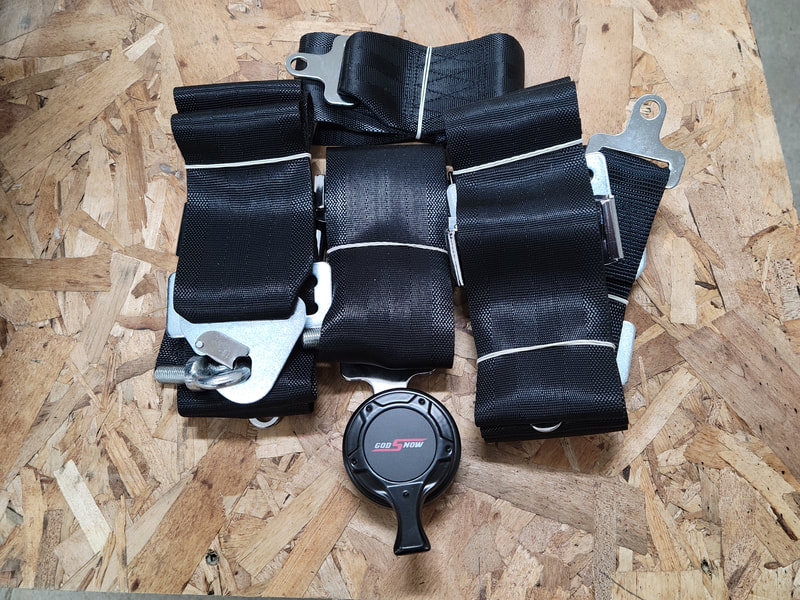
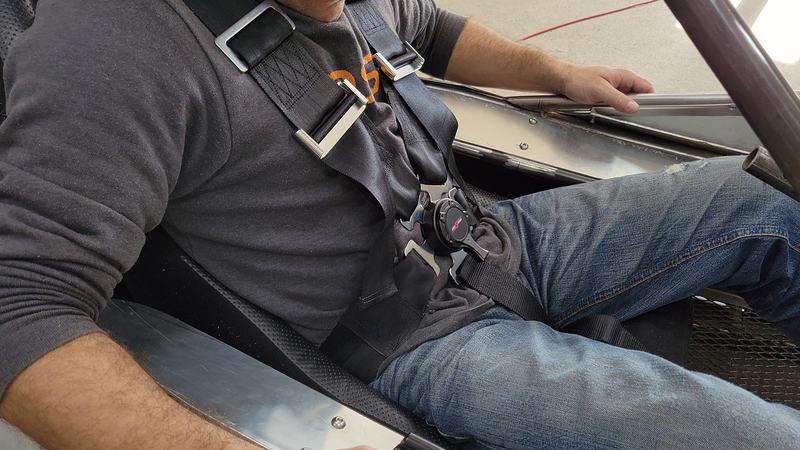
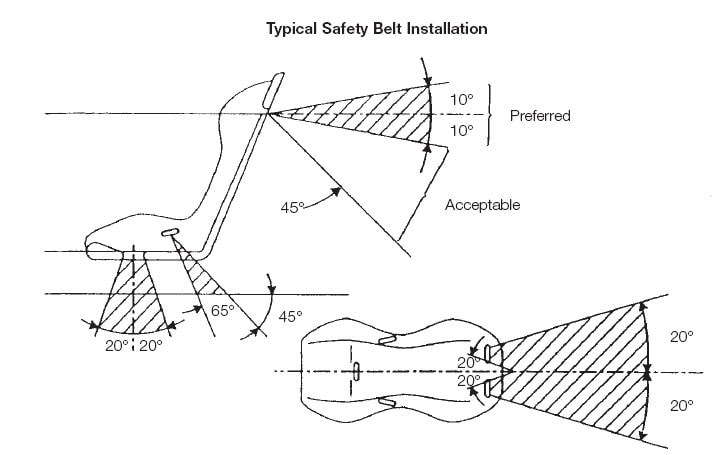
I then welded mounts for a camlock 5 point harness directly to the tube chassis. I might change to a latch and link type harness because I've heard the camlock types can get jammed with dirt when used off road. To protect my spine and keep me in the seat, the angle of the straps need to be within a certain range. The mounts for the shoulder straps are situated so that the straps are close to 90° (perpendicular) to my spine, and the waist straps are at a ~45° angle. This will ensure that the shoulder straps only put pressure on the front of my shoulders and chest to keep me from moving forward and not down on my shoulders, and the waist straps will keep my butt in the seat while keeping pressure off of my spine.
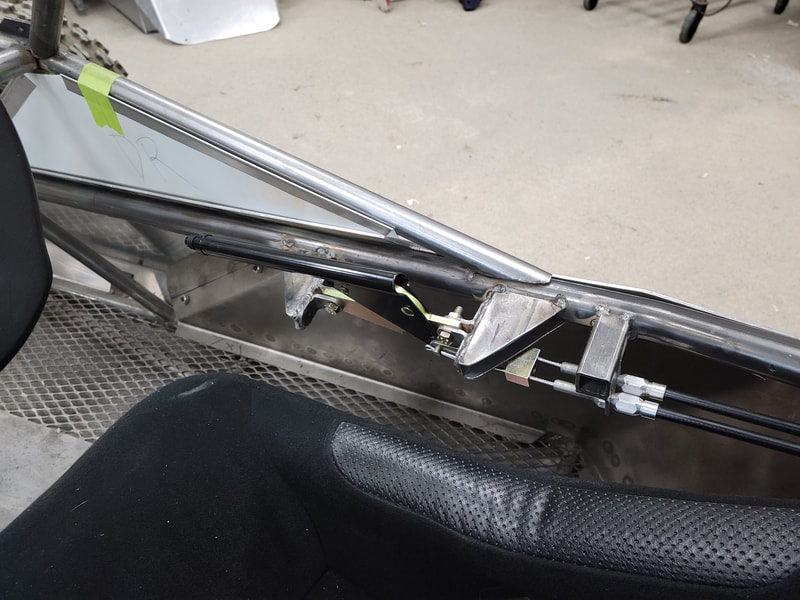
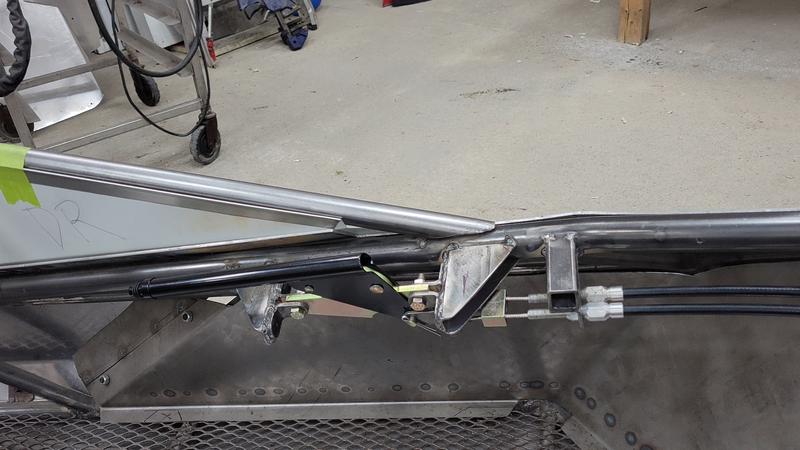
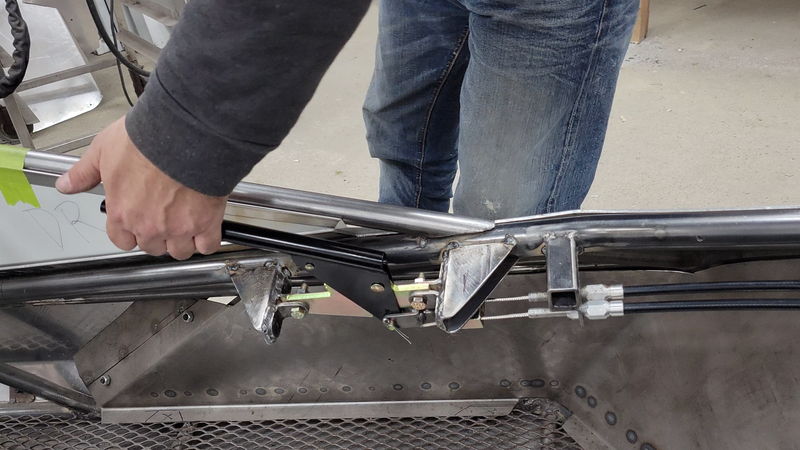
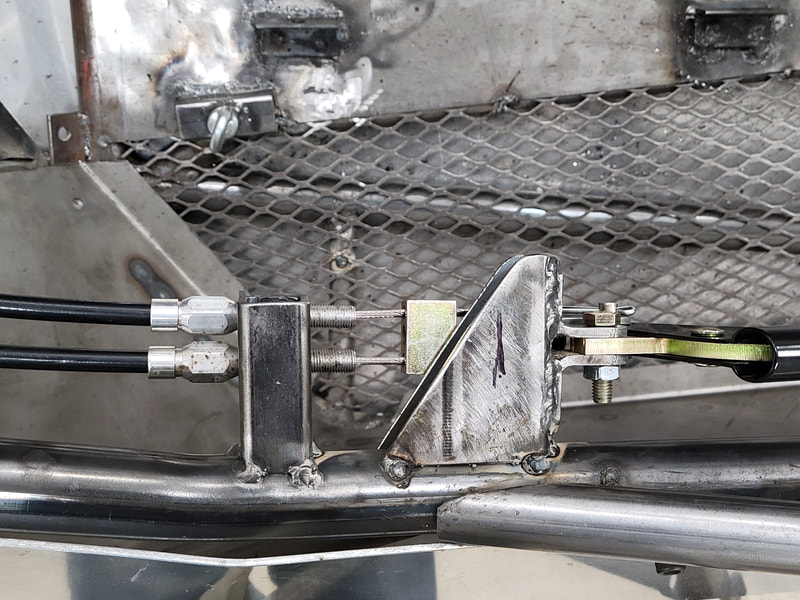
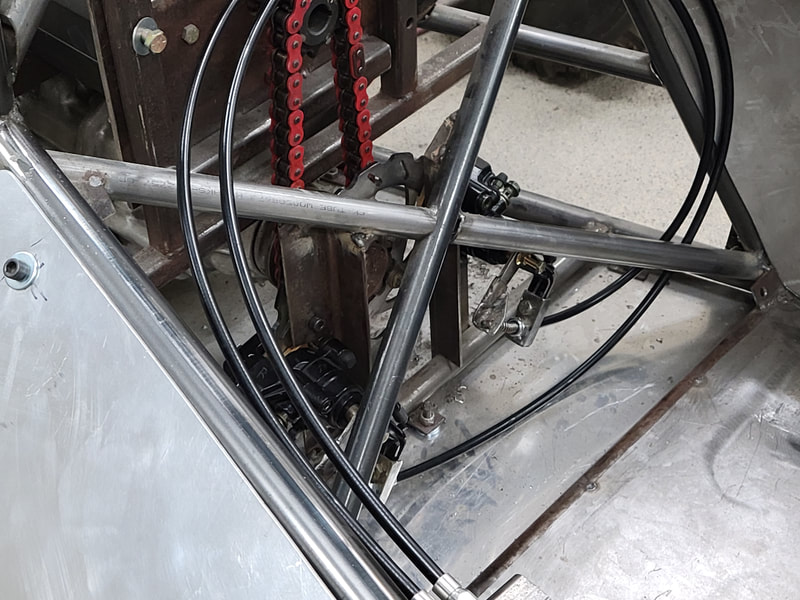
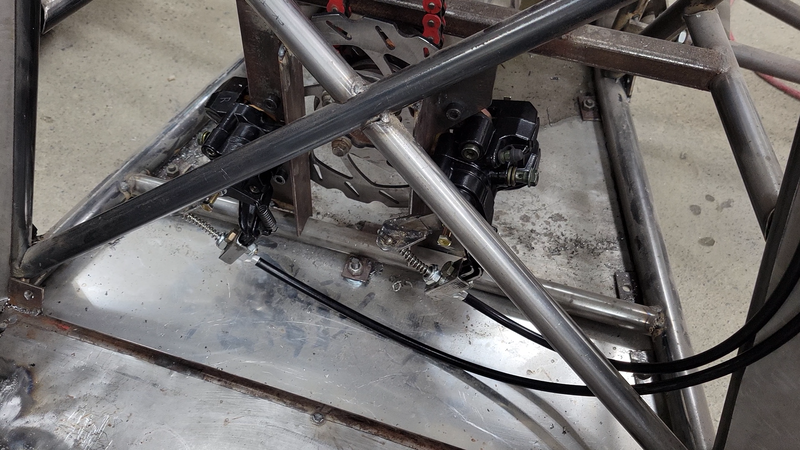
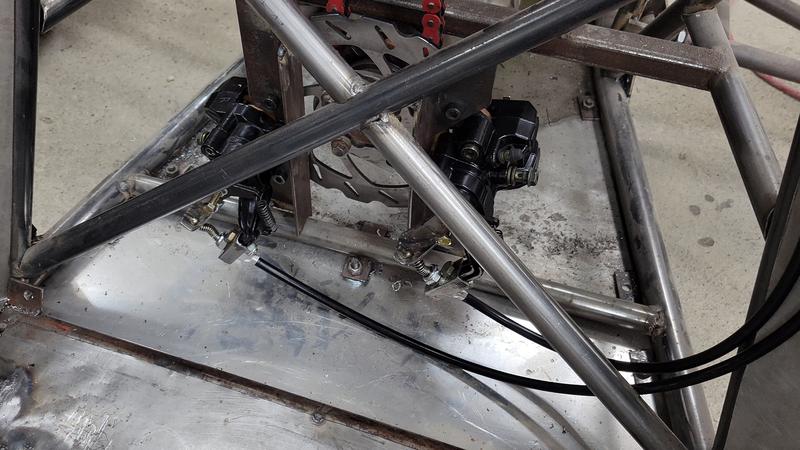
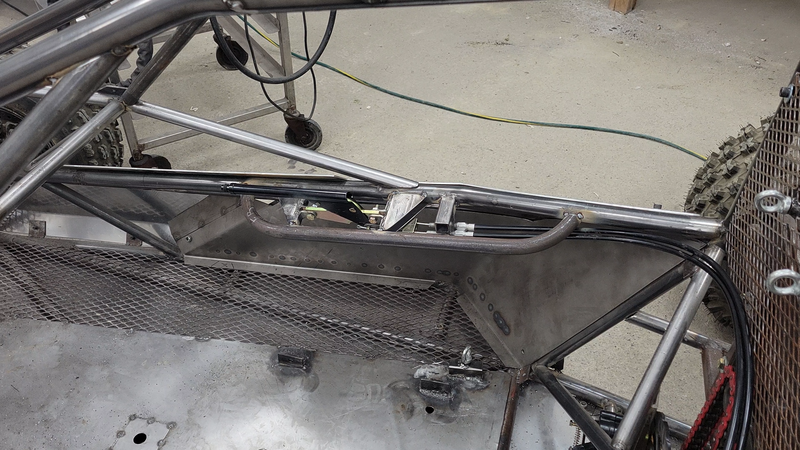
Because there's no transmission in the kart, there's also no parking gear. I used a Dodge parking brake kit to solve that problem. It came with everything I needed, from pins to cables and springs, but of course I had to make some minor modifications to the cables and the dual Banshee rear calipers to make it all work together.
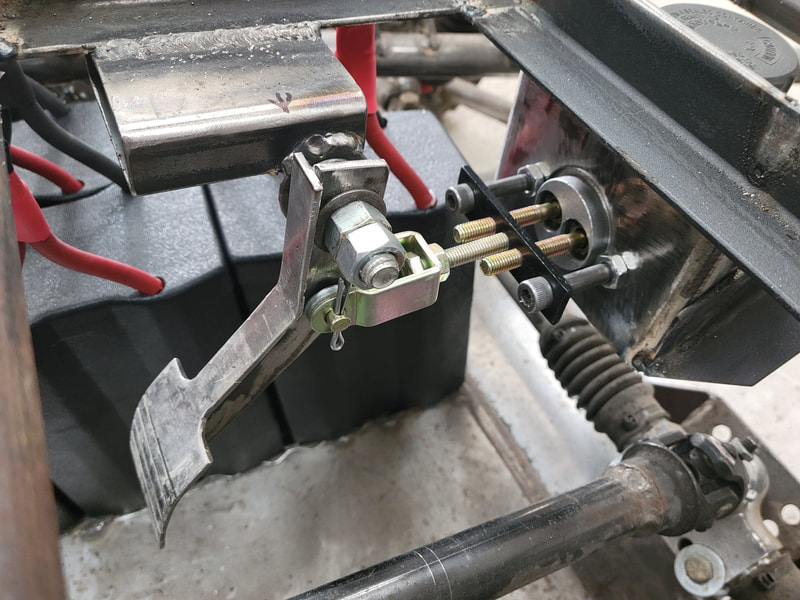
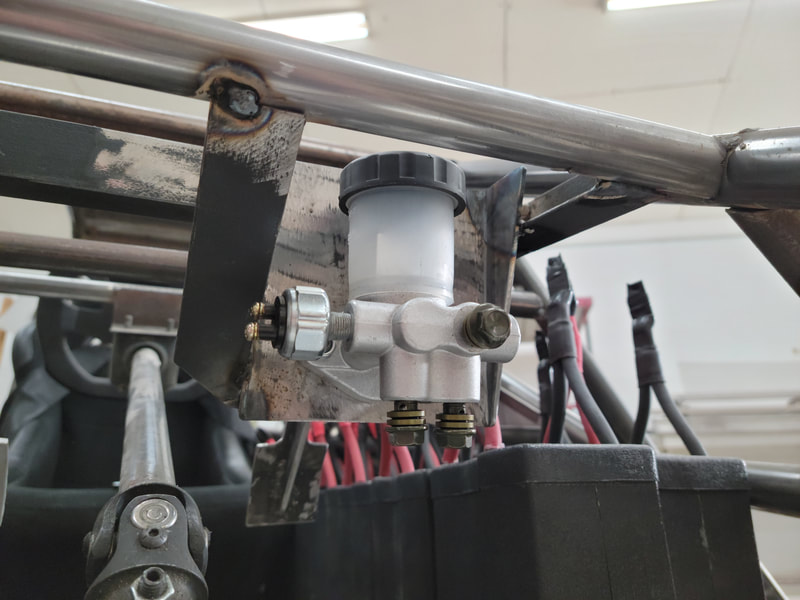
The hydraulic brakes will be controlled by a universal master cylinder made for atv's and buggies, which also comes with a switch installed for operating brake lights. It doesn't come with a brake pedal, so I made one from steel plate to match the electric throttle pedal.
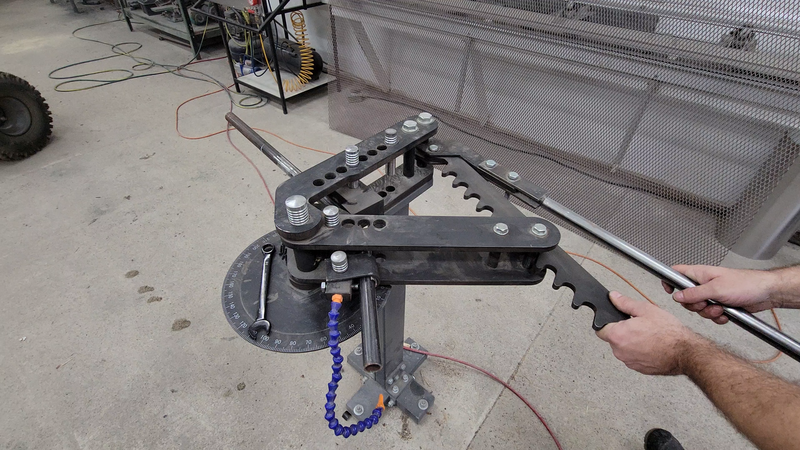
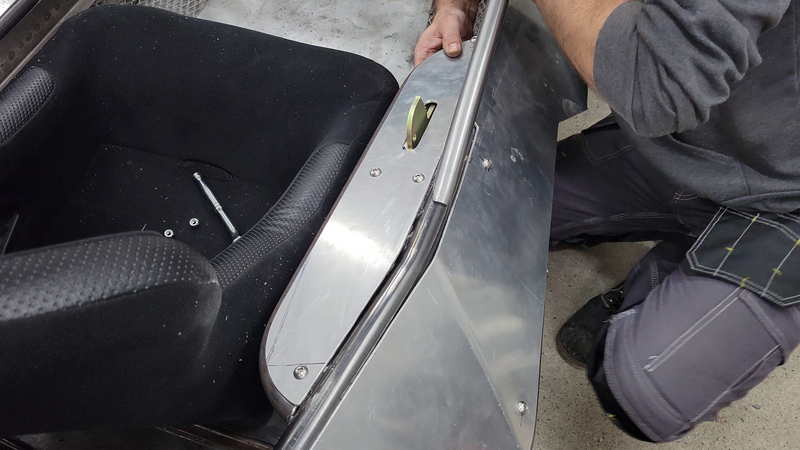
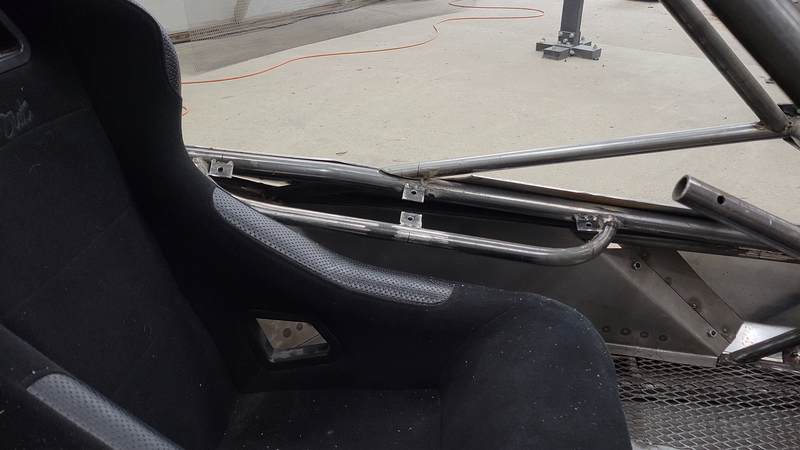
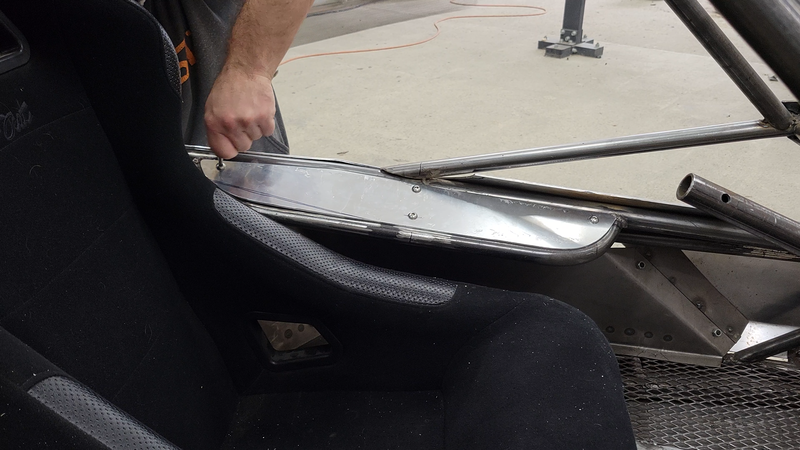
I also added some armrests, more for protection than resting. I needed a way to cover the mounting brackets for the handbrake, so I bent a couple pieces of 1" HREW steel tubing with a 4" radius on each end, welded them in place and covered them with 1/8" thick aluminum plate.
2 Comments
3/13/2022 07:07:42 am
Please make a simple air trake flying vehicles. Please... Please...
Reply
Barry van Gerbig
10/29/2024 05:23:21 pm
Hey James. I'm floored by your 4WD, EV Buggy's speed & power, even though there have been challenges. There are so many intense areas that need to all function at once, like the controller not overheating, etc. I've tried to do some research on the engine & Kelly controller. I'm trying to design a EV-powered drive system & ADD it/weld it onto the 3"-in frame of a towable, DR. Pro Max 52' "Field/Brush Mower," so it can be an RC, Hill Climbing mower. It's 560lbs, stock, but could reach 1000-1200lbs with tracks/wheels, batteries, etc. God forbid I have to drive it myself, But I don't care if it's more rudimentary, like a skidsteer, if it would simplify the need for parts, controllers, etc.
Reply
Leave a Reply. |
AuthorJames Biggar Archives
March 2023
Categories |


 RSS Feed