- Empty Cart
|
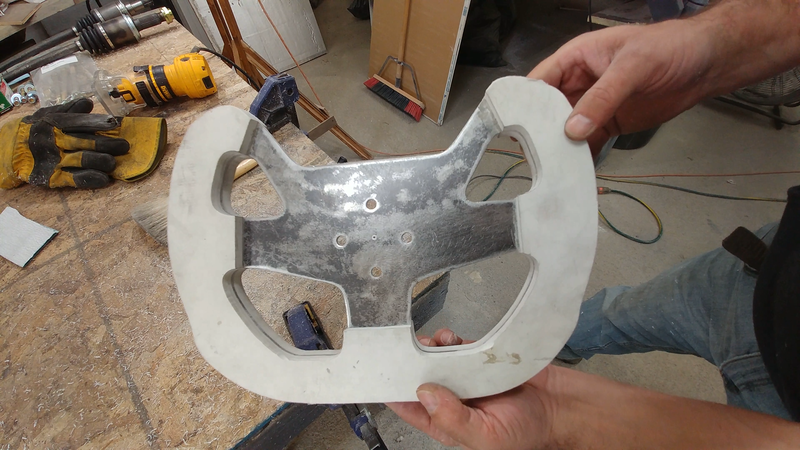
In this video I make a custom steering wheel for my electric crosskart buggy using 1/8" steel plate, 1/2" PVC foam board, and PL400 adhesive.
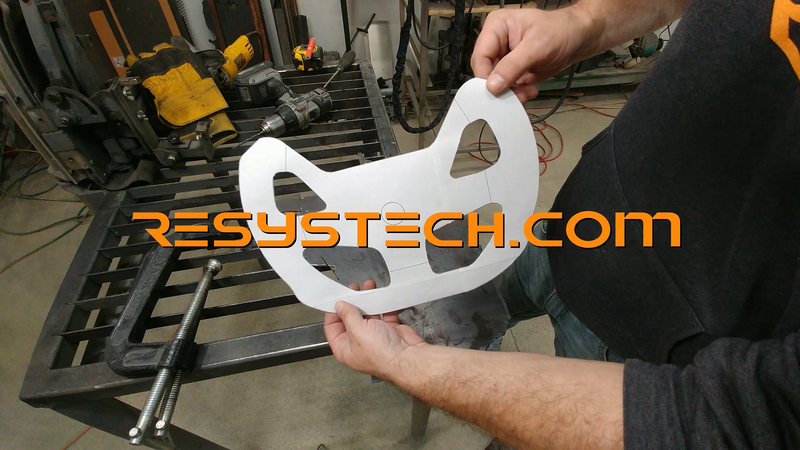
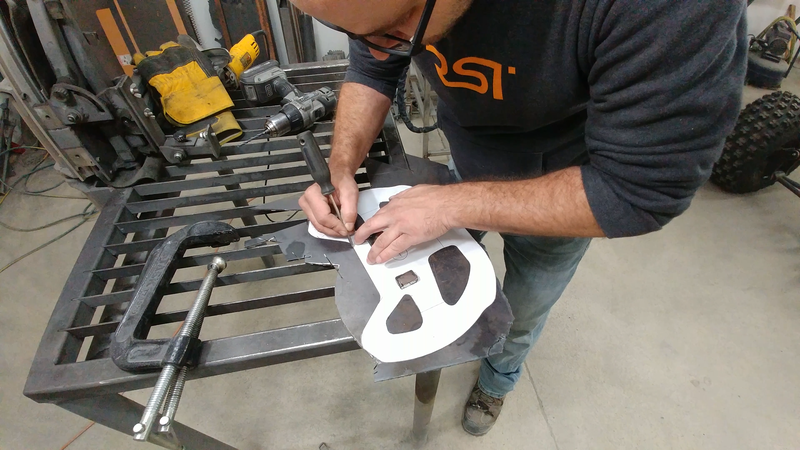
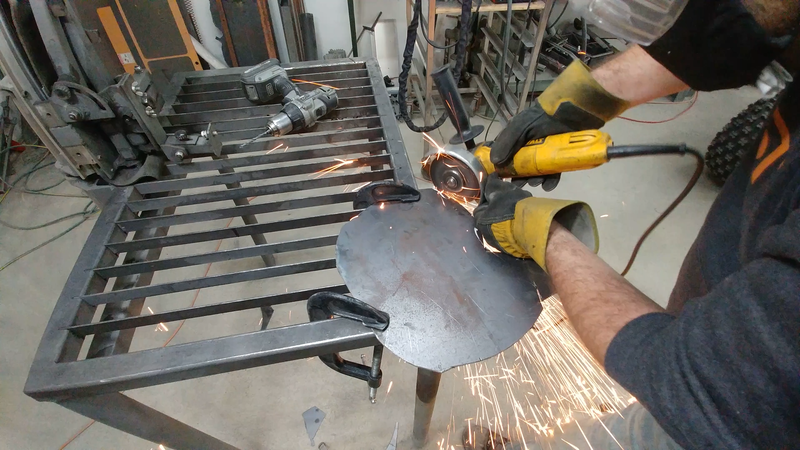
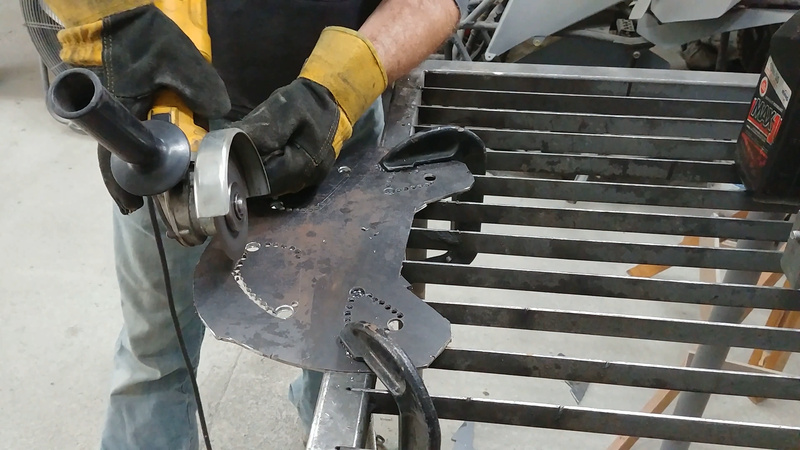
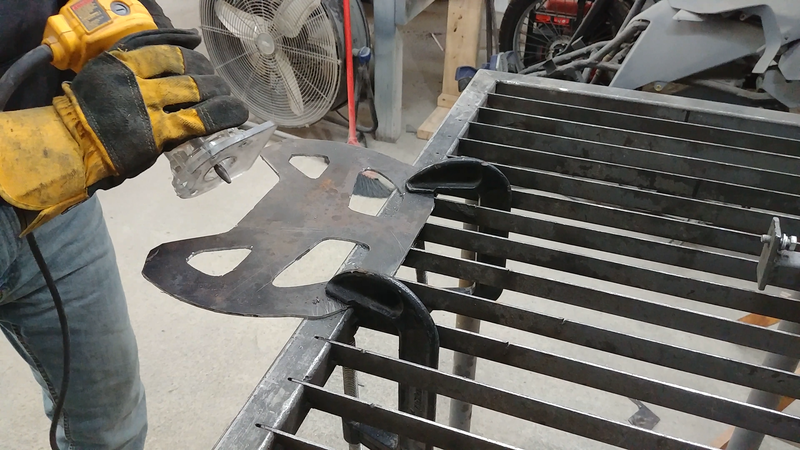
Why not just buy one? They're EXPENSIVE for something so simple. I wanted an open top, flat bottom steering wheel to give more leg room and an unobstructed view through the windshield. So I picked a design that I liked online, downloaded a jpg and scaled it to the size to create a template. I used a scratch awl to trace the outline of the template onto a sheet of 1/8" mild steel plate, then cut the perimeter with an angle grinder and cutting wheel.
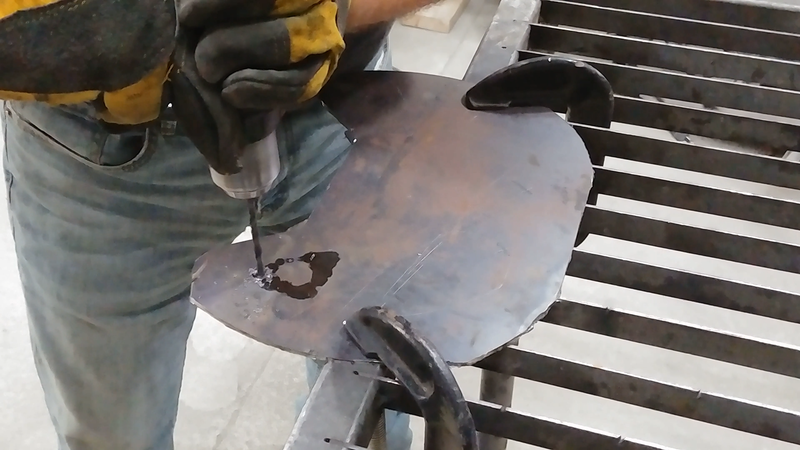
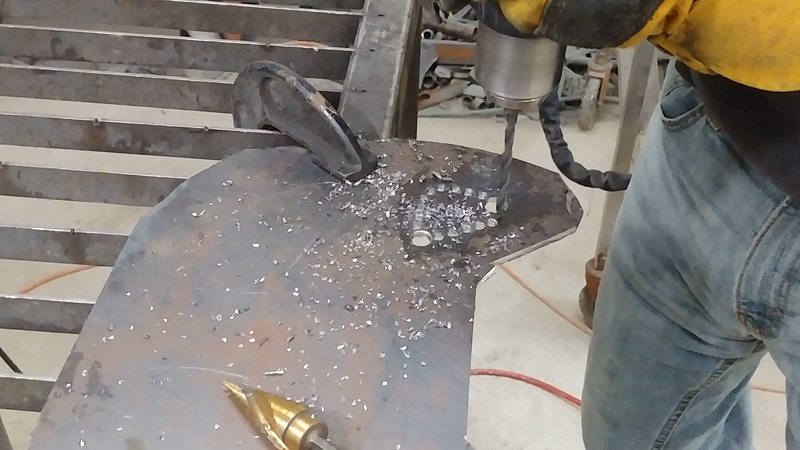
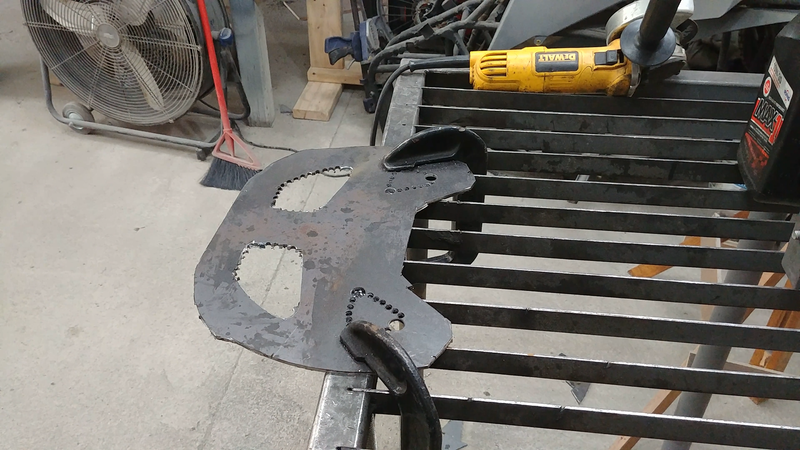
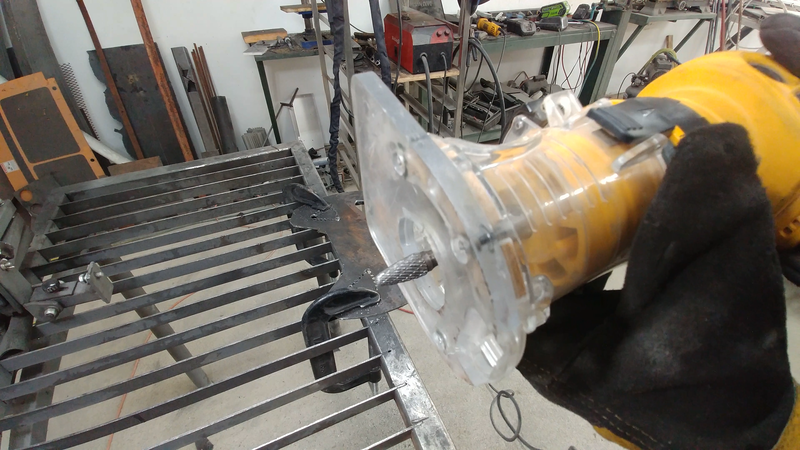
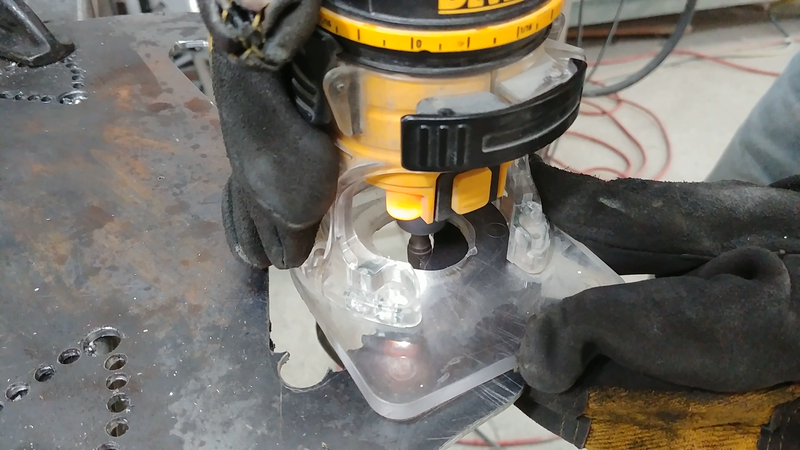
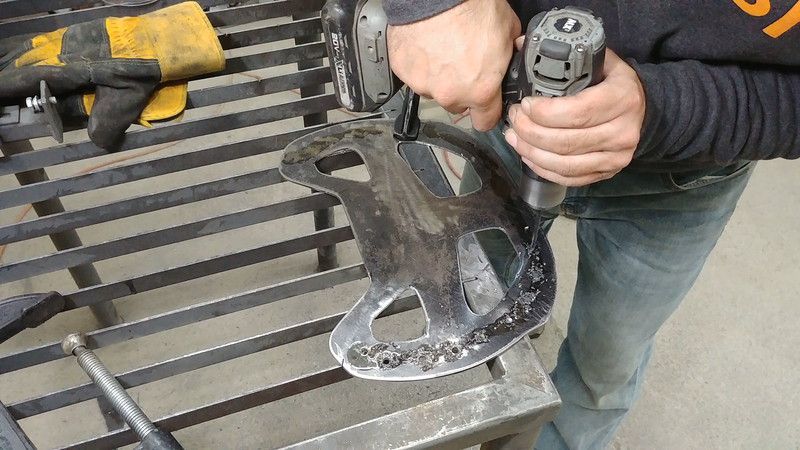
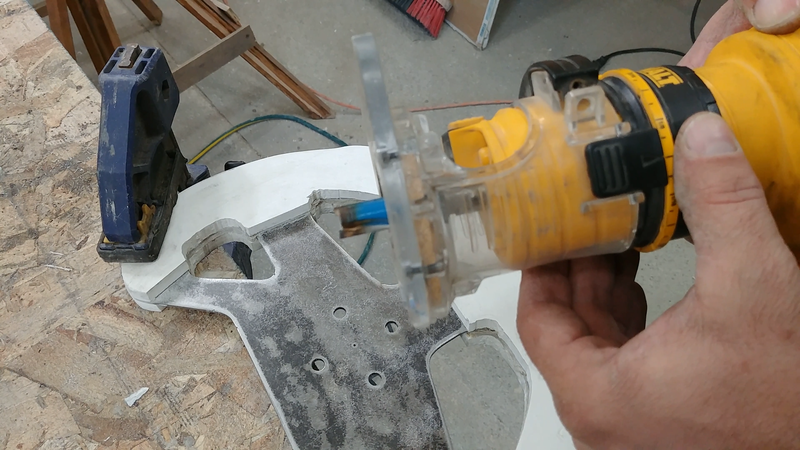
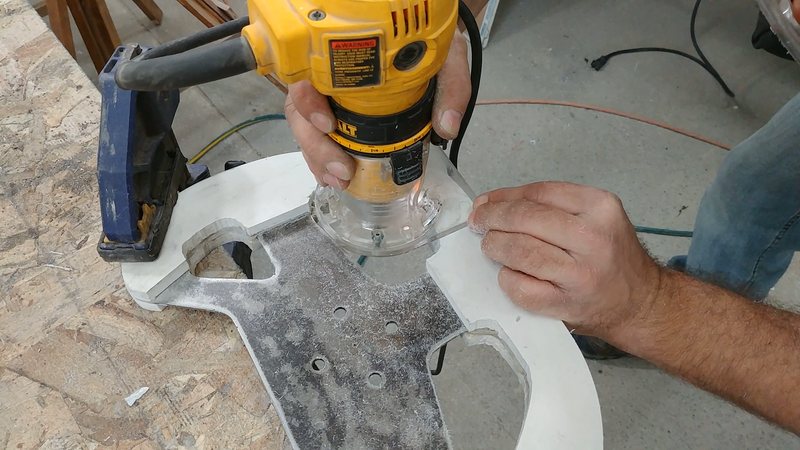
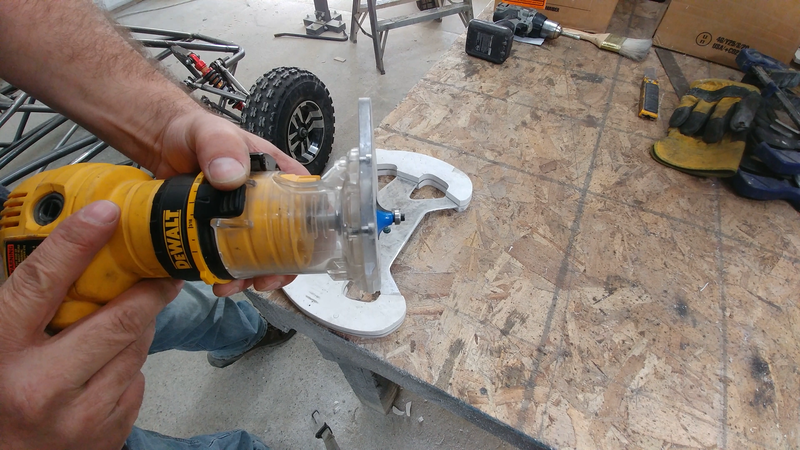
The cutting wheel on the grinder is less than ideal for cutting the holes for the grip. One option is to use a jigsaw with a metal cutting blade. I was concerned that the blade might jam up and distort the sheet metal as they sometimes do, so I decided to drill a series of small holes and cut out the majority of the waste with the angle grinder, then used a carbide burr bit in my trim router to clean the edges to the line. The burr bit is technically for a die grinder (a pneumatic Dremel type tool), but my compressor's tank capacity isn't large enough to keep up with it. But the bit and the trim router are rated for the same speed, so it worked just fine. A straight carbide router bit would also work, as I demonstrate later in the video when doing the final trimming.
I then used a flap disc sander on the angle grinder to remove the mill scale from the sheet metal and rough up the surface, then drilled another series of holes around the perimeter of the steering wheel.
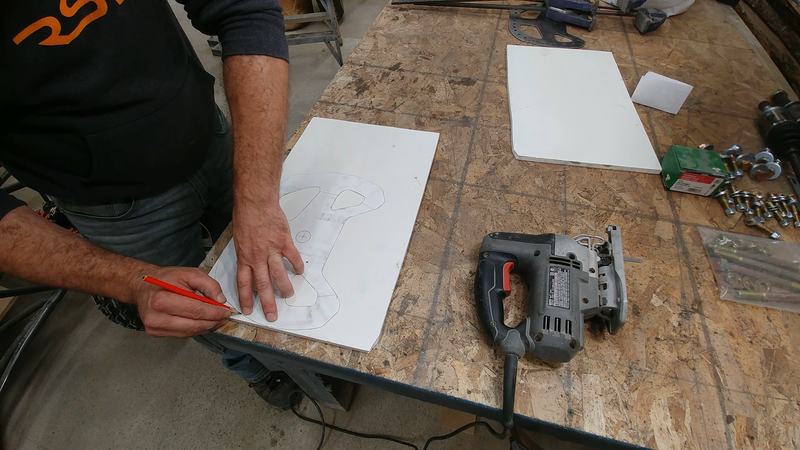
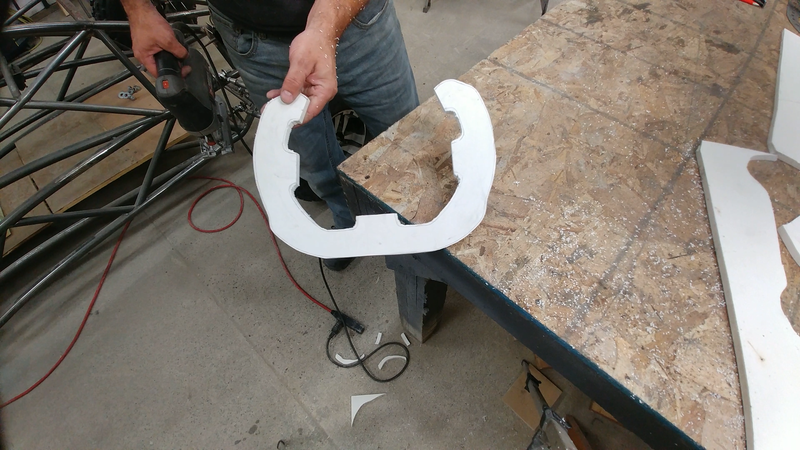
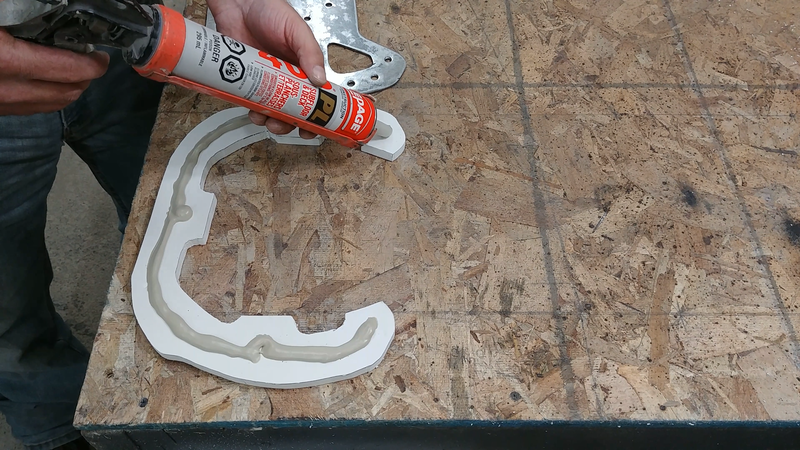
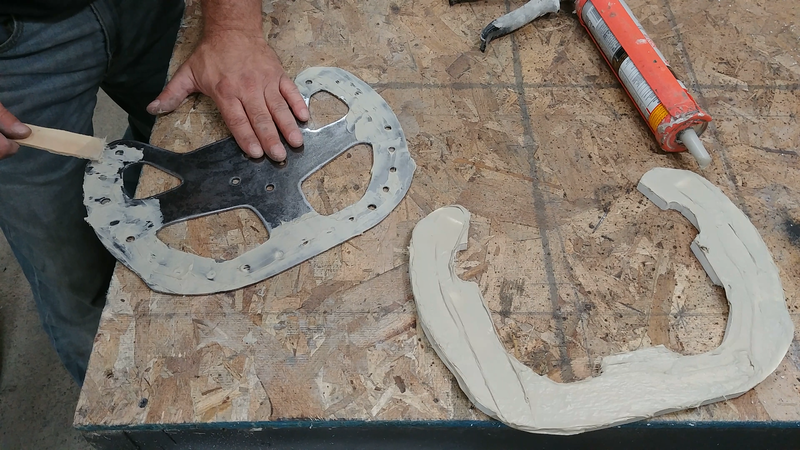
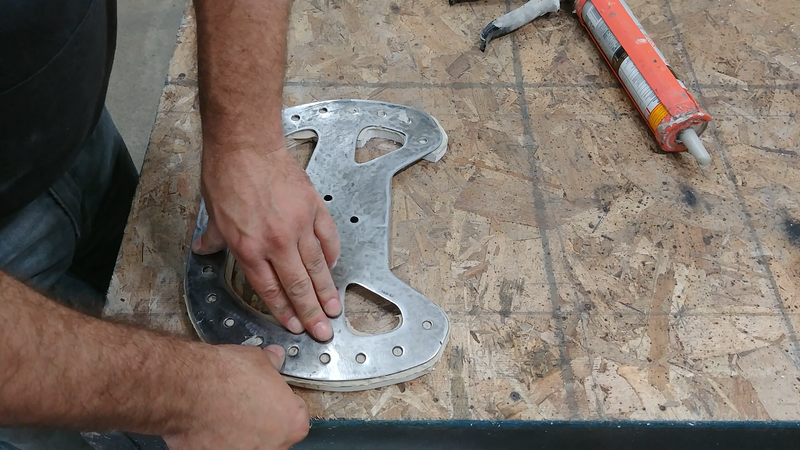
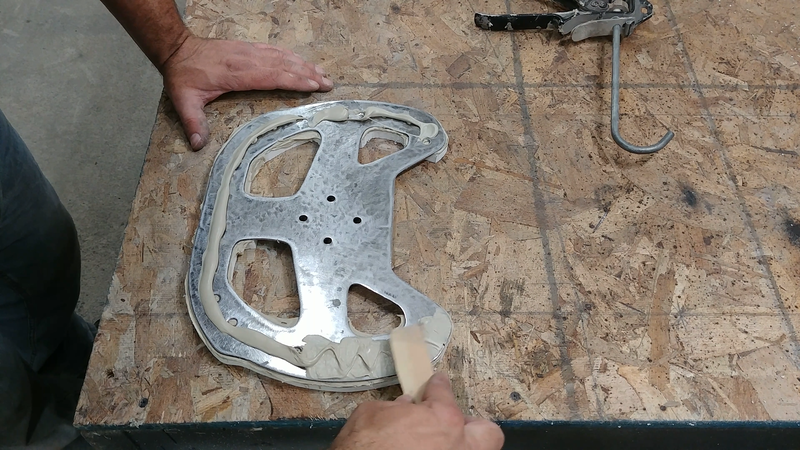
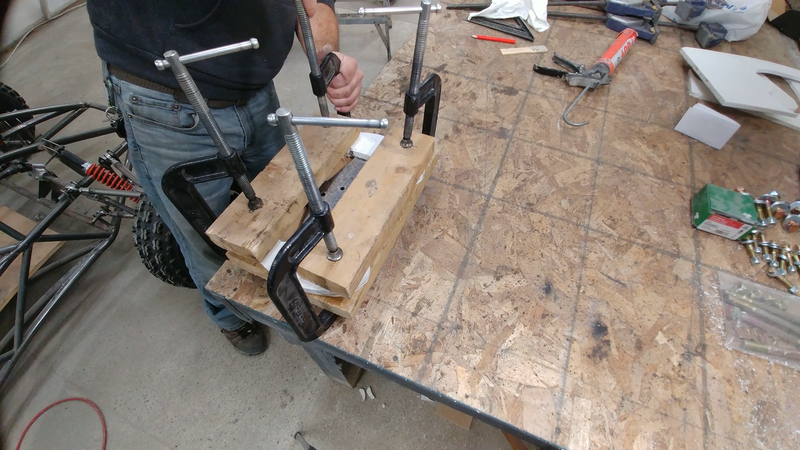
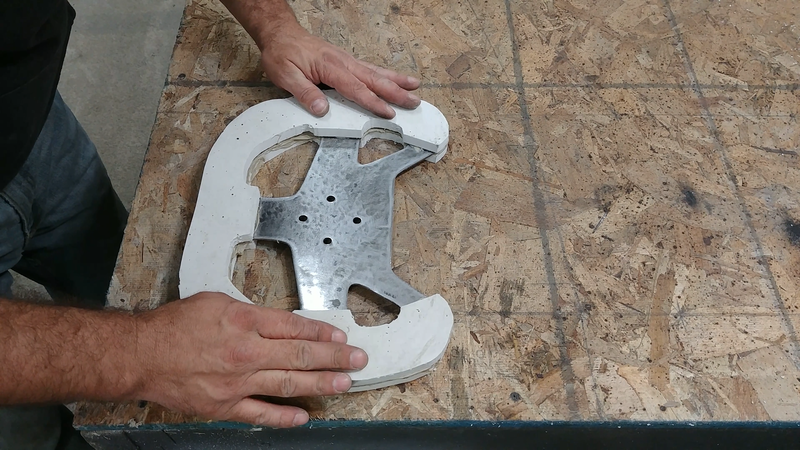
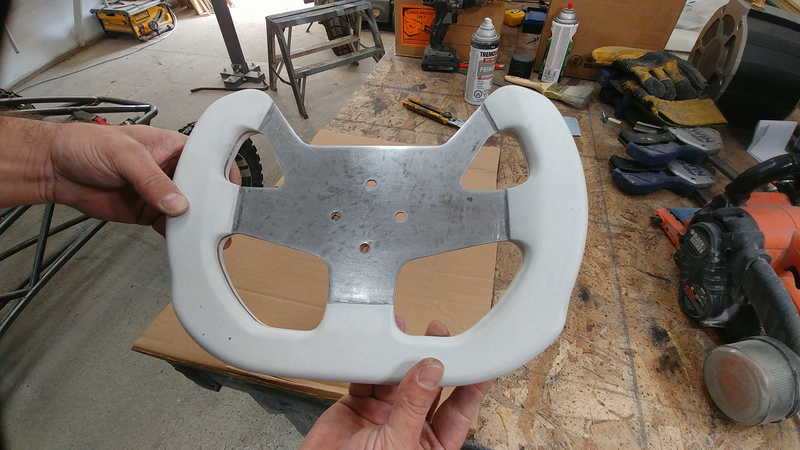
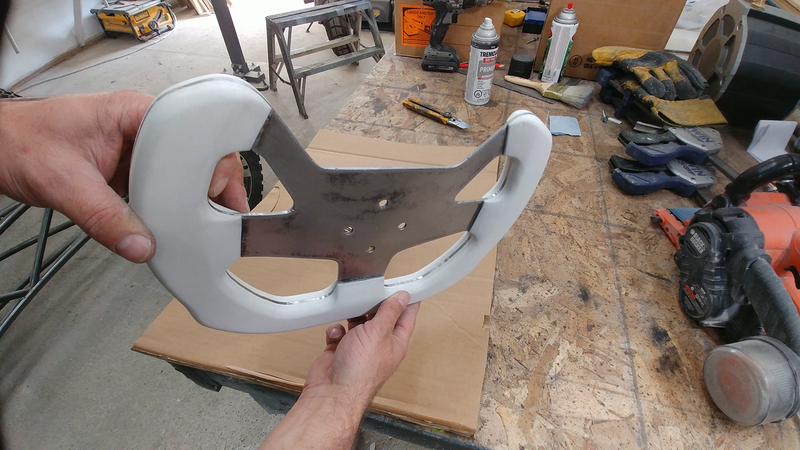
I traced the template onto a piece of 1/2" PVC foam and cut two profiles of the steering wheel from it with a jigsaw, then roughed up the faces with sand paper and cleaned them of debris. These will form the actual grip for the steering wheel. I applied a layer of PL400 adhesive to one side of one PVC piece and to the corresponding side of the sheet metal 'frame', then pressed them together until the adhesive oozed from the sides and through the holes drilled into the frame. Then I applied another layer of PL400 onto the other faces of the frame and PVC and sandwiched the laminations together using clamps, and left it overnight to cure.
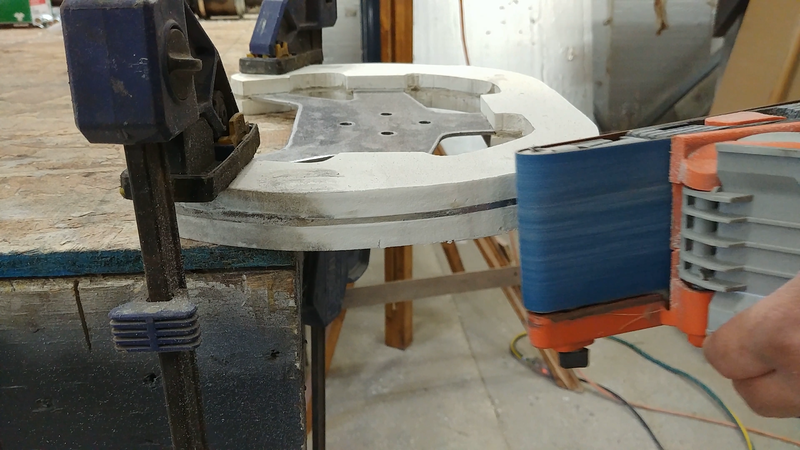
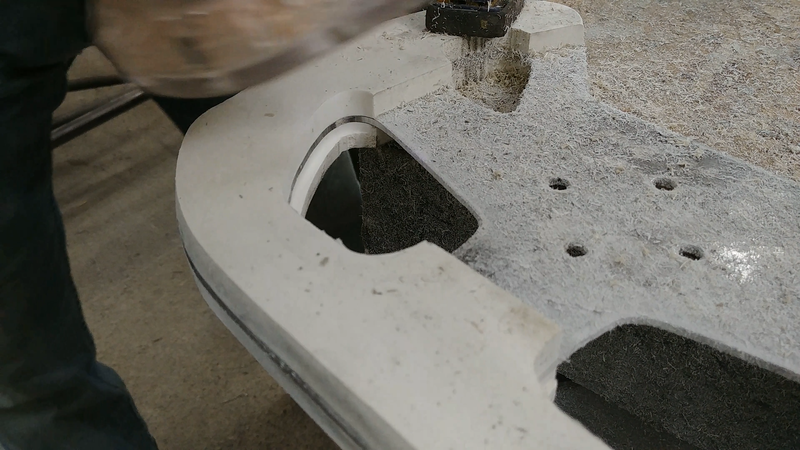
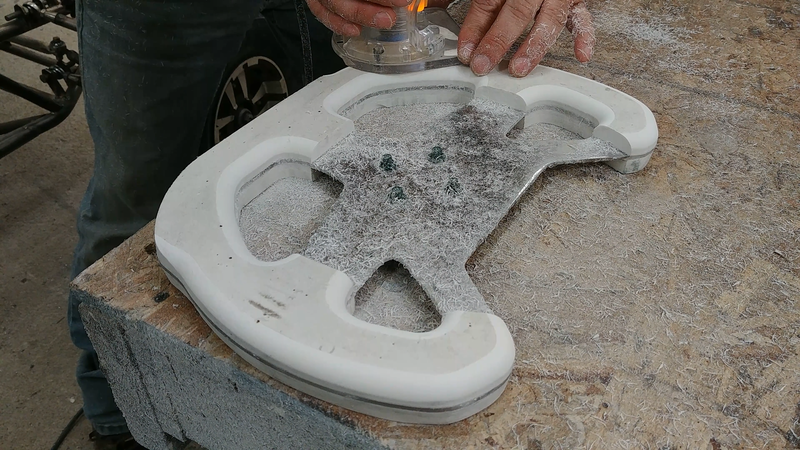
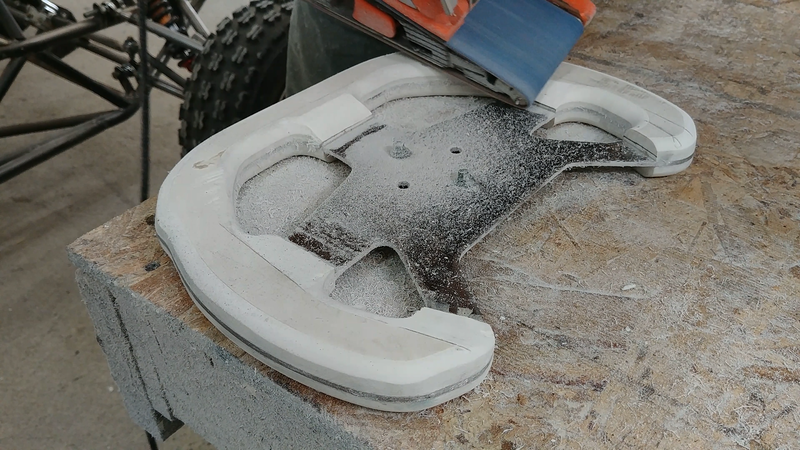
The next day, I cleaned up the edges of the steering wheel and started forming the grip with a belt sander. Using the trim router with a straight carbide router bit set to just half the thickness of the steering wheel, I flushed up one side of the PVC with the steel frame. Then I used a flush trim bit to perfectly trim the other side to the first. A round over bit finished all of the PVC edges so the steering wheel is comfortable to grip.
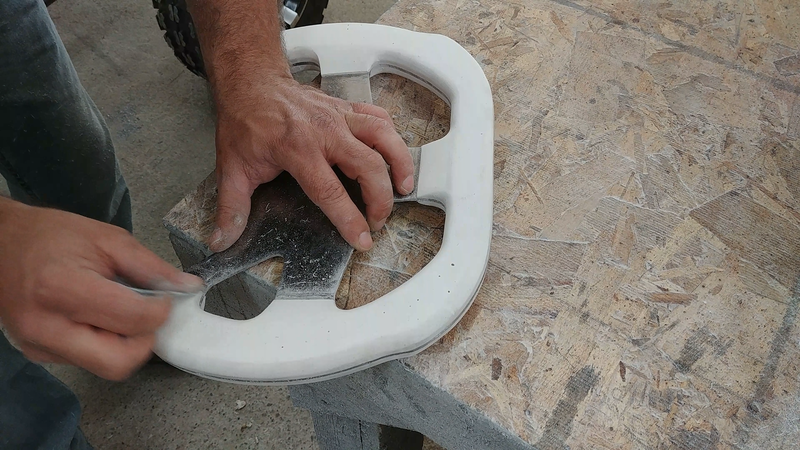
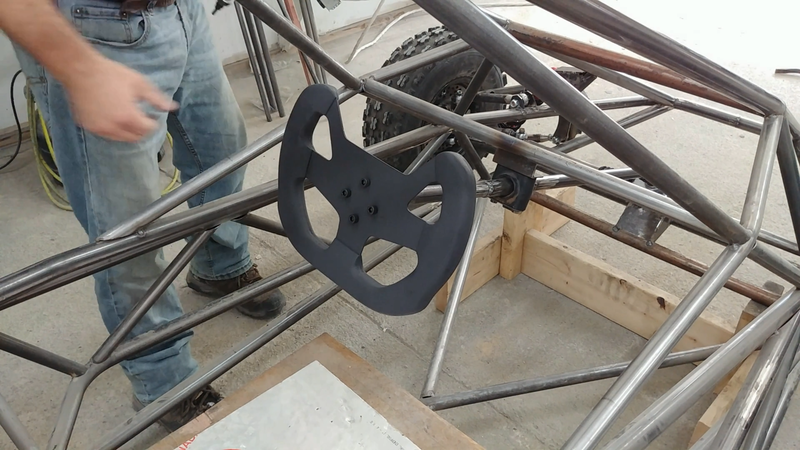
After a bit of hand sanding with some fine sandpaper, I painted the steering wheel matte black. I would have preferred to use black PVC instead of painting it, but I already had some white PVC scraps that I wanted to use up. Another more affordable option for the grip could have been wood with a strong polyurethane finish.
5 Comments
Nasr
12/12/2022 12:15:07 pm
How can I get the plans of this car?
Reply
12/26/2022 06:23:20 pm
Such a fantastic information. This is honestly very useful for bloggers
Reply
5/31/2023 12:40:35 pm
I assume this submit proved that your are my first-rate friend
Reply
taylor
10/11/2023 03:01:21 pm
Like everyone else, great work!
Reply
1/14/2024 11:50:00 am
Te felicito excelente tus proyectos y mejor aun tu espíritu de compartir, asi el mundo será mejor cundo damos a los demás nuestra satisfacción de hacerlo es ejemplo y nuestra mayor recompensa me gustaría tener acceso a los planos de tus proyectos yo soy ingeniero electrónico y estoy cerca de graduarme como científico de Datos
Reply
Leave a Reply. |
AuthorJames Biggar Archives
March 2023
Categories |


 RSS Feed